Thin hair presents a unique challenge: fewer strands per square inch mean more visible scalp and transparent ends. For women with low density, many haircuts simply collapse. But the right cut can change everything. 11 medium length hairstyles for thin hair prove that you do not have to go short to look full—blunt lines, invisible layers, and crown-focused shaping create the illusion of density without sacrificing length.
Medium length hair, typically falling between the chin and the collarbone, offers a unique opportunity. It is long enough to create movement and weight, yet short enough that the ends do not become wispy and see-through. The key is choosing the right cut—one that removes weight strategically, adds texture that reads as density, and creates a solid perimeter that reflects light as a thick block.
These cuts transform thin hair into a bouncy, beautiful, confident style. Whether you have straight, wavy, or curly hair, there is a medium length cut designed to give you the volume you have been missing.
Why Medium Length Hairstyles for Thin Hair Works
Women with thin hair often assume they must keep their hair very short—a pixie or a cropped bob—to avoid the “see-through ends” problem. While short hair is certainly an option, it is not the only option. Medium length hair, when cut correctly, can actually look fuller than very short hair. Here is why.
First, a blunt perimeter at the chin or shoulders creates a solid visual line. That line reflects light as a dense block, tricking the eye into seeing thickness. Second, medium length provides enough weight to keep fine or thin strands from floating away and looking flyaway. Third, strategic layering—not too much, not too little—adds movement without sacrificing the solid appearance of the ends. Finally, medium length hair can still be pulled back into a ponytail, bun, or half-up style, giving you versatility that very short cuts cannot offer.
The following 11 medium length hairstyles for thin hair are specifically engineered for thin hair. Each one addresses the unique challenges of low density: visible scalp, transparent ends, and lack of volume at the crown.
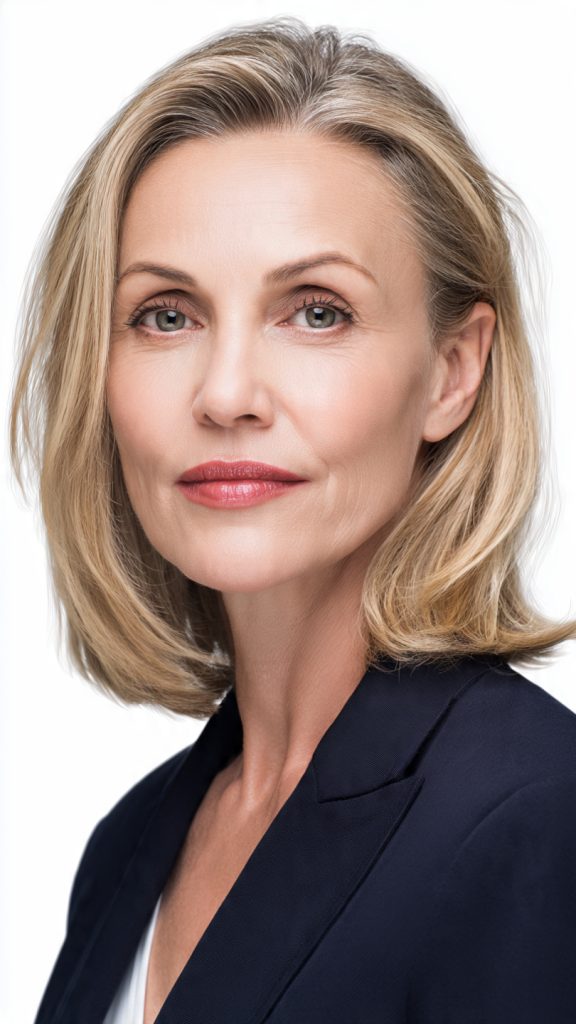
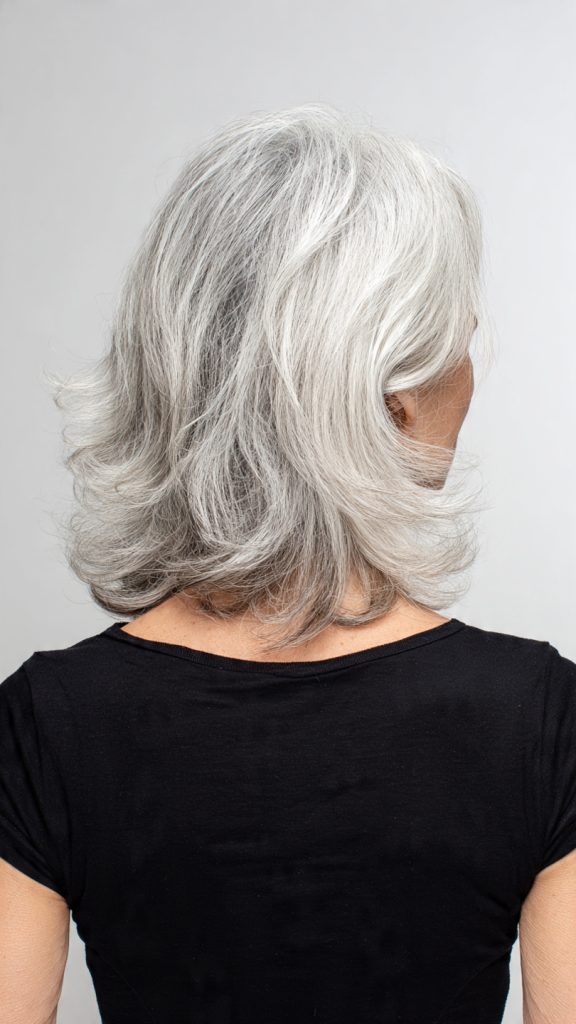
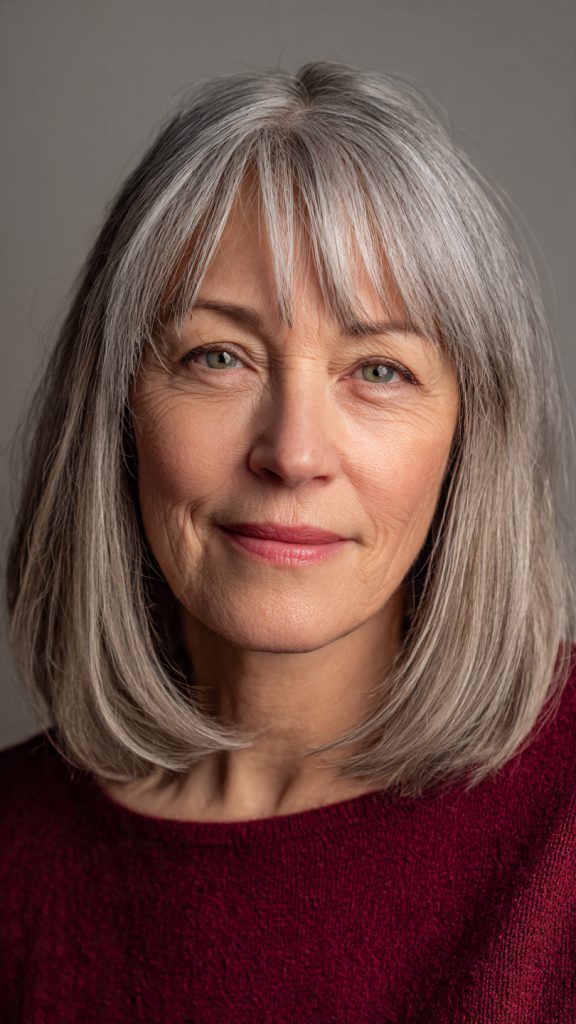
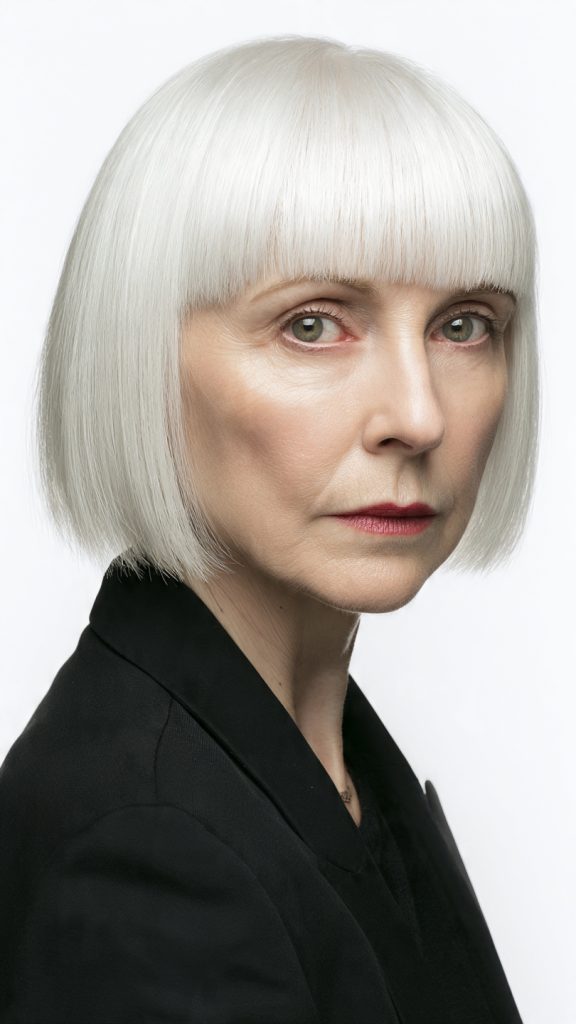
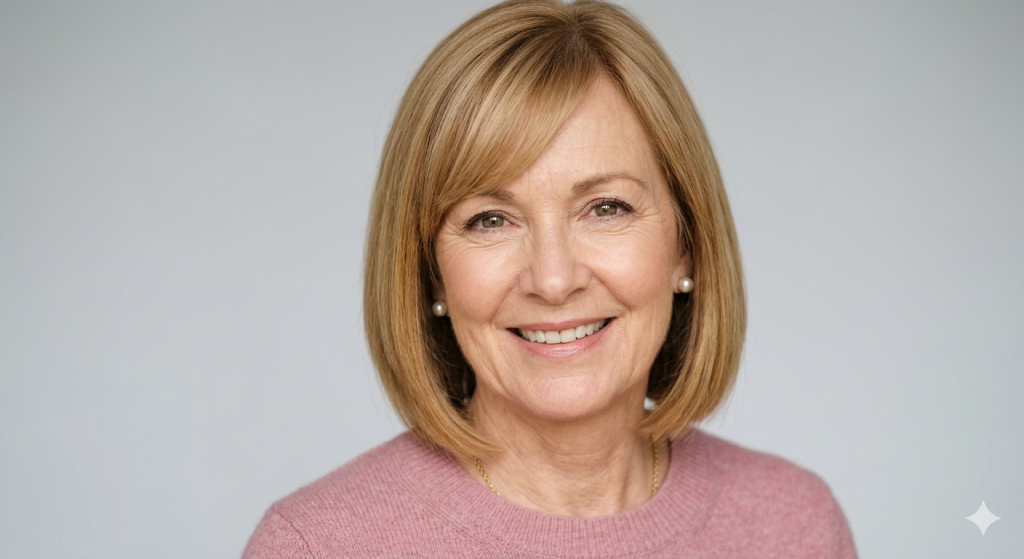
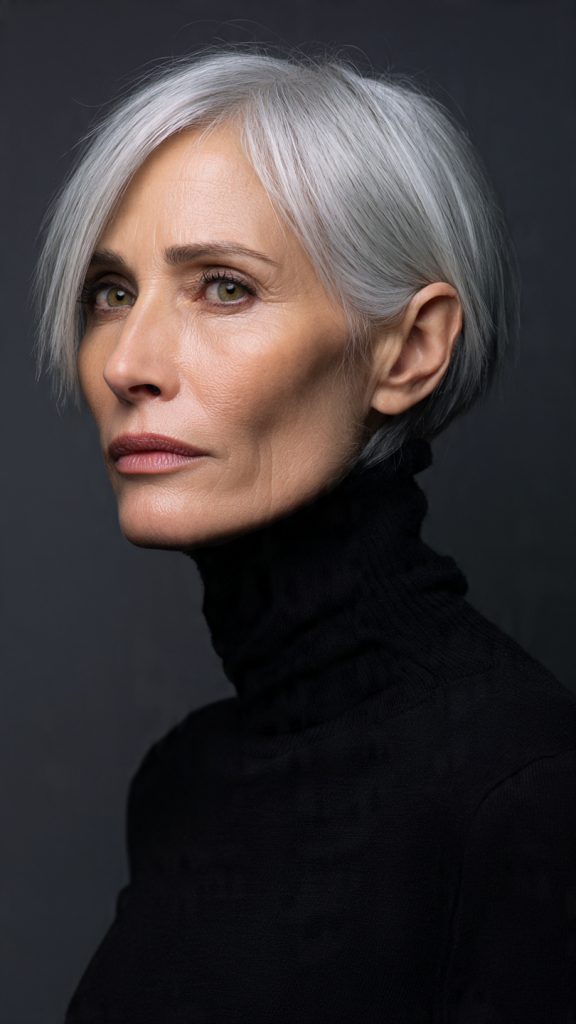
1. The Blunt Medium Length Cut (No Layers)
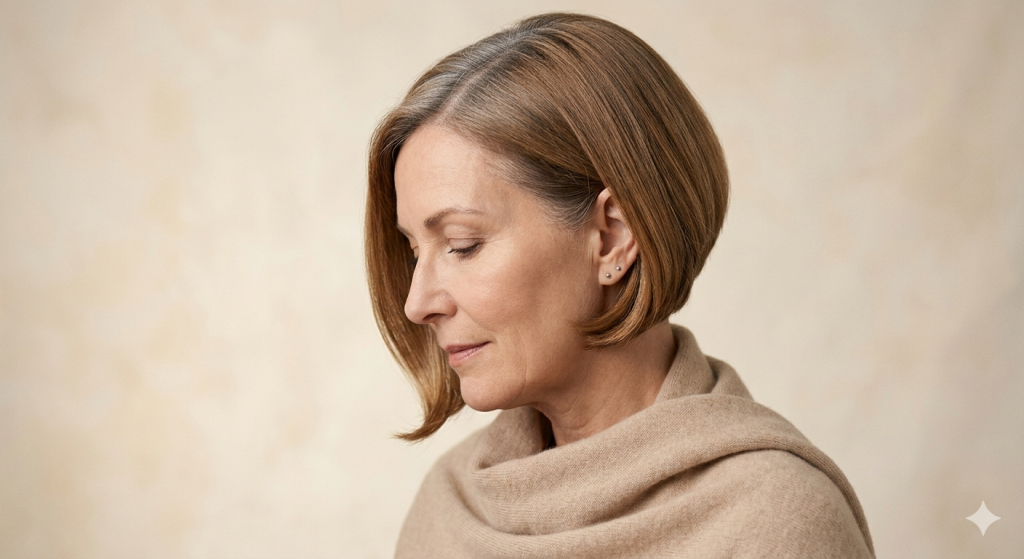
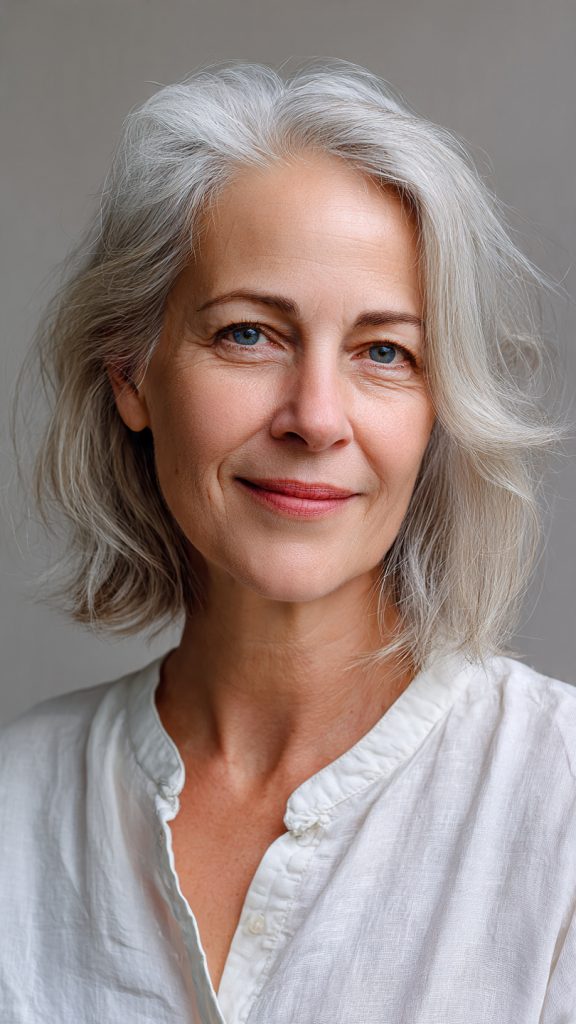
A blunt cut means all the hair ends at the same point, with no layering or texturizing at the perimeter. The length falls between the chin and the collarbone. The cut is heavy, solid, and intentional.
Why it works: Counter-intuitively, removing all layers creates the strongest illusion of thickness for thin hair. The solid, straight-across perimeter acts like a dense curtain. Because there are no layers, there are no gaps where light can pass through and reveal the scalp or the background. The weight of the blunt cut also prevents the ends from flipping out or looking wispy.
Styling tip: Blow-dry smooth with a flat paddle brush. Use a lightweight volumizing mousse at the roots only. Add a tiny drop of serum to the very ends to keep the blunt line sharp. A center part or a very shallow side part both work well—avoid deep parts that expose too much scalp.
2. The Invisible Layered Cut for Thin Hair
“Invisible layers” are internal layers cut deep inside the hair shaft. You cannot see them on the surface, but you can feel the volume they create. The perimeter remains blunt, so the ends look thick, but the internal structure is lighter and more lifted.
Why it works: Traditional layers on thin hair are a disaster—they create gaps, make the ends look transparent, and destroy density. Invisible layers do the opposite. They lift the hair from the inside out, creating a rounded, C-shape silhouette without sacrificing the solid appearance of the perimeter. This is a technical cut best done by an experienced stylist.
Styling tip: Ask your stylist for “invisible internal layers” or “weightless layering.” Style with a volumizing mousse and a round brush, focusing on turning the ends slightly under. The internal layers will do their work silently.
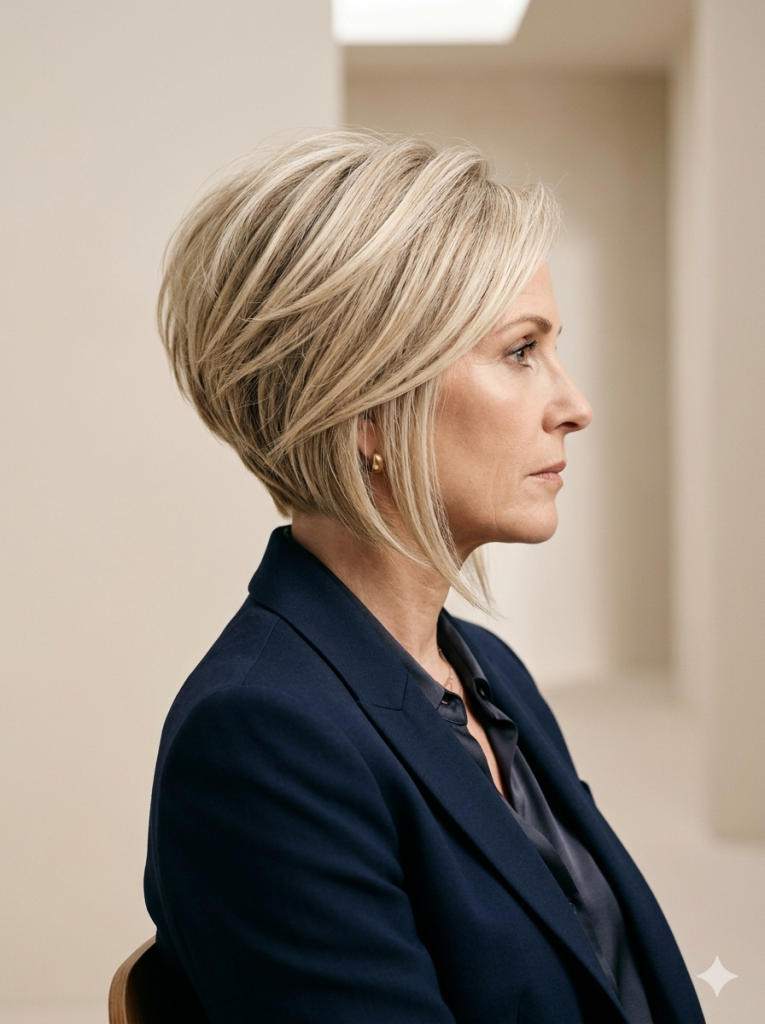
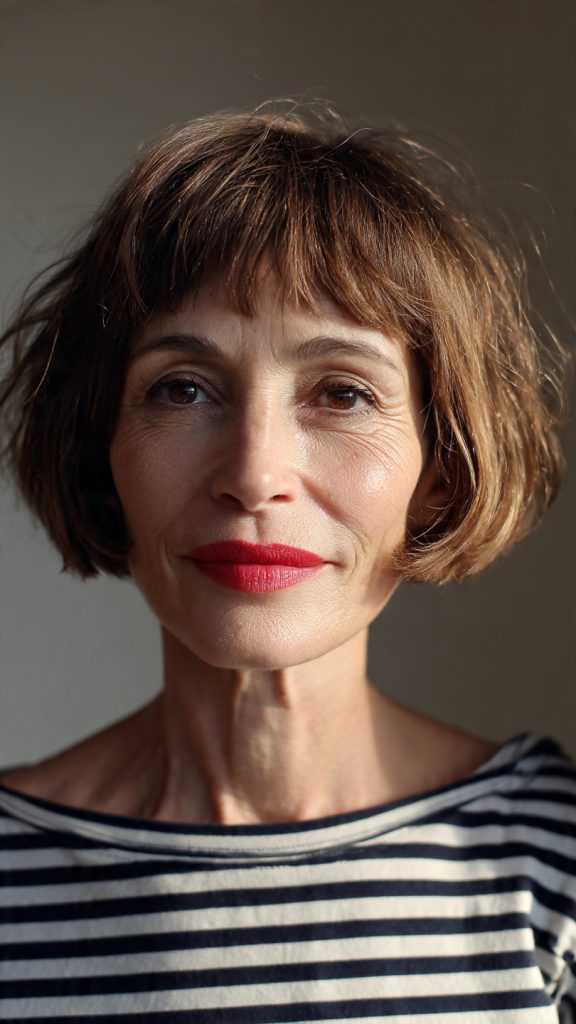
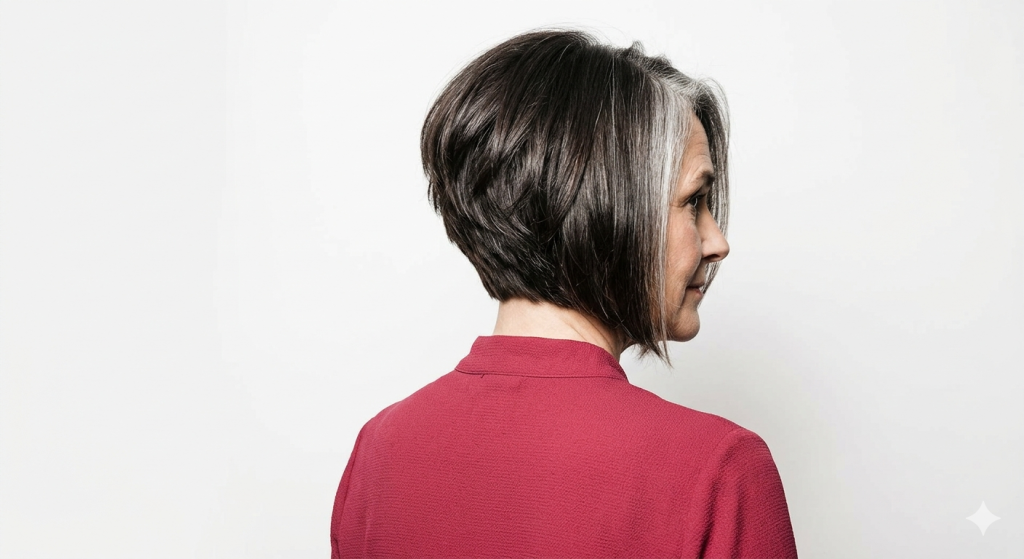
3. The Stacked Medium Bob (Shorter Back, Longer Front)
A stacked bob is shorter at the nape and gradually lengthens toward the front. The back is often cut with visible “stacked” layers that push the hair upward. The front pieces reach the collarbone. The overall length stays in the medium range.
Why it works: Stacking is the single best technique for adding volume to thin hair. The short, layered nape removes weight, which allows the hair above to literally stand up. The longer front pieces provide the length and face-framing that women want, while the stacked back creates a foundation of lift. The angle from back to front also elongates the neck.
Styling tip: Rough-dry the back upside down to maximize lift. Use a small round brush only on the front sections. The stacked back should be left slightly messy—over-brushing will flatten the volume.
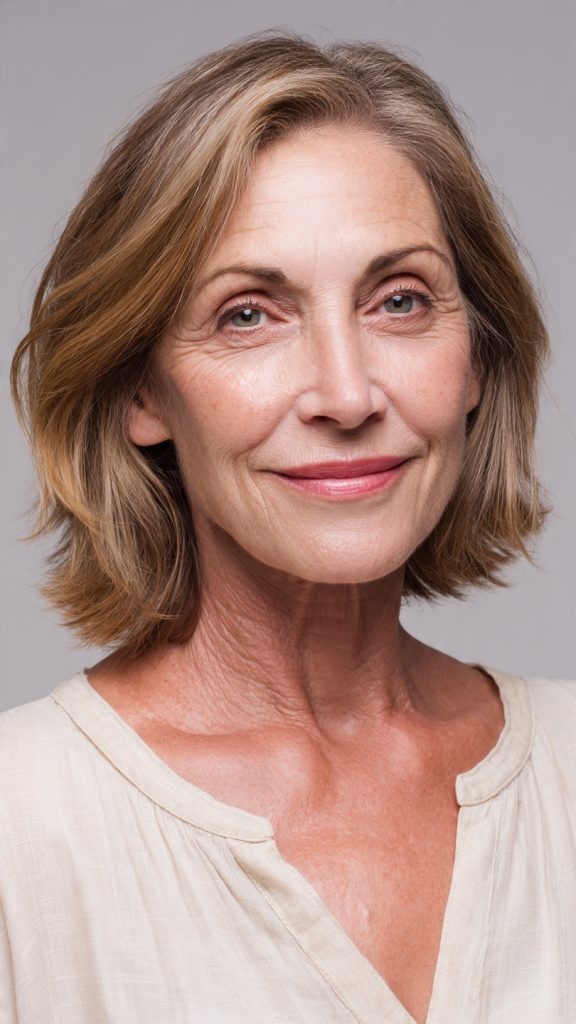
4. The Textured Lob with Point-Cut Ends
A lob (long bob) falls at the collarbone. In this version, the ends are point-cut—cut with scissors pointing vertically—to create soft, textured tips rather than a razor-sharp blunt line. The texture is subtle, not choppy.
Why it works: Thin hair that is cut with a razor-sharp blunt line can sometimes look severe or unnatural. Soft, point-cut ends reflect light in multiple directions, creating visual “noise” that reads as thickness. The texture also prevents the ends from sticking together in clumps, which can make thin hair look even thinner. The collarbone length provides enough weight to keep the ends from looking wispy.
Styling tip: Use a lightweight sea salt spray (not the heavy kind) on damp hair. Scrunch and air dry, or use a diffuser on low heat. The point-cut ends will naturally separate into soft, piece-y waves.
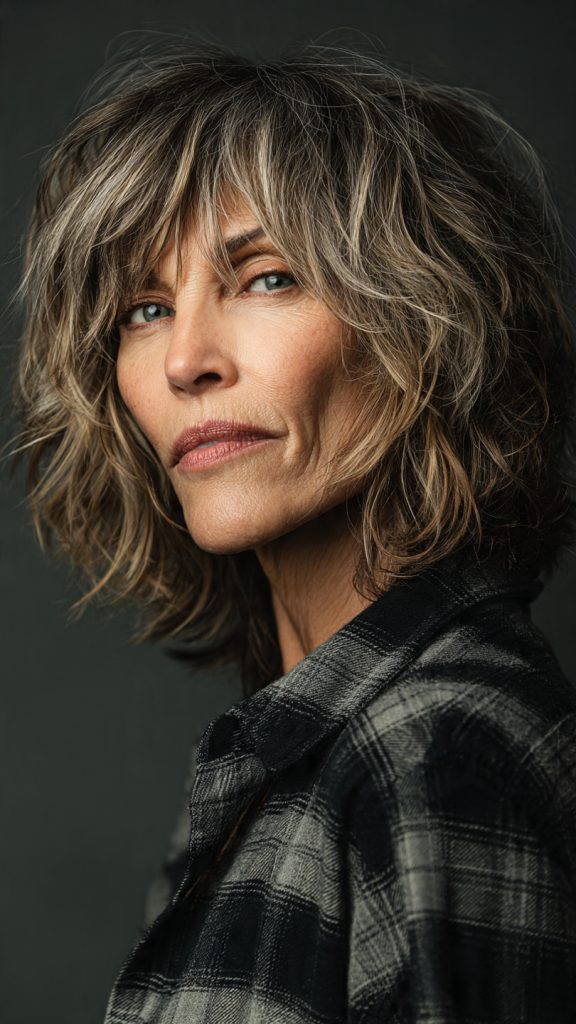
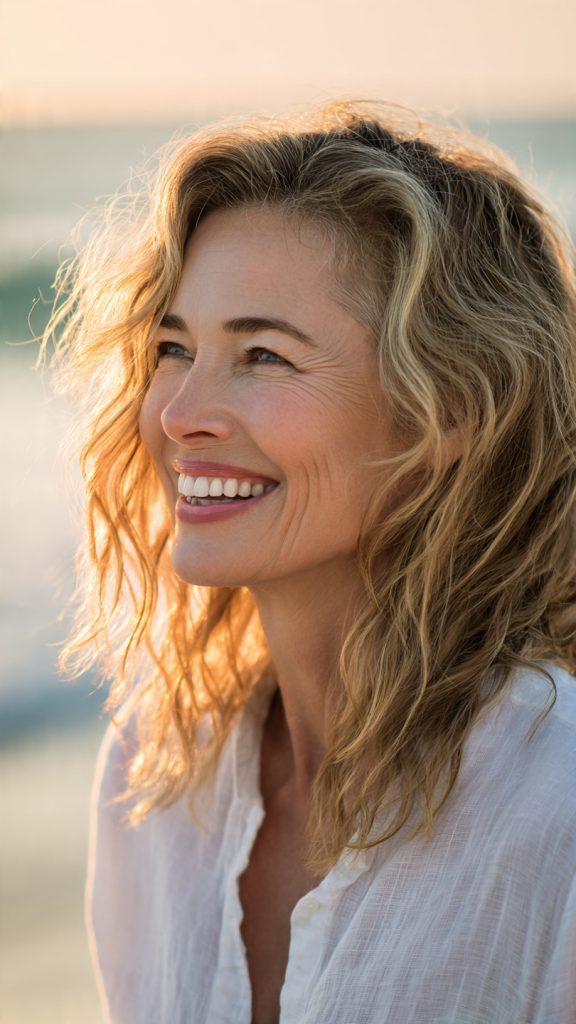
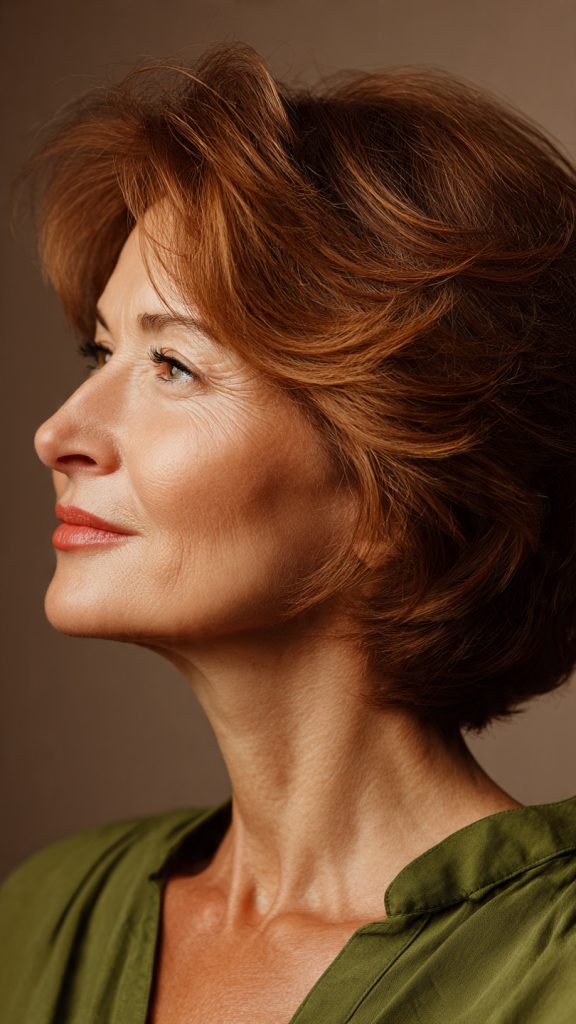
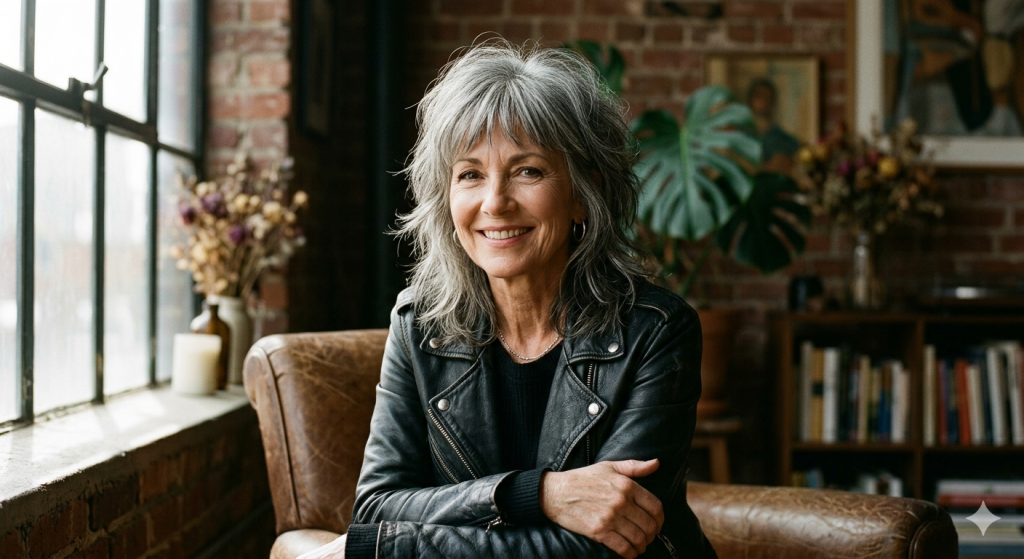
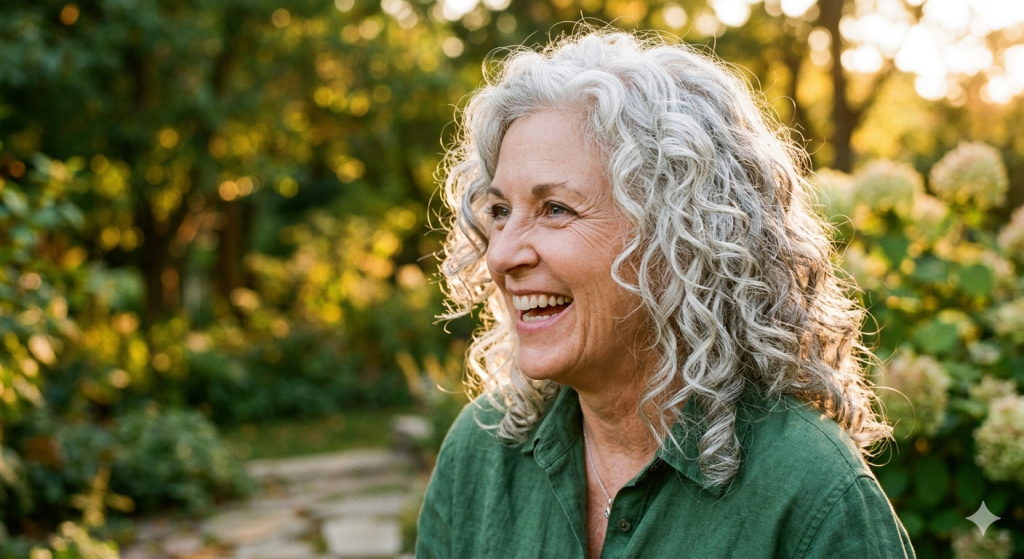
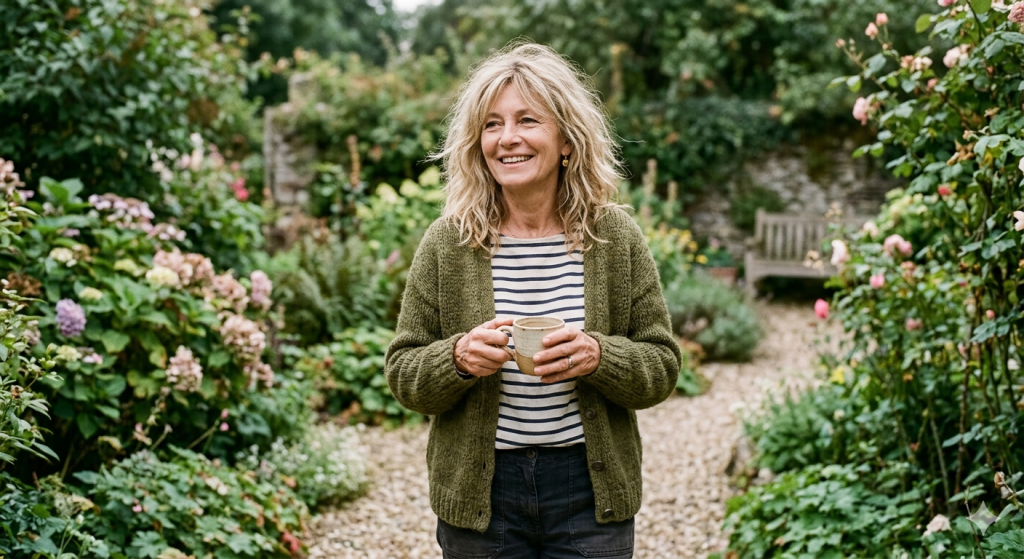
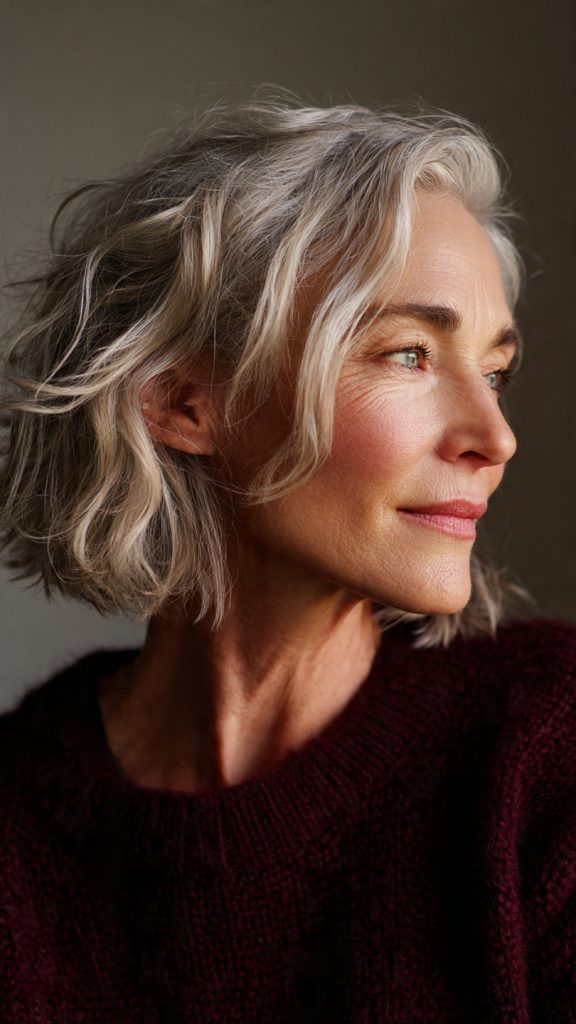
5. The Medium Length Shag (Soft Version)
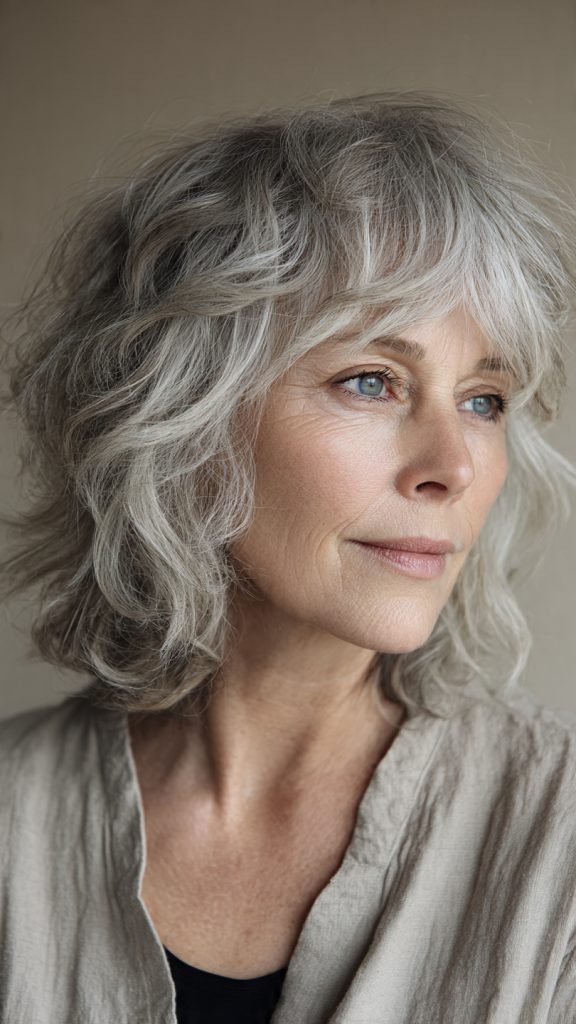
The shag features heavy internal layering that starts at the crown and continues through the ends. For thin hair, the key is a soft shag—not the aggressive, choppy version that works for thick hair. The layers are subtle, the ends are feathered, and the overall silhouette is rounded.
Why it works: The soft shag creates “air pockets” between strands, which prevents thin hair from clumping together and exposing the scalp. The layers add movement without removing so much weight that the ends become transparent. The crown layering is particularly important—it lifts the hair away from the scalp, camouflaging any visible thinning at the part line.
Styling tip: Apply a texture spray to dry hair and scrunch with your fingers. Do not brush—use fingers only to separate pieces. A diffuser on low heat enhances any natural wave. Avoid heavy products that will weigh thin hair down.
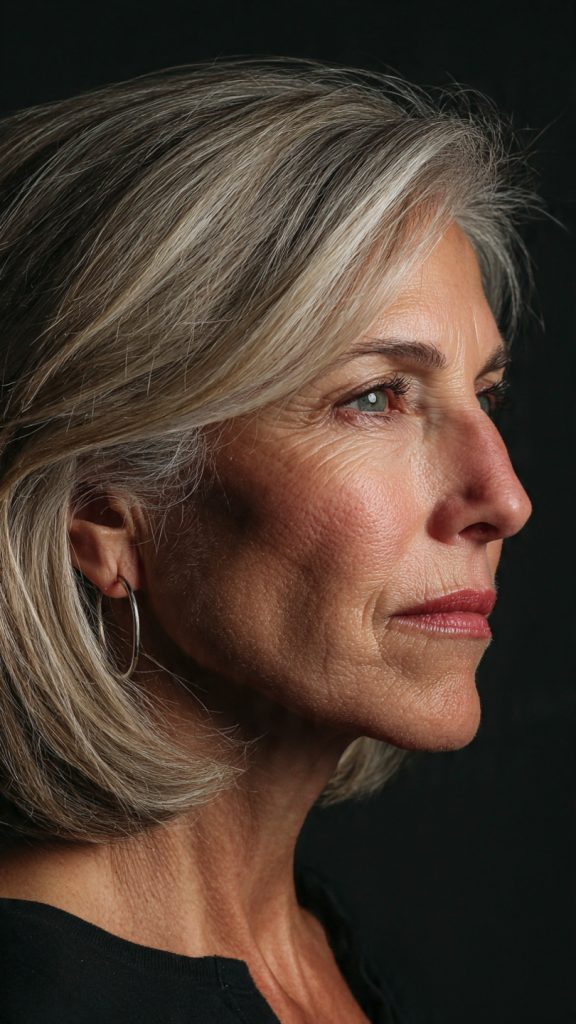
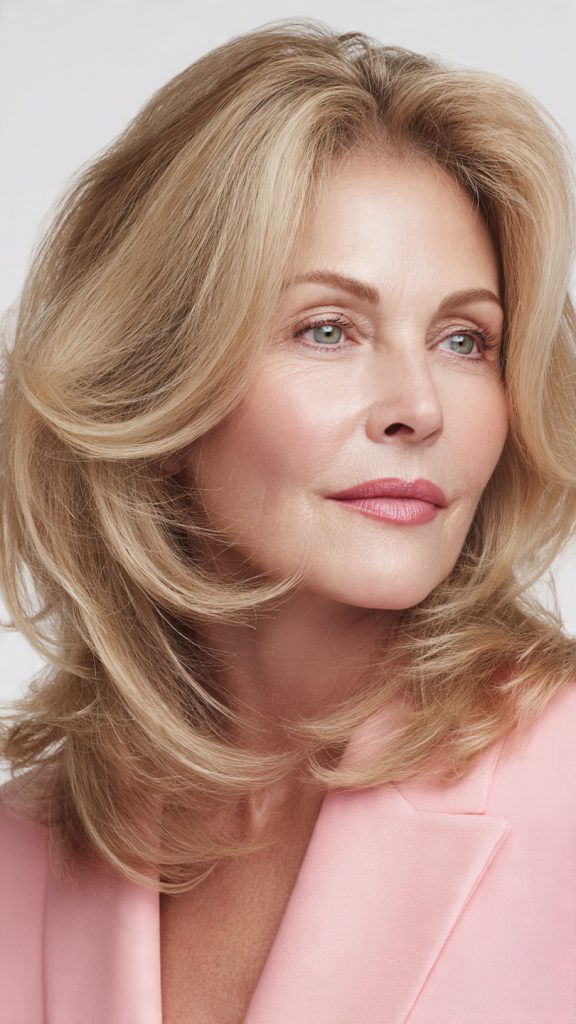
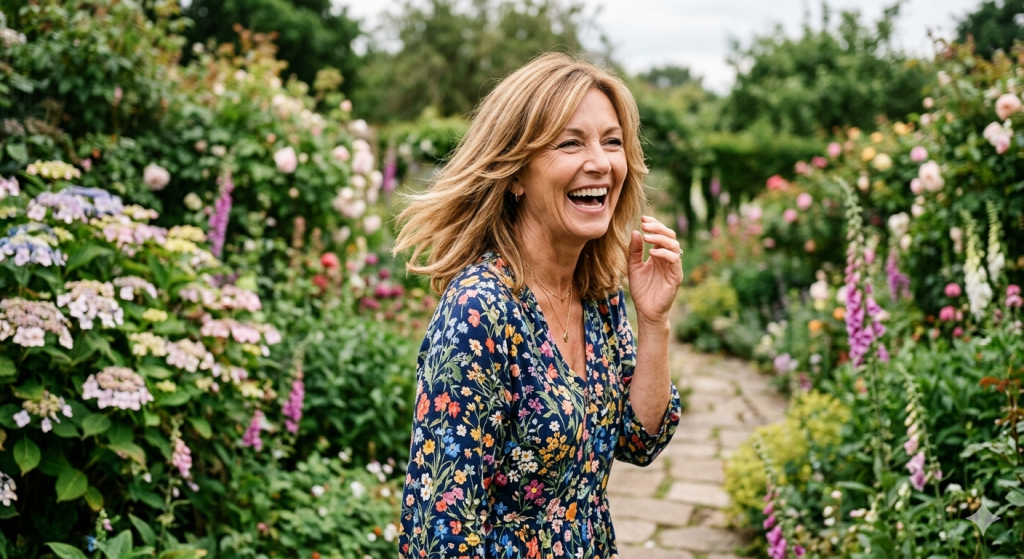
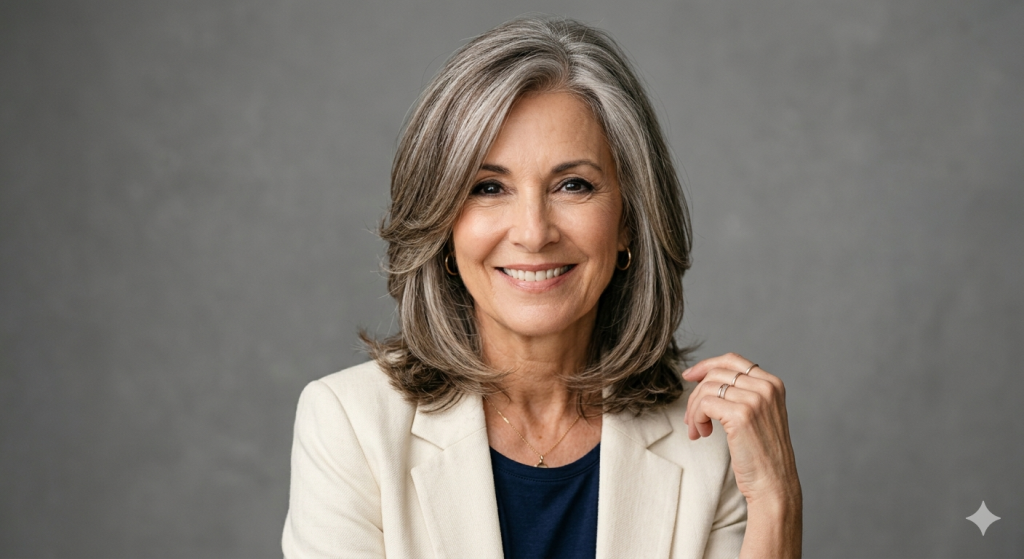
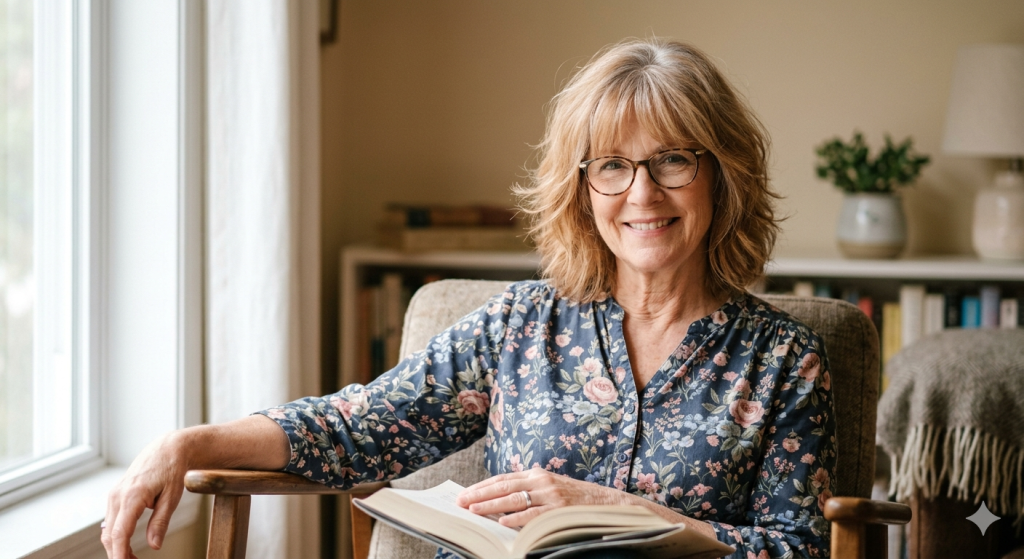
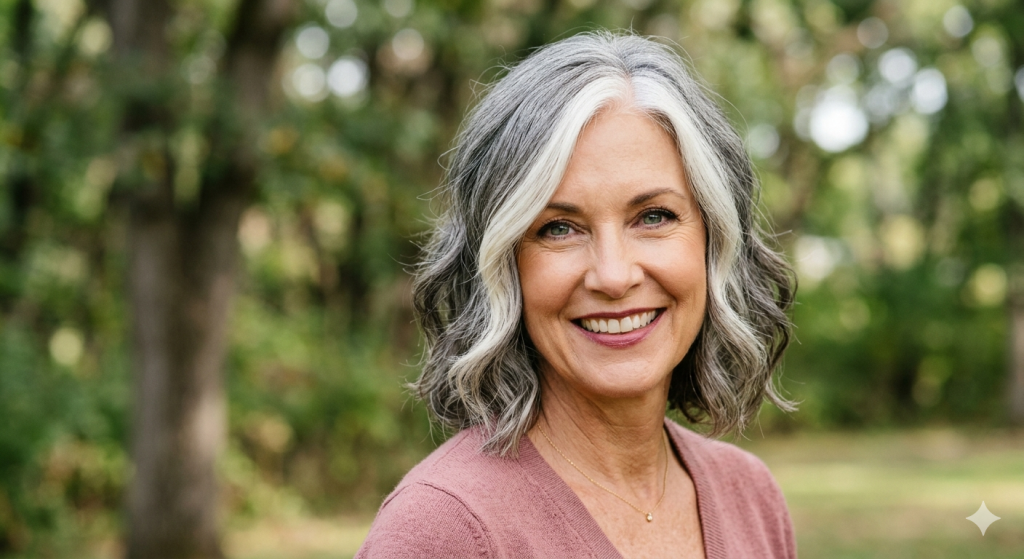
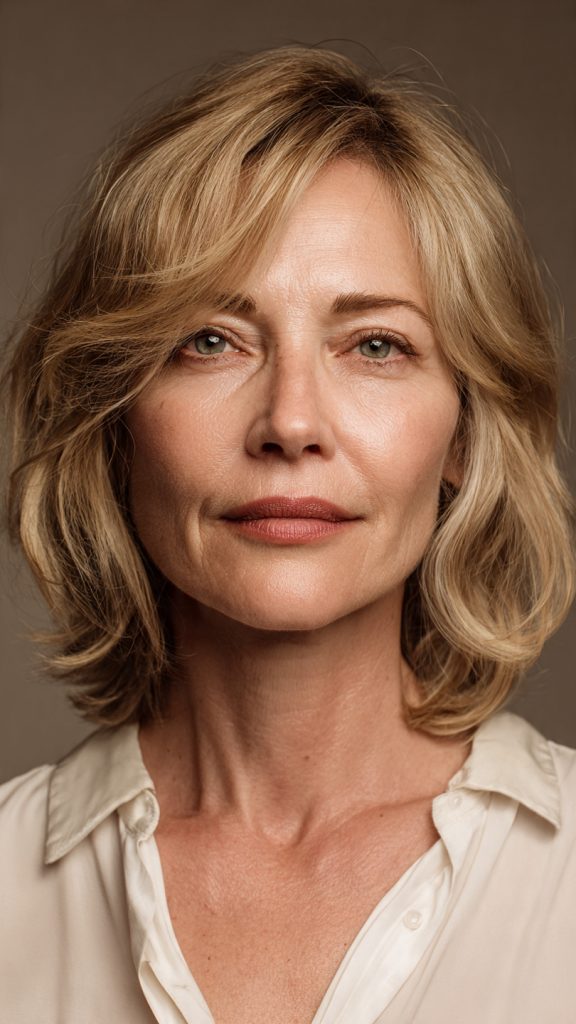
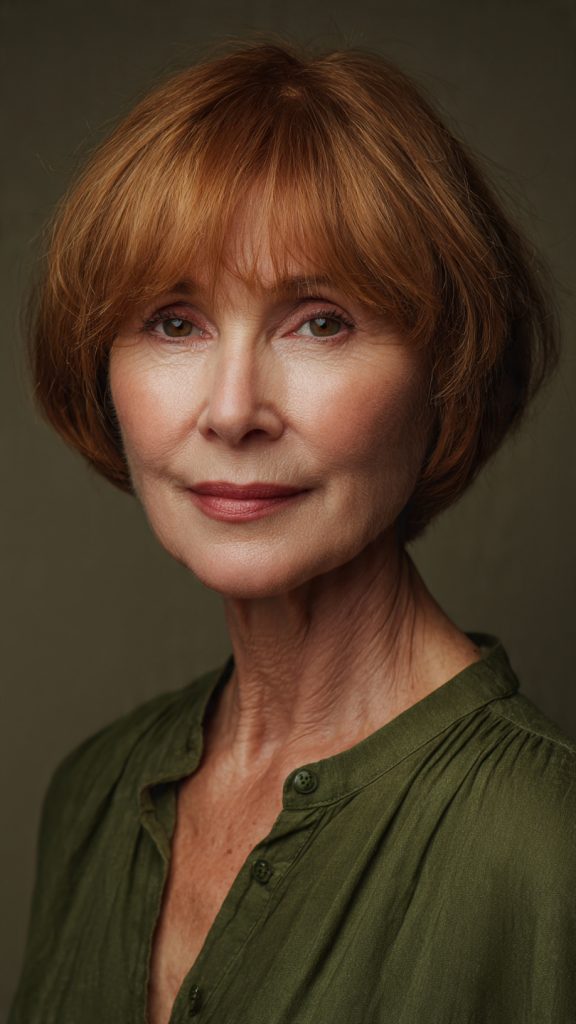
6. The Shoulder Length Cut with Curtain Bangs

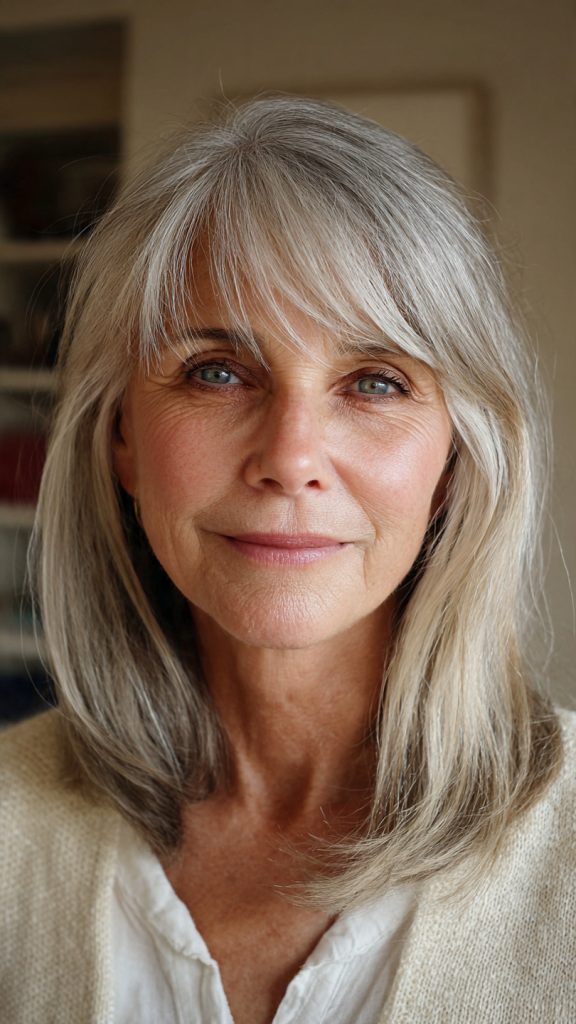
Curtain bangs part in the middle or slightly off-center, framing the face like curtains. They blend seamlessly into shoulder-length layers. The overall length rests exactly at the shoulders.
Why it works: Curtain bangs add width to the forehead area, which draws attention upward and outward—away from thinning areas at the crown. The bangs also create a soft, romantic frame that adds visual density to the front of the hair. Because the bangs are not blunt or heavy, they do not sacrifice volume from the rest of the cut. The shoulder length provides enough weight to keep the ends looking solid.
Styling tip: Blow-dry the bangs using a round brush, rolling them away from your face. This creates the signature “S” shape. The rest of the hair can be air-dried for contrast. A light spritz of flexible-hold hairspray keeps the bangs in place.
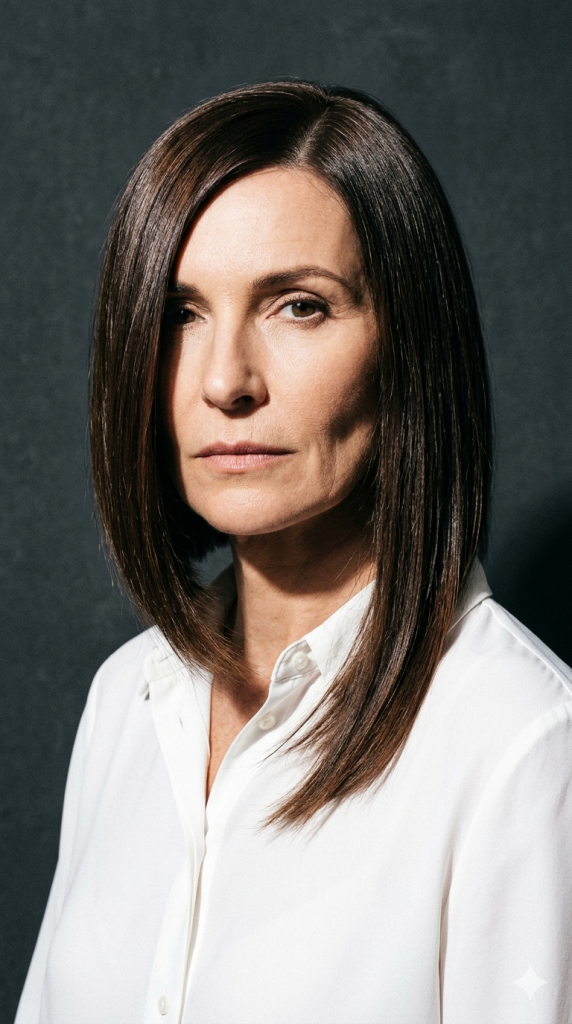
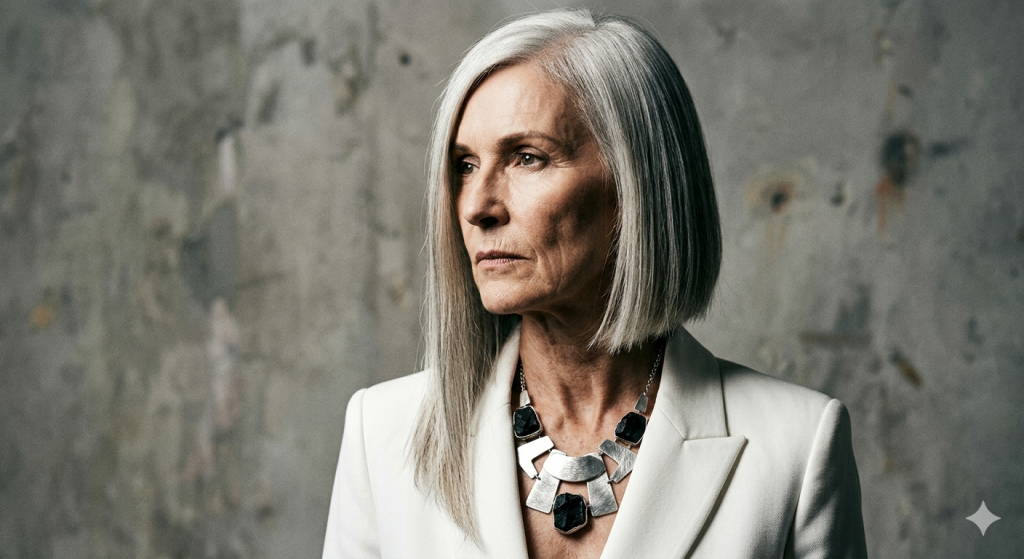
7. The Asymmetrical Medium Cut (One Side Longer)
One side of this cut is shorter (chin length) while the other side is longer (collarbone length). The asymmetry is intentional and dramatic. The perimeter is blunt, with no layering at the ends.
Why it works: The human eye is drawn to the unexpected. When your haircut has a dramatic diagonal line, no one is looking at your scalp or the thinness at your crown. Additionally, the shorter side always appears thicker because the strands are not weighed down by length. The blunt perimeter on both sides maintains the illusion of density.
Styling tip: Flat iron the longer side smooth, and add a slight bend to the shorter side. This contrast in texture enhances the asymmetry. A deep side part (on the side of the shorter hair) adds additional volume at the crown.
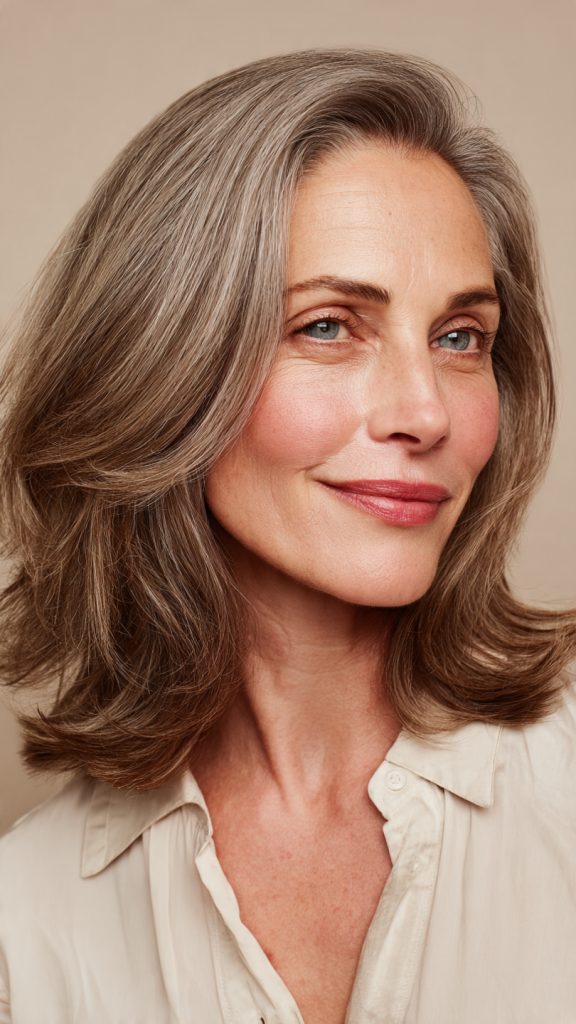
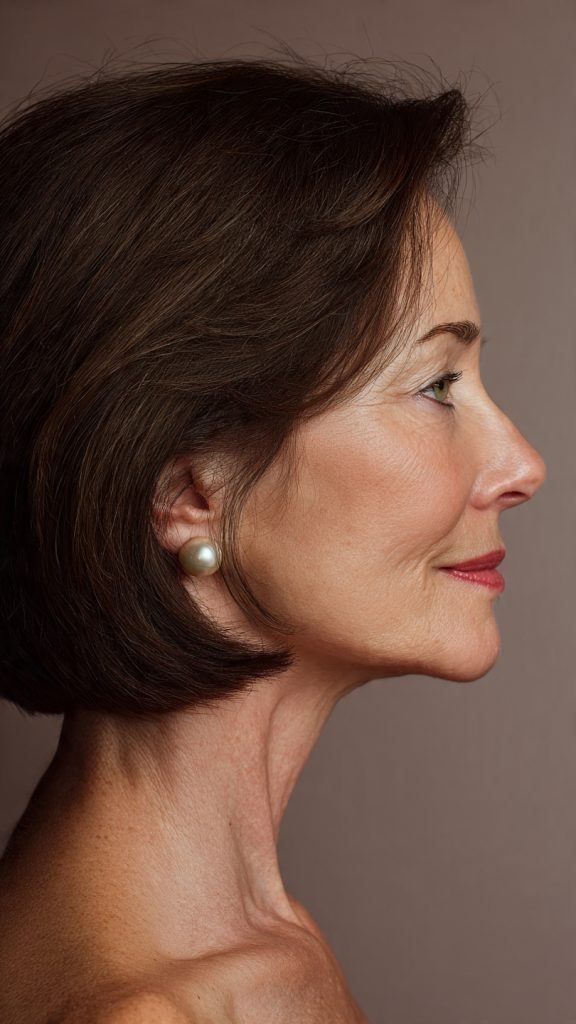
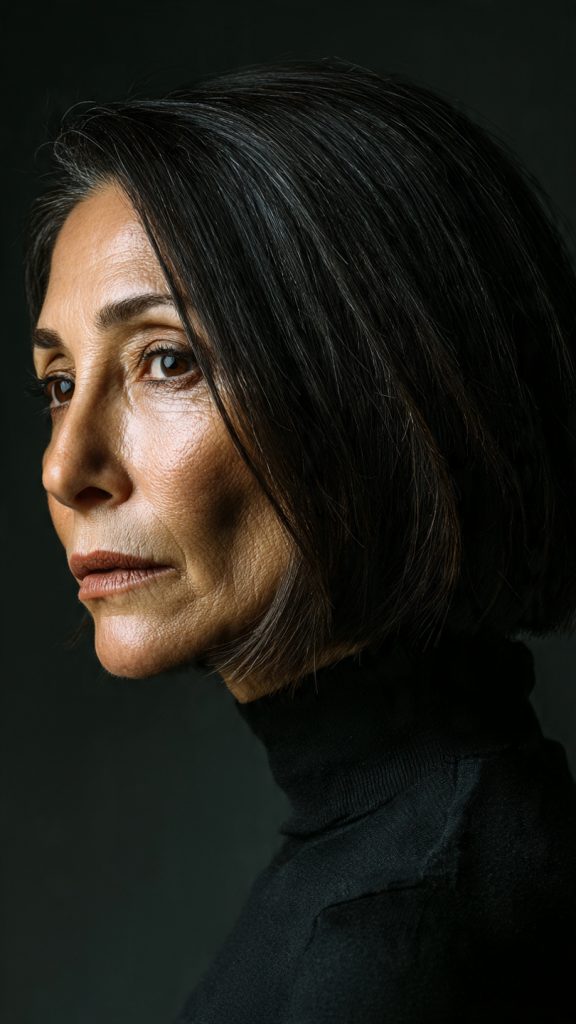
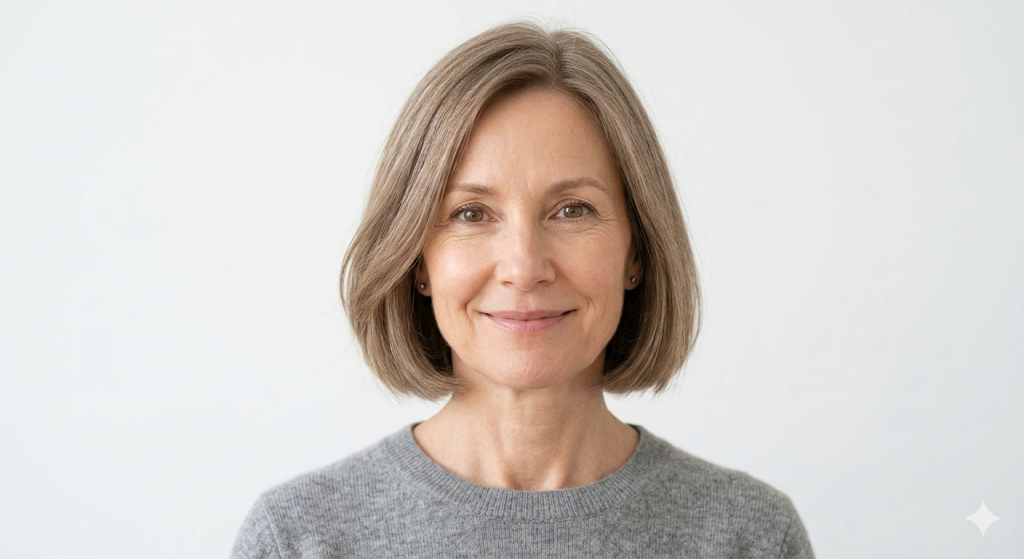
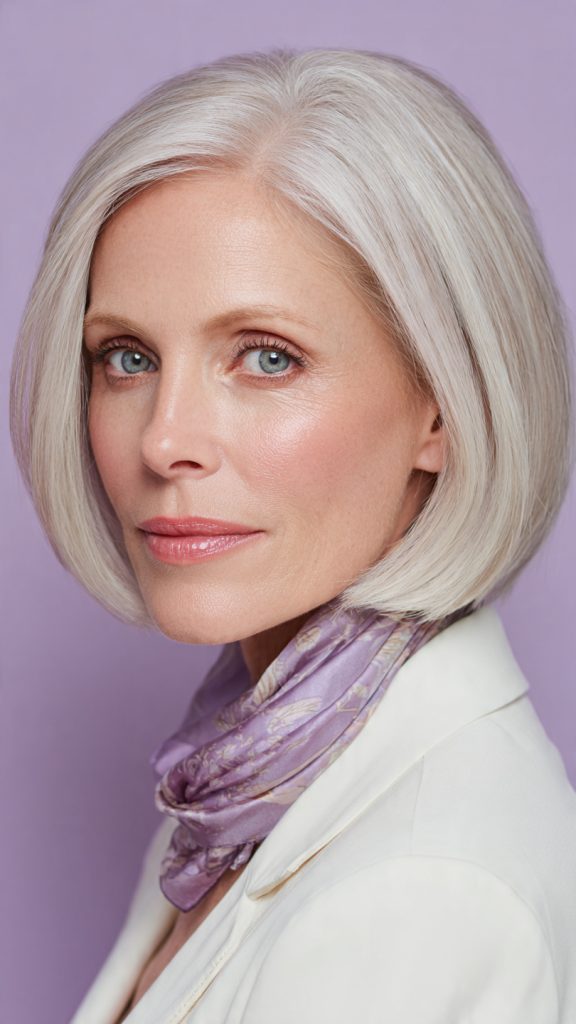
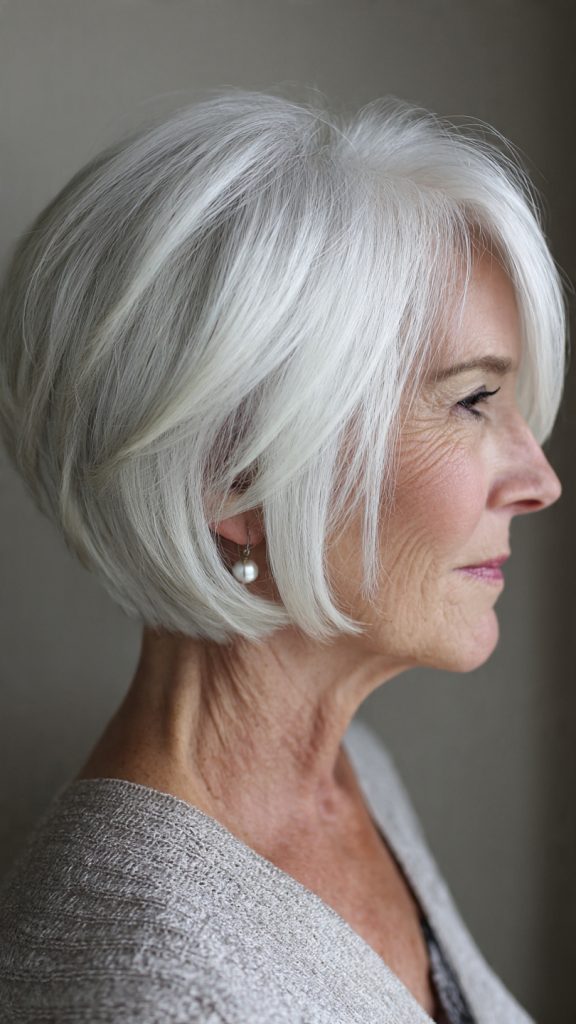
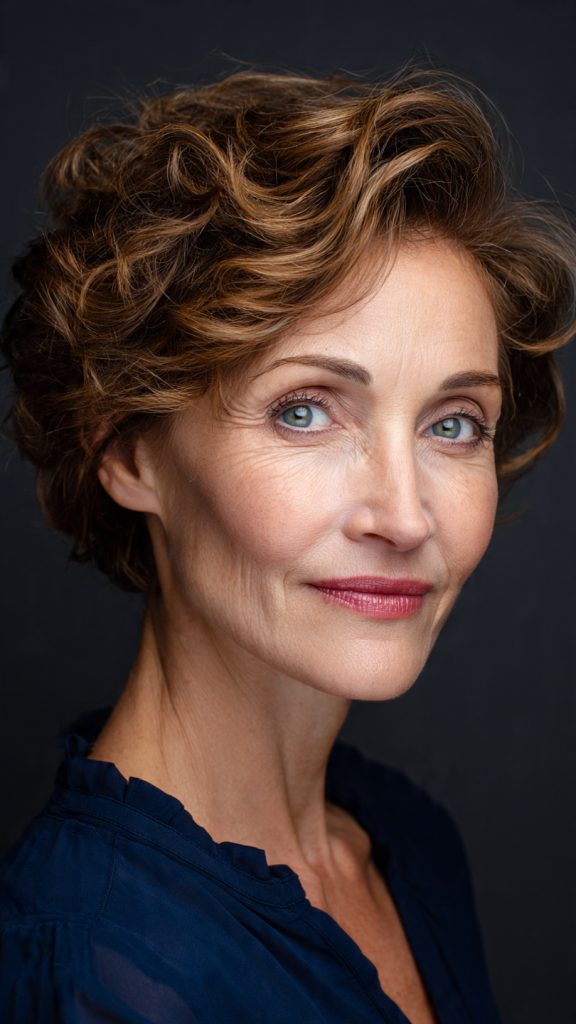
8. The Rounded Medium Bob
A rounded bob is cut to create a spherical shape. The hair is shorter at the nape, gradually lengthens to the shoulders, and is cut with a curved, rounded perimeter rather than a straight line. The overall silhouette is soft and circular.
Why it works: The rounded shape mimics the look of naturally thick hair. Because the hair is shorter underneath and longer on top, the top layers have nothing to hold them down. They “float” above the shorter underlayers, creating the illusion of volume from every angle. The curved perimeter also prevents the harsh line that can make thin hair look even thinner.
Styling tip: Blow-dry with a large round brush, rolling the hair under as you go. The goal is a smooth, curved shape that tucks under at the shoulders. Use a volumizing mousse at the roots before drying.
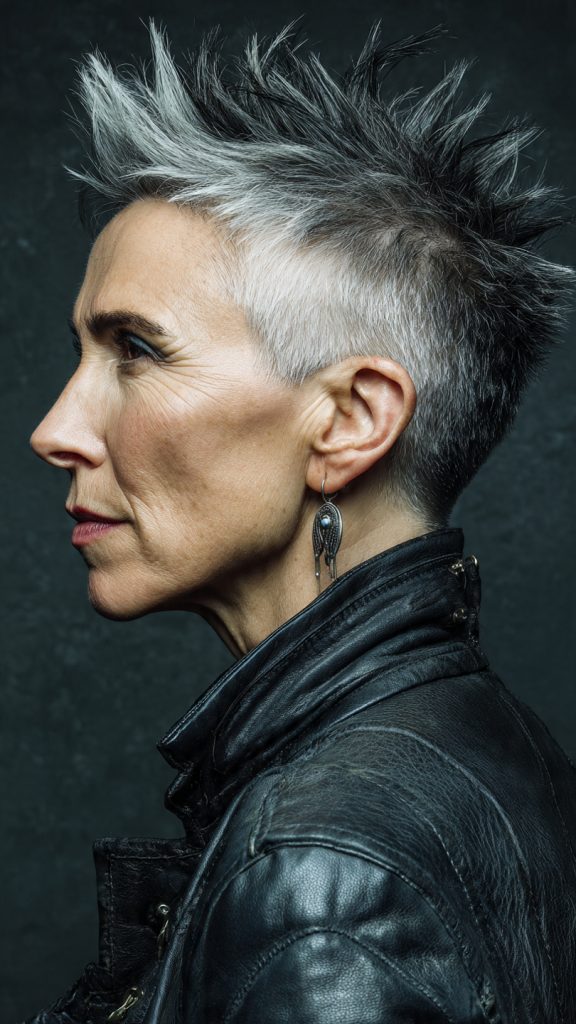
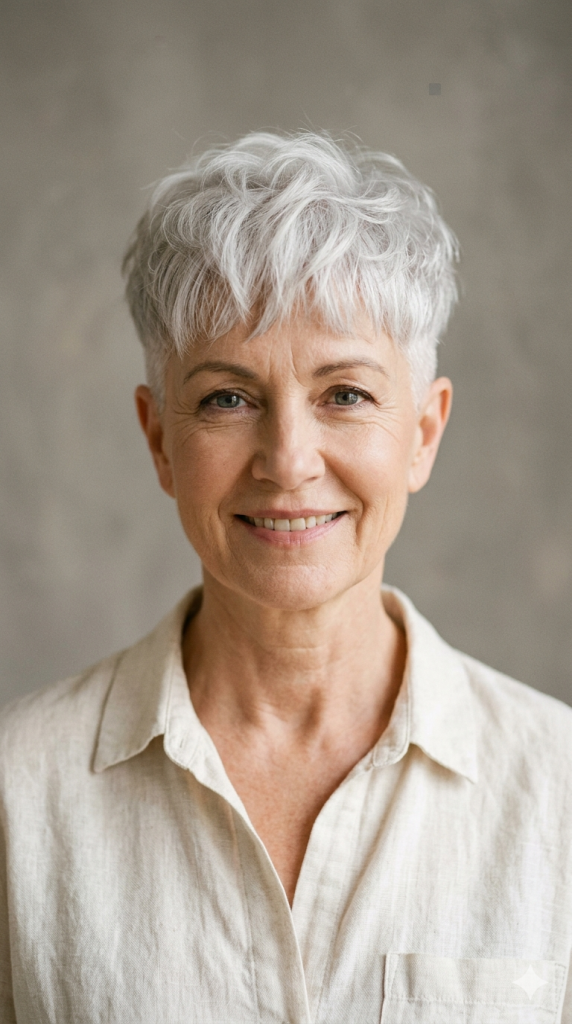
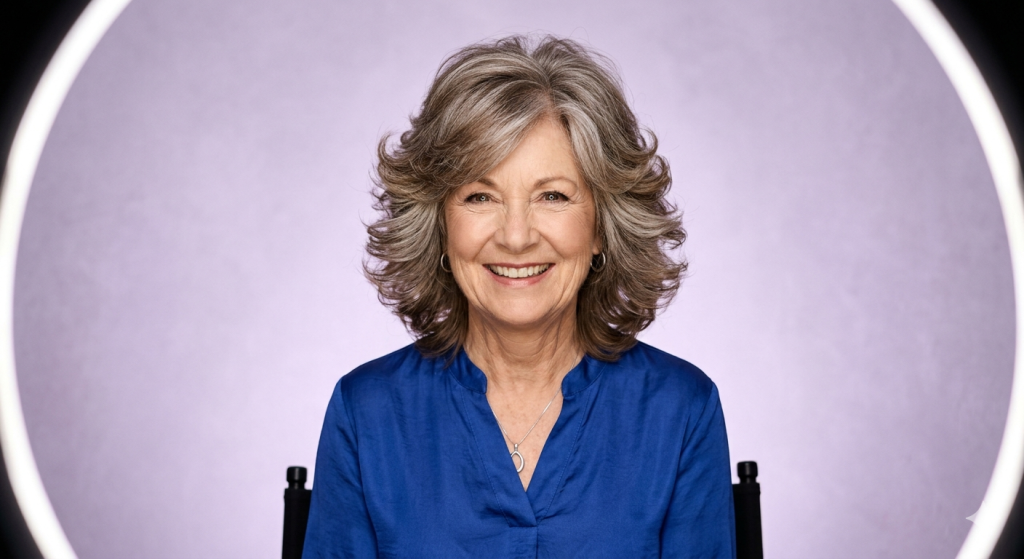
9. The Medium Length Cut with Crown Volume Focus
All the layering in this cut is concentrated at the crown. The sides and back are kept relatively one-length, with a blunt perimeter at the shoulders. The crown is aggressively layered to create maximum height and lift.
Why it works: For women with thin hair, the crown is where thinning is most visible and most distressing. This cut sacrifices nothing to deliver maximum lift exactly where it is needed. The high crown has a face-lifting effect—it draws the eye upward and elongates the overall silhouette. The blunt perimeter at the shoulders ensures that the ends still look dense.
Styling tip: Blow-dry the crown section first, using a small round brush and lifting straight up. Pin the dried crown hair in a “Mohawk” clip while you dry the sides and back. Release at the end for instant, gravity-defying volume. A volumizing powder at the roots will extend the hold.
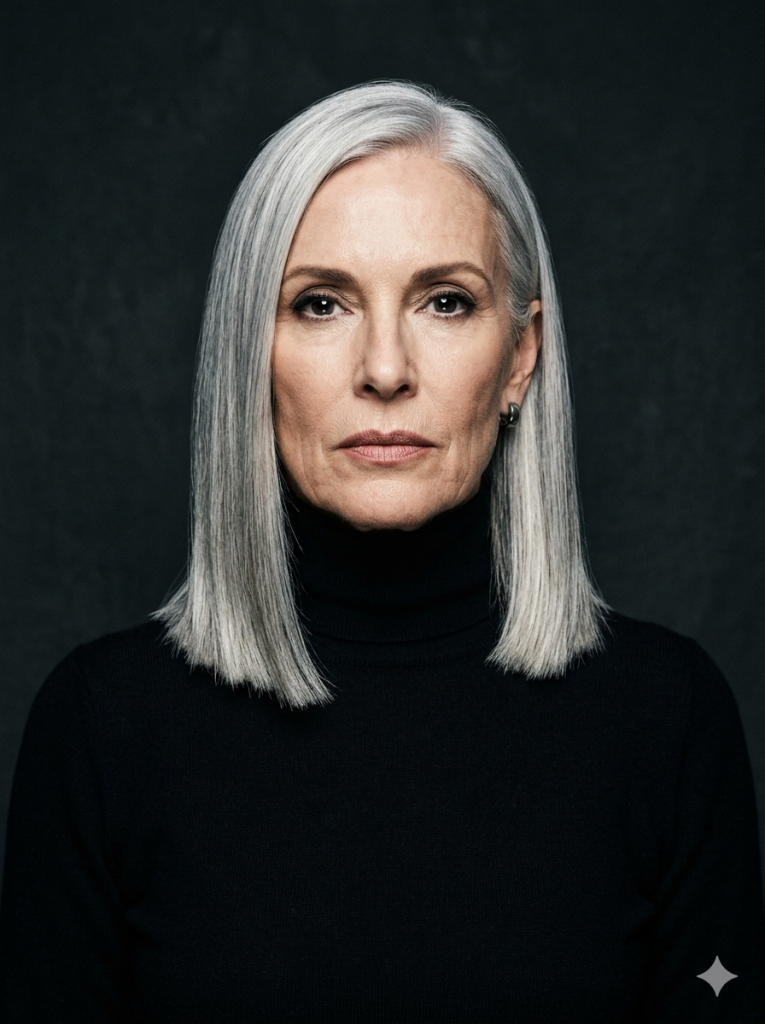
10. The One-Length Cut with Micro-Textured Ends
This cut is a blunt one-length style at the collarbone, but the very ends (the last quarter inch) are micro-snipped to remove the razor-sharp edge. The result is a perimeter that looks blunt from a distance but soft and natural up close.
Why it works: Thin hair cut with a razor-sharp blunt line can sometimes look artificial or “wig-like.” The micro-textured ends retain the visual density of a blunt cut while adding a tiny amount of natural movement. The texture also prevents the ends from sticking together in a solid sheet, which can actually make thin hair look thinner because you can see every gap.
Styling tip: Air-dry or blow-dry with a flat brush. The micro-textured ends require no special styling—they will naturally separate slightly. A lightweight shine spray adds gloss without weight.
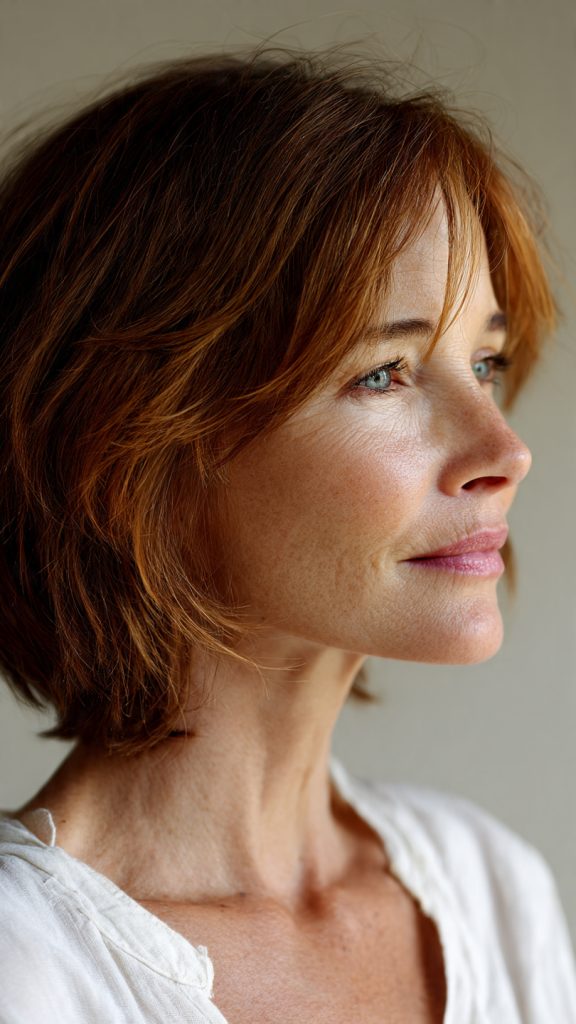
11. The Medium Length Cut with Side-Swept Bangs
This style sits at the shoulders and features long, subtle layers throughout. The star is the side-swept bang, which grazes the eyebrow on one side. The bangs blend seamlessly into the longer layers. The perimeter is blunt or micro-textured.
Why it works: Side-swept bangs are universally flattering for women with thin hair. They cover thinning at the front hairline, open up the eye area, and add asymmetry that draws the eye across the face rather than down to the jawline. The sweep of hair across the forehead also adds visual density to the front of the head. The shoulder length provides enough weight to keep the ends from looking transparent.
Styling tip: Blow-dry the bangs using a small round brush, sweeping them to the heavier side. The rest of the hair can be left straight or given soft waves with a large curling iron. A tiny amount of dry shampoo at the roots of the bangs will keep them from falling flat.
How to Choose the Right Medium Length Cut for Thin Hair
| If you have… | Choose… |
|---|---|
| Very thin hair (scalp clearly visible) | Blunt cut, stacked bob, or crown volume focus |
| Thin hair that is also fine (small diameter strands) | Invisible layered cut, rounded bob, or one-length with micro-textured ends |
| Thin hair that is naturally straight | Blunt cut, asymmetrical cut, or side-swept bangs |
| Thin hair with a natural wave | Soft shag, textured lob, or curtain bangs |
| A round face | Asymmetrical cut, stacked bob, or side-swept bangs |
| An oval face | Any of the 11 styles will work beautifully |
| A long face | Curtain bangs or rounded bob (adds width) |
| A square or angular face | Soft shag or curtain bangs (softens angles) |
Daily Care for Medium Length Thin Hair
Thin hair requires a specific routine to maintain volume and prevent the ends from becoming transparent. Here are five essential rules:
| Rule | Action |
|---|---|
| Shampoo daily or every other day | Thin hair gets oily faster. Use a volumizing shampoo. |
| Condition only the ends | Never put conditioner on your roots. Apply from the ears down only. |
| Use root lifters | A lightweight root-lifting spray or mousse is essential. Apply to damp roots before blow-drying. |
| Avoid heavy oils and butters | No coconut oil, no shea butter, no argan oil on the roots. Stick to lightweight serums on ends only. |
| Dry shampoo is your friend | Spray dry shampoo on clean roots to give them grip and texture. It prevents flatness before it starts. |
Final Thoughts
Thin hair is not a sentence to short, boring haircuts. The 11 medium length hairstyles for thin hair outlined above prove that you can enjoy length, movement, and volume even with low density. The secret is in the cutting technique: blunt perimeters create density, invisible layers add lift, stacked backs build volume, and strategic bangs add visual weight where you need it most.
Whether you choose the dramatic asymmetry of an asymmetrical cut, the soft romance of curtain bangs, the everyday reliability of a blunt cut, or the crown-focused lift of a stacked bob, the key is working with a stylist who understands thin hair. Bring photos. Ask for weight removal where it helps, and blunt lines where it matters. Your thin hair is not a limitation—it is an opportunity to be strategic, intentional, and stylish.
Wear your medium length hair with pride.