For men over 50 who want a haircut that’s modern, textured, and effortlessly cool, the wolf cut offers the perfect balance of edge and sophistication. This viral style—a hybrid of a shag and a mullet—features shorter, choppy layers on top and at the crown, gradually transitioning into longer, wispier lengths in the back. The wolf cut creates volume where age-related thinning often occurs, softens facial features, and works beautifully with natural gray or silver strands. Unlike the extreme mullets of the past, today’s wolf cut is refined, wearable, and surprisingly age-appropriate. In this guide, you’ll discover 10 wolf cut variations for men over 50, each designed to flatter mature features, work with changing hair texture, and give you a confident, modern look. If you love textured, low-maintenance styles, these grown-out shag for men offer additional inspiration.
Why the Wolf Cut Works for Men Over 50
The wolf cut has evolved into a sophisticated, wearable style. Here’s why the wolf cut for men over 50 is so effective:
- Creates volume at the crown – The shorter top layers lift at the roots, addressing age-related thinning
- Softens facial features – The wispy, face-framing layers soften jawlines and forehead lines
- Removes bulk where not needed – The shorter top reduces weight, while the longer back keeps length
- Works with natural texture – Straight, wavy, or curly hair all take to the wolf cut beautifully
- Camouflages graying roots – The textured, layered nature makes root regrowth less noticeable
- Low maintenance – Designed to look intentional when slightly messy, requiring minimal daily styling
- Modern but not “trying too hard” – Edgy enough to be current, refined enough for a mature man
For men with thinning hair, the wolf cut’s layered structure can also create the illusion of density—similar to these haircuts for thinning hair men over 50.
The 10 Wolf Cut Variations for Men Over 50
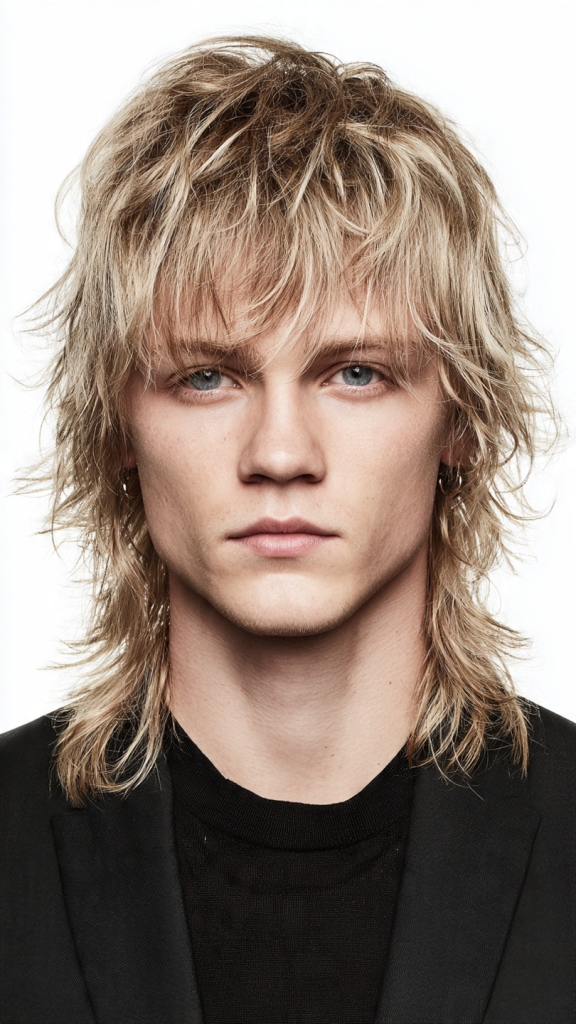
1. The Classic Wolf Cut
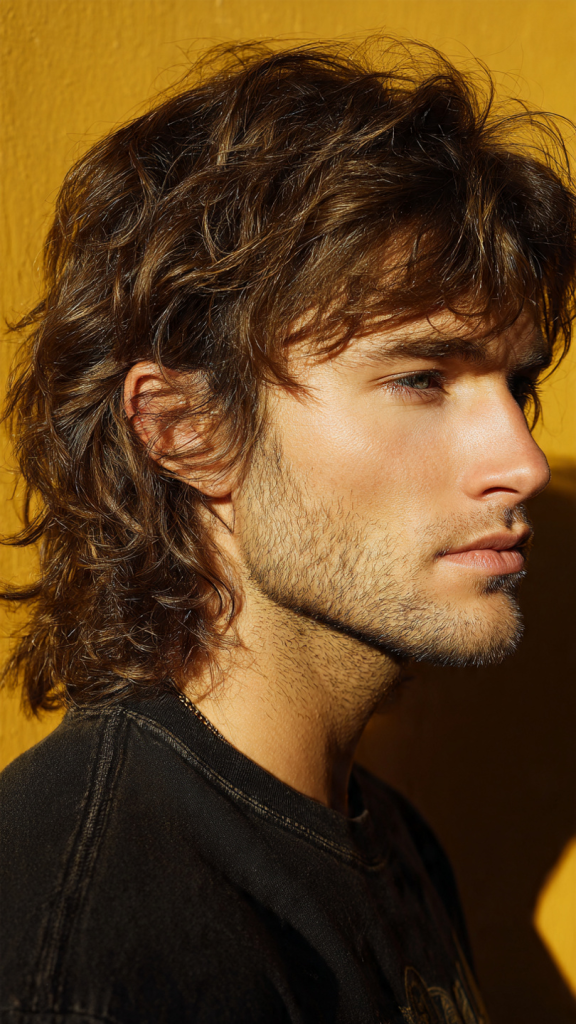
Why it works: The classic wolf cut features dramatic short layers on top and at the crown, gradually transitioning into longer, choppy ends in the back. The length typically falls between the chin and shoulders. This original version works beautifully for men over 50 with medium to thick hair who want maximum volume and movement. The contrast between the short top and longer back is noticeable but not extreme.
How to style it: Apply texturizing spray to damp hair. Blow-dry using your fingers, lifting at the crown for volume. Once dry, use a small amount of matte clay to piece out individual sections. The back can be left to air-dry or lightly tousled. The goal is lived-in texture—not perfection.
Best face shapes: Oval, square, heart (most universally flattering)
Maintenance needs: Trim every 6–8 weeks. The wolf cut improves with grow-out.
For men with round faces who want slimming effects, these men’s haircuts for round face over 50 offer additional strategies.
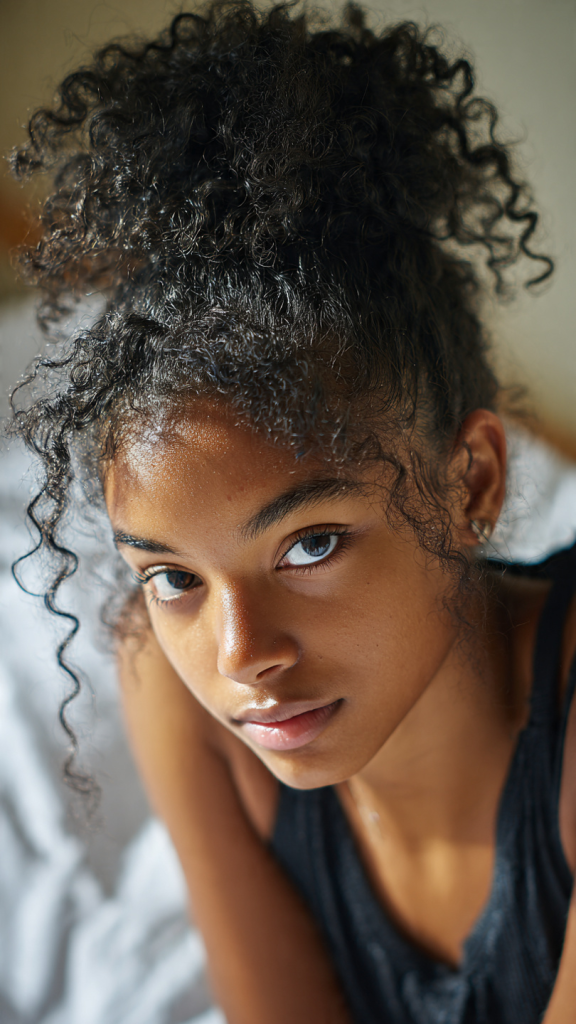
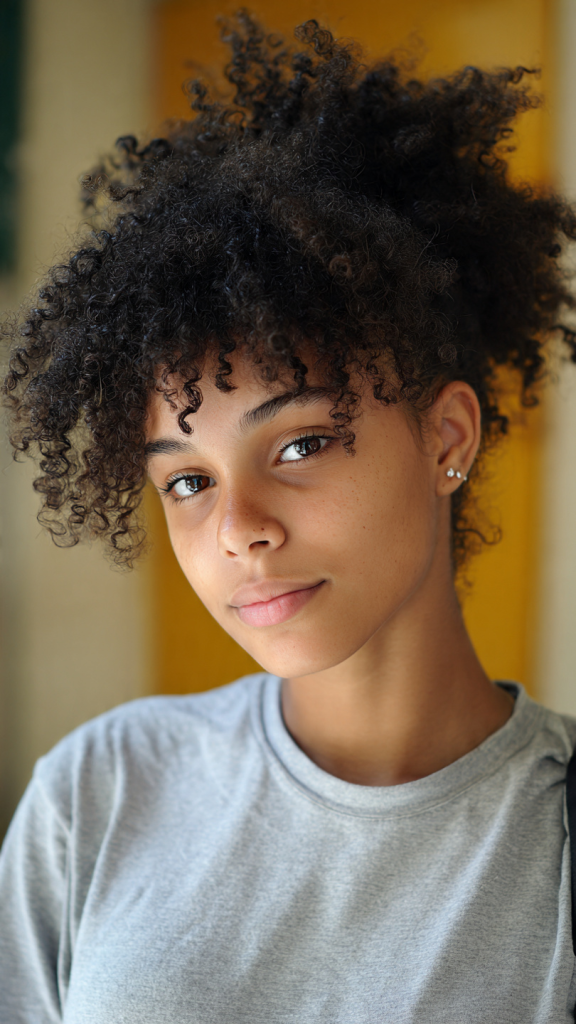
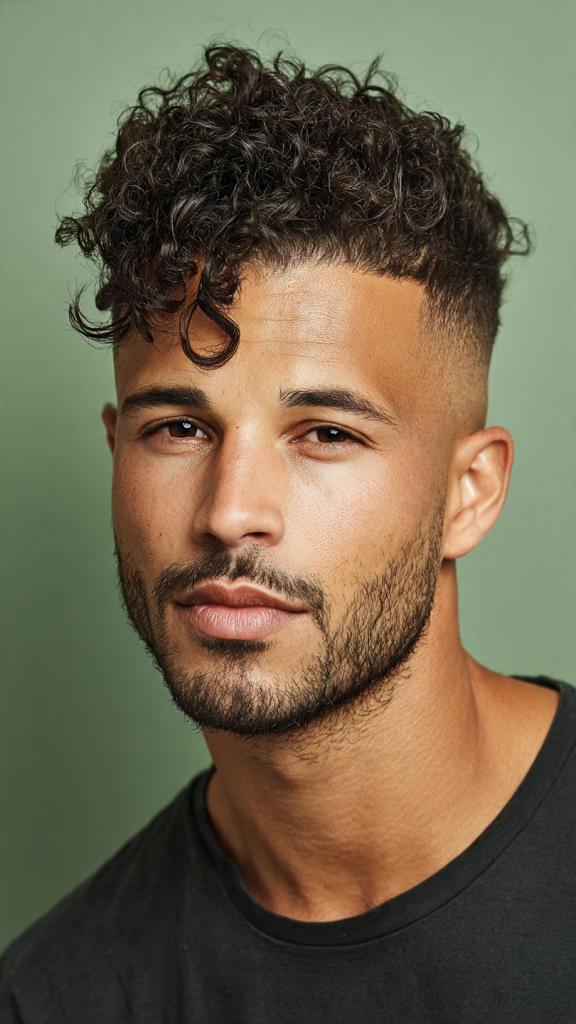
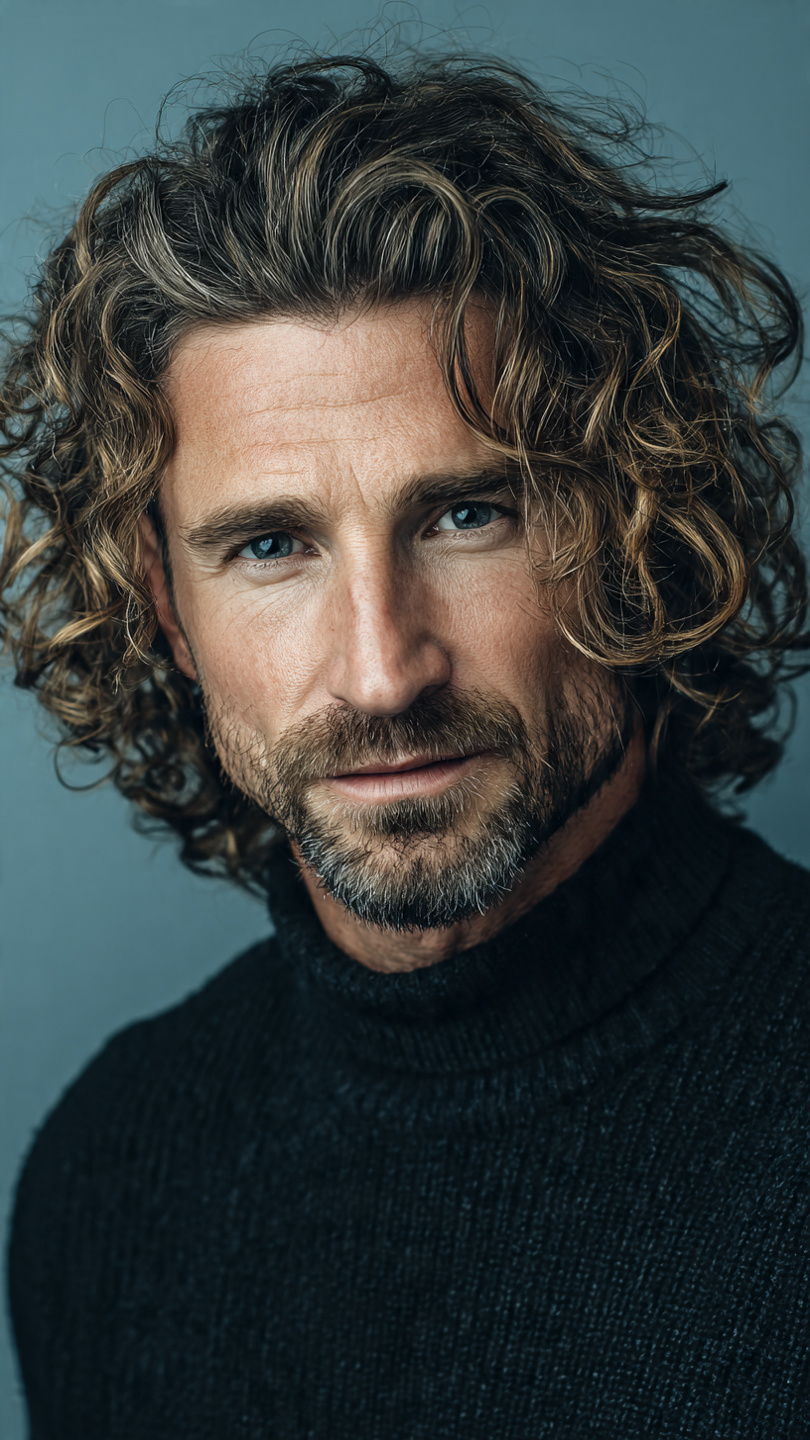
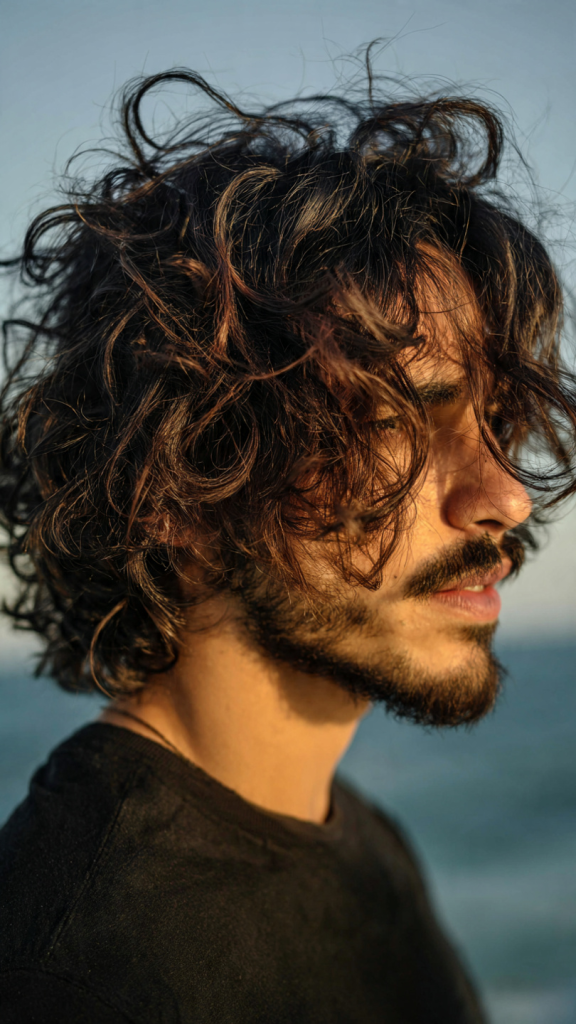
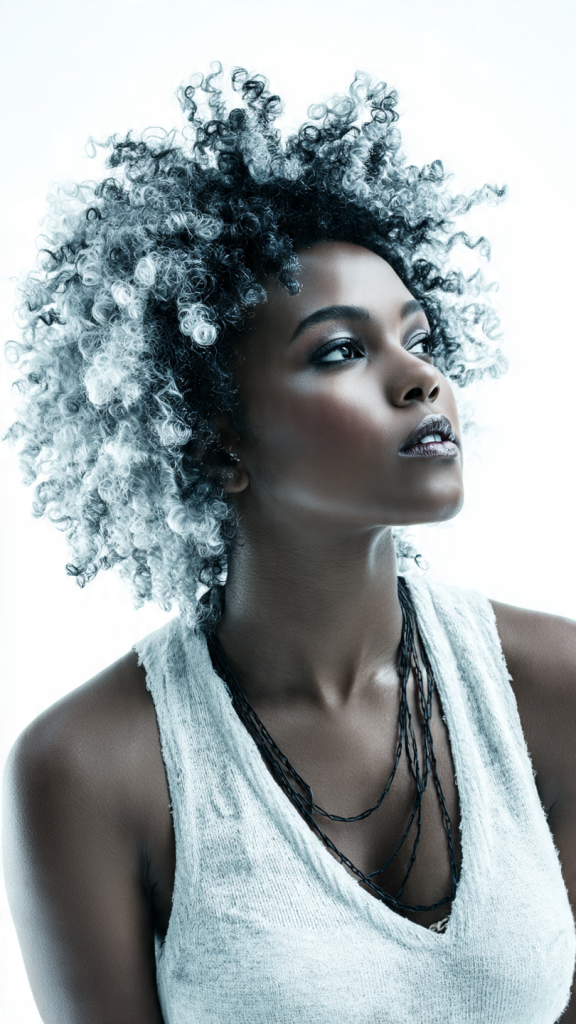
2. Curly Wolf Cut
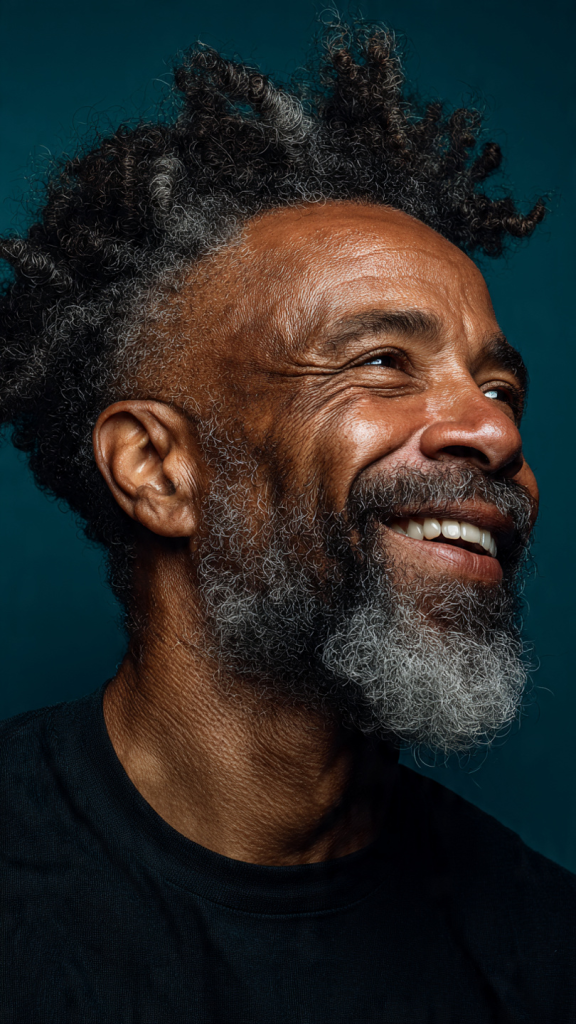
Why it works: Curly hair was made for the wolf cut. The curly wolf cut features shorter, voluminous curls on top and at the crown, transitioning into longer, bouncier curls in the back. The layers remove weight, preventing the dreaded “triangle head” effect, while the length in the back allows curls to shine. For men over 50 with natural curls, this cut celebrates texture while keeping it manageable.
How to style it: Apply leave-in conditioner and curl cream to soaking wet hair. Use a denman brush to define curl clumps. Scrunch vigorously with a microfiber towel. Air-dry completely or use a diffuser on low heat. Once dry, shake out at the roots. The shorter top curls should have more volume; the back curls should be longer and looser.
Best face shapes: Oval, heart, round (curls soften angular features)
Maintenance needs: Trim every 8–10 weeks (dry cut only). Curly hair hides grow-out well.
For men with curly hair, these curly haircuts for men offer additional styling ideas.
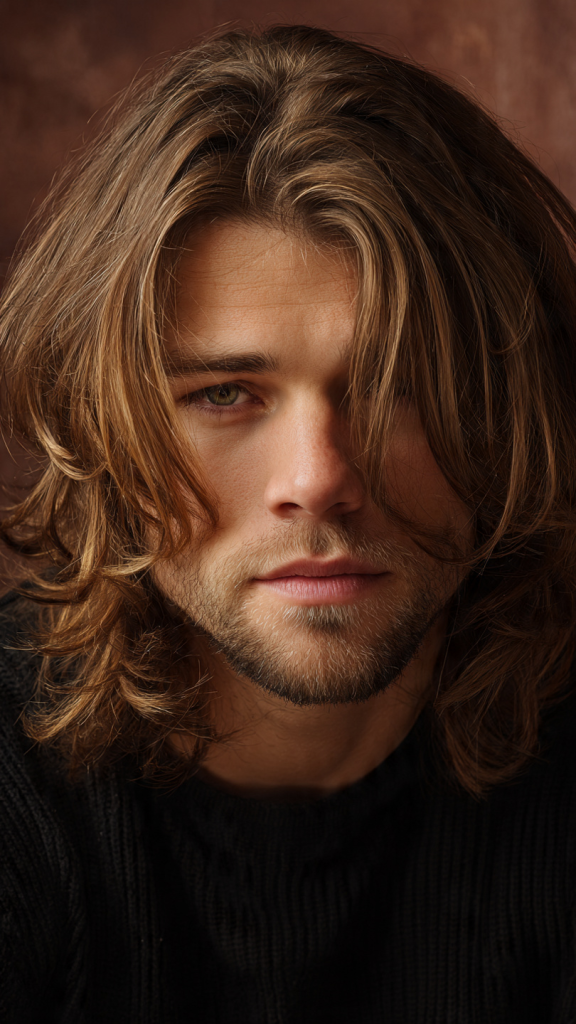
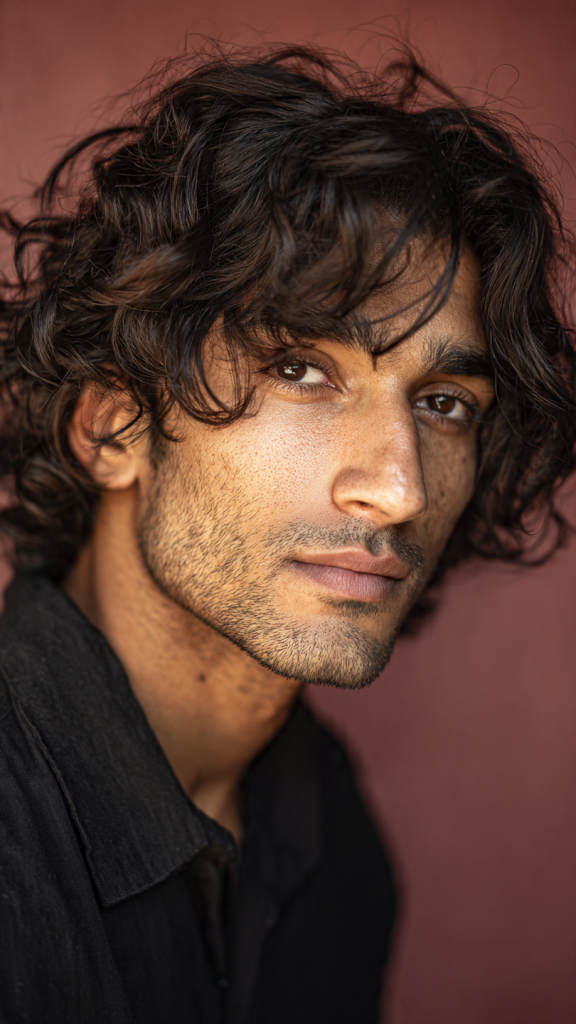
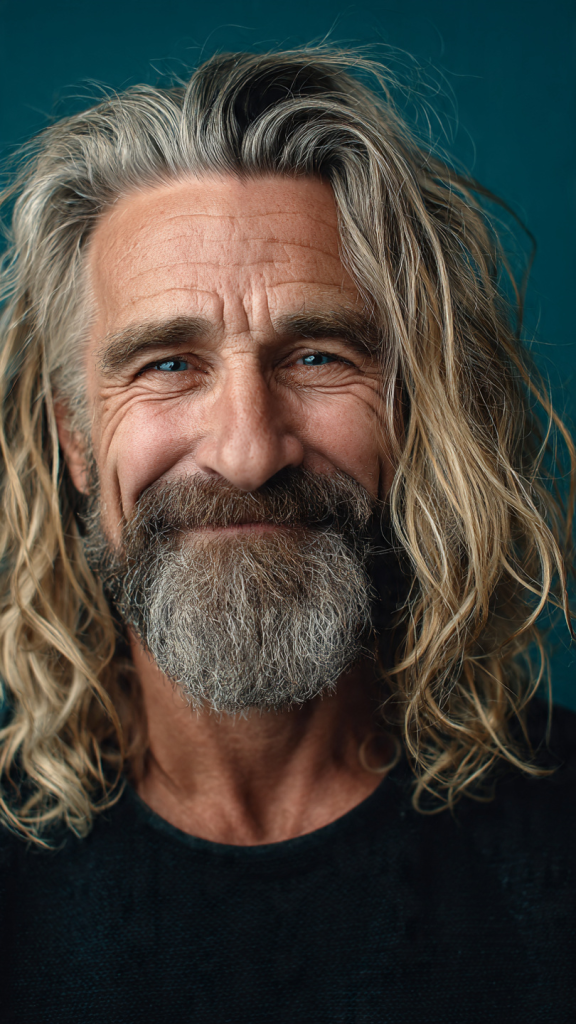
3. Wavy Wolf Cut
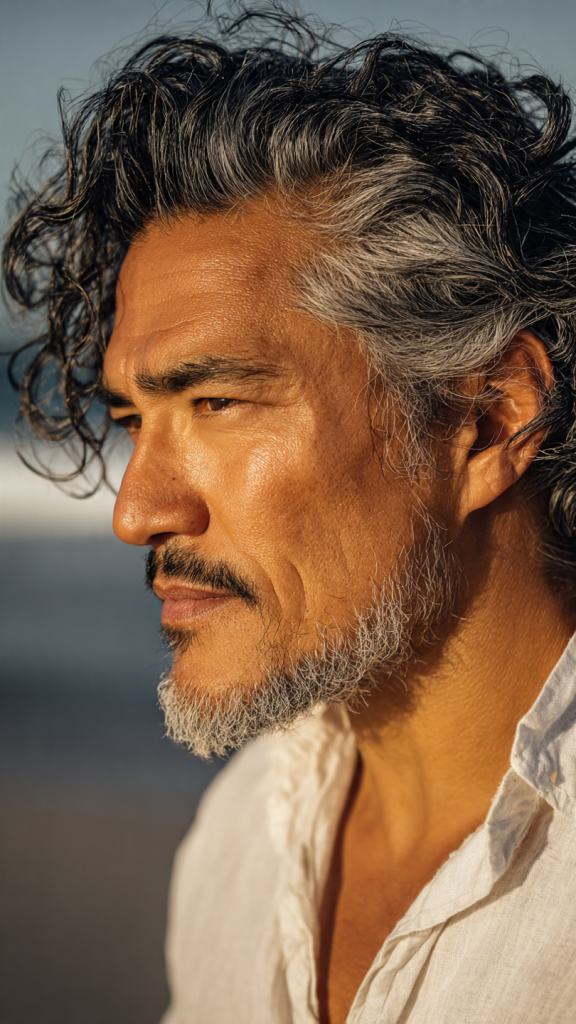
Why it works: The wavy wolf cut is the sweet spot for men with natural 2B to 2C waves. The shorter waves on top create volume and lift, while the longer waves in the back cascade down gracefully. The waves interact with the choppy layers to create the perfect lived-in texture. This cut requires minimal styling—just scrunch and go.
How to style it: Apply sea salt spray or wave-enhancing cream to damp hair. Scrunch section by section with a microfiber towel. Air-dry completely—about 30–40 minutes. Do not touch while drying. Once dry, shake out at the roots with your fingers. Never brush—use a wide-tooth comb only when wet.
Best face shapes: All face shapes (most universally flattering wave pattern)
Maintenance needs: Trim every 8–10 weeks. Waves hide grow-out beautifully.
For men over 60 seeking effortless styles, these wash and wear haircuts for women over 60 offer universal low-maintenance ideas.
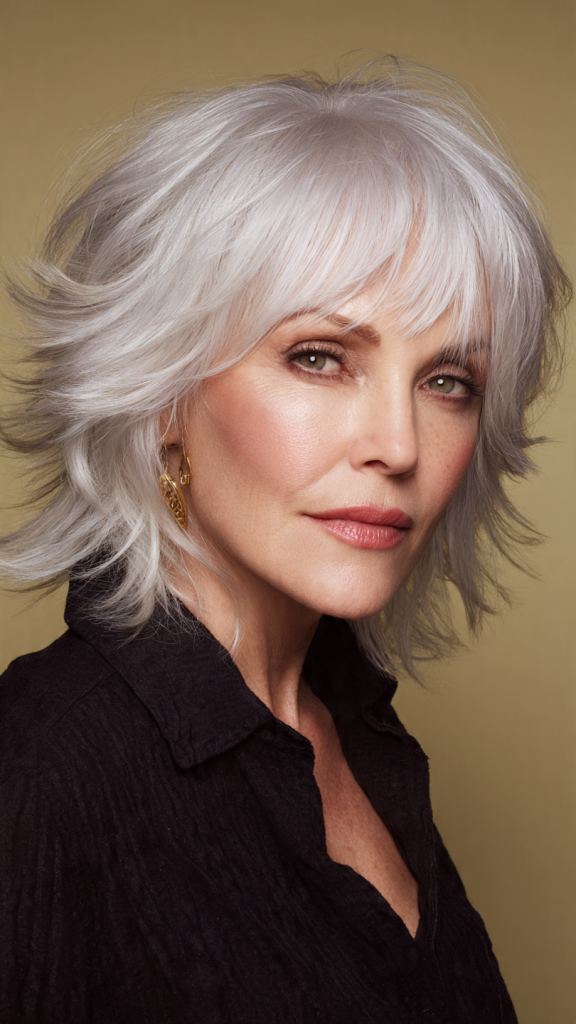
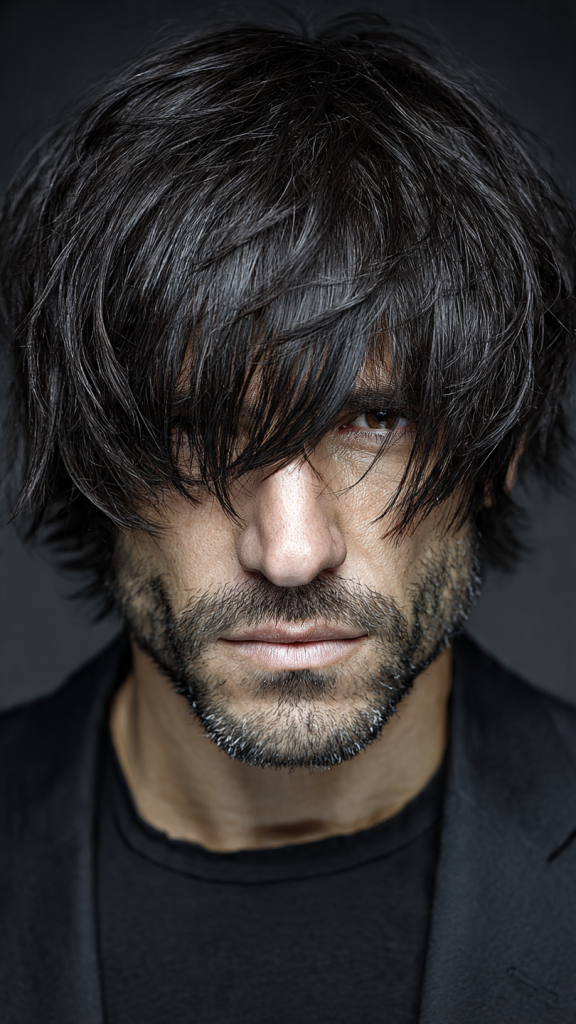
4. Wolf Cut with Curtain Bangs
Why it works: Adding curtain bangs to a wolf cut softens the overall look and creates beautiful face-framing. The bangs part in the middle and sweep to each side, blending seamlessly into the shorter top layers. This combination is especially flattering for men over 50 because it softens forehead lines, draws attention to the eyes, and adds a romantic, effortless feel to the edgy wolf cut silhouette.
How to style it: Apply lightweight mousse to damp hair. Blow-dry the curtain bangs using a small round brush, rolling them away from your face. The rest of the wolf cut can be styled with your fingers—tousled and piecey. To refresh bangs on day two, mist with water and re-roll around a round brush with heat for 10 seconds.
Best face shapes: Oval, heart, round (curtain bangs slim wider foreheads)
Maintenance needs: Bangs trim every 3–4 weeks; wolf cut trim every 6–8 weeks
For more face-framing inspiration, these curtain bangs for women over 50 offer universal styling techniques.
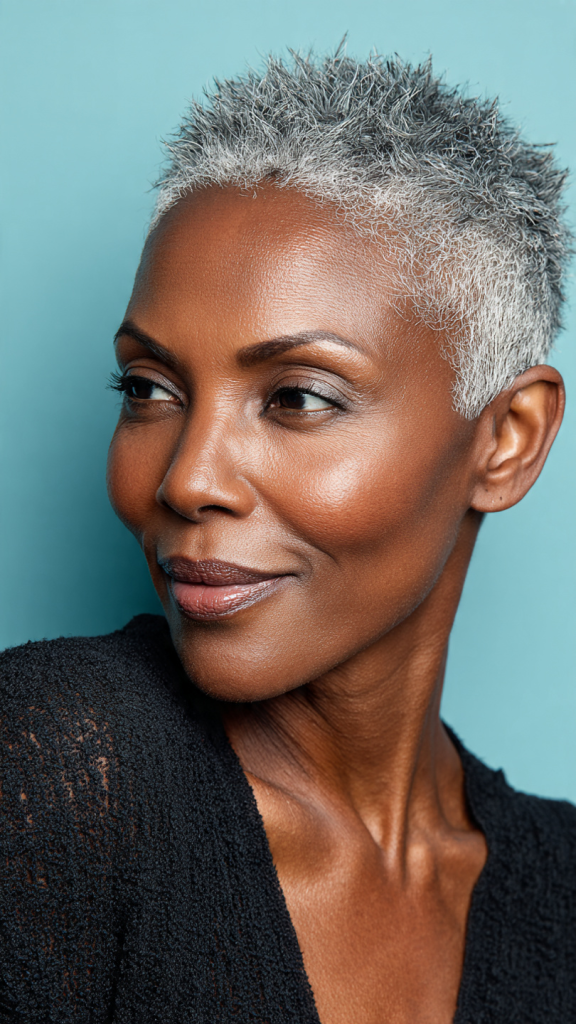
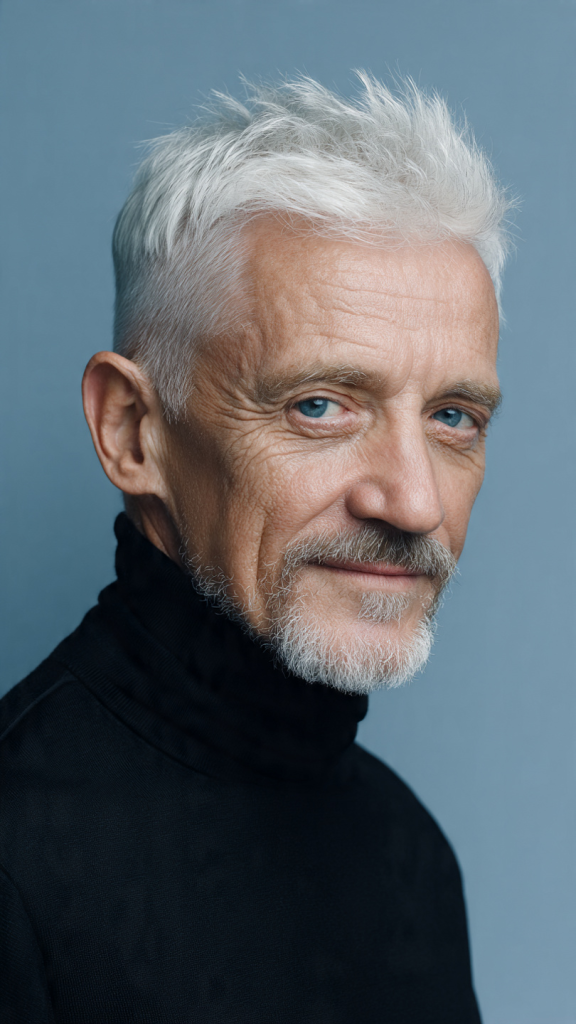
5. Short Wolf Cut (Above Shoulders)
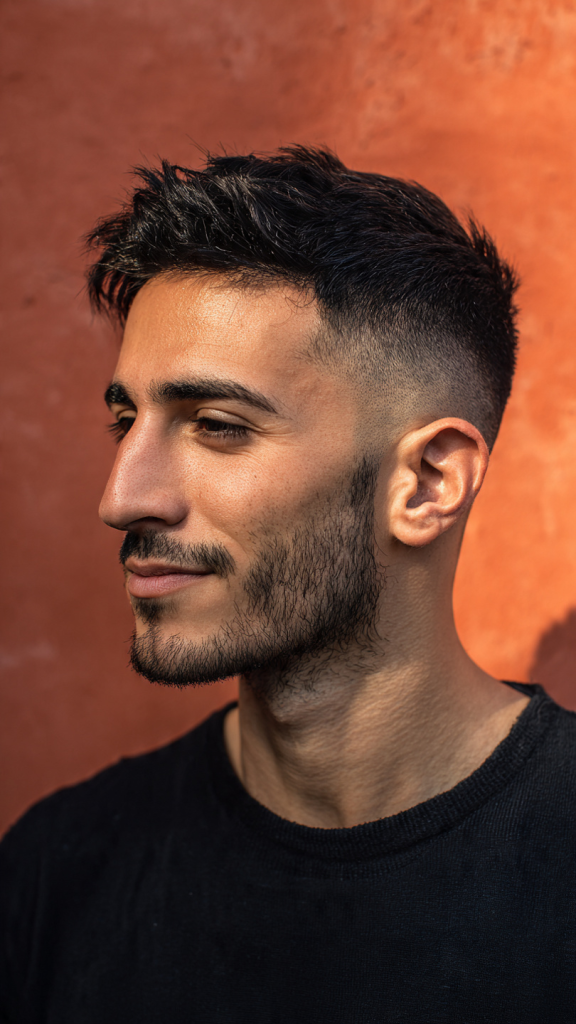
Why it works: The short wolf cut keeps the entire cut above the shoulders, making it less dramatic and more office-appropriate while still maintaining the wolf cut’s signature shape. The top is shorter with volume, the sides are tapered, and the back extends just to the shoulders—no longer. This version is perfect for men who want edge but need a more conservative silhouette.
How to style it: Apply texturizing spray to damp hair. Blow-dry using your fingers, lifting at the crown. The shorter length means it will dry in whatever direction it wants—embrace this. Use matte paste to piece out the ends. The wolf cut shape should be noticeable but subtle.
Best face shapes: Oval, square, heart (the shorter length suits stronger bone structure)
Maintenance needs: Trim every 5–6 weeks. The short shape needs regular upkeep.
For plus size men seeking flattering options, these short haircuts for plus size women over 50 offer slimming ideas that apply universally.
6. Wolf Cut for Fine Hair
Why it works: Men with fine hair can absolutely rock a wolf cut. The key is soft, subtle layers rather than dramatic choppiness. The shorter top layers create volume where fine hair needs it most, while the longer back pieces are kept wispy to avoid weighing down the cut. This version uses lighter layering to add movement without sacrificing density.
How to style it: Apply volumizing mousse to damp roots. Blow-dry upside down to maximize lift at the crown. Use texturizing powder at the roots for grip. Avoid heavy products that will weigh fine hair down. The back should be lightweight and piecey. Finish with dry shampoo at the crown.
Best face shapes: Oval, heart, round (the volume adds balance)
Maintenance needs: Trim every 6–8 weeks. Keep the layering subtle—too much will make fine hair look wispy.
For men with fine hair, these short hairstyles for thin fine hair offer additional density-building ideas.
7. Wolf Cut for Thick Hair
Why it works: The wolf cut is a game-changer for men with thick, heavy hair. The dramatic layering removes significant bulk while the rounded crown shape creates the illusion of lightness. The longer back pieces prevent the dreaded “triangle head” effect, making thick hair look styled rather than overwhelming.
How to style it: Apply smoothing cream to damp hair. Blow-dry using a large round brush, lifting at the roots for volume. For an air-dry option, apply wave spray and scrunch—the layers will prevent the hair from getting too puffy. Finish with shine serum on the ends only.
Best face shapes: All face shapes (removes bulk while keeping shape)
Maintenance needs: Trim every 6–8 weeks. Thick hair holds layers well but needs regular upkeep.
For men with thick hair, these medium length hairstyles for thick hair offer additional shaping ideas.
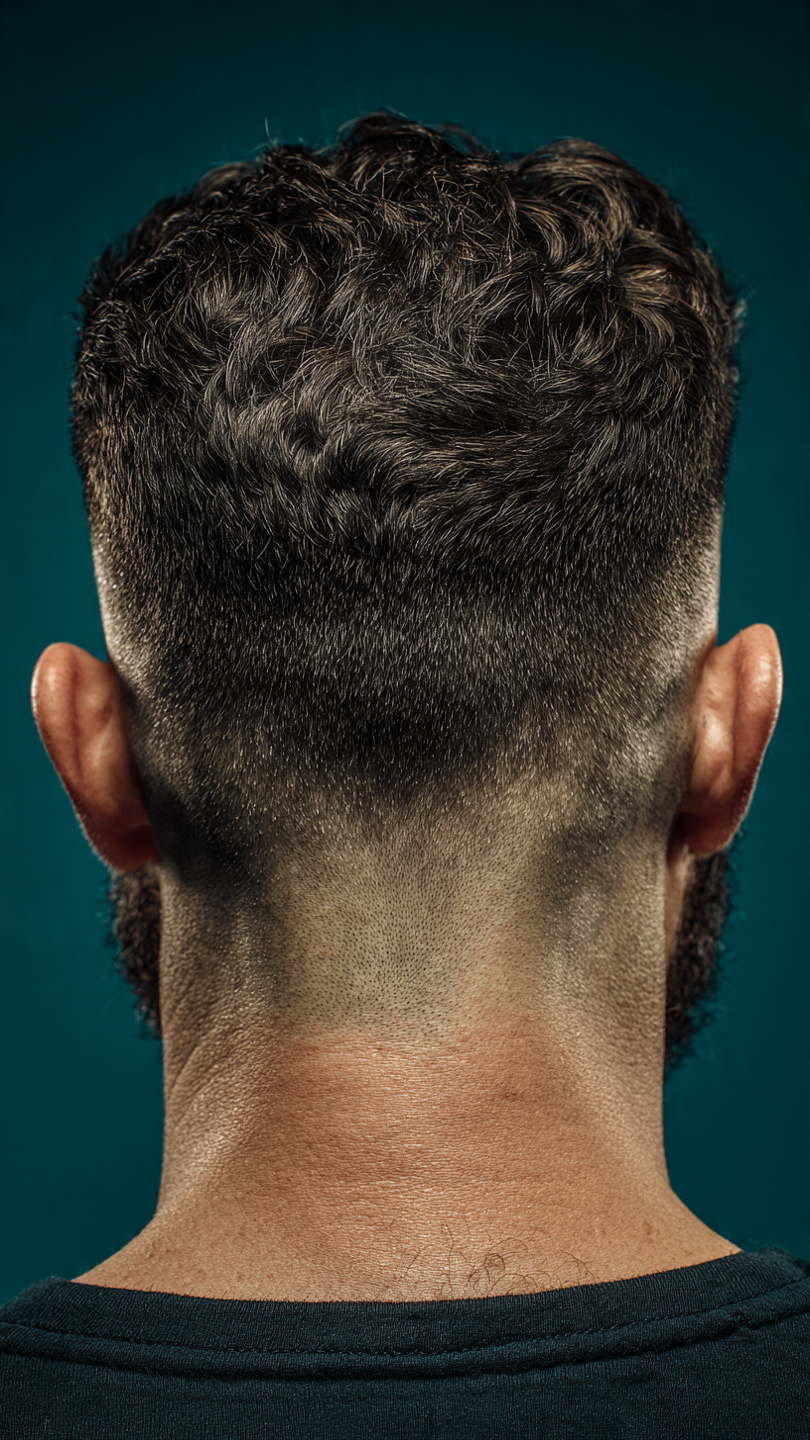
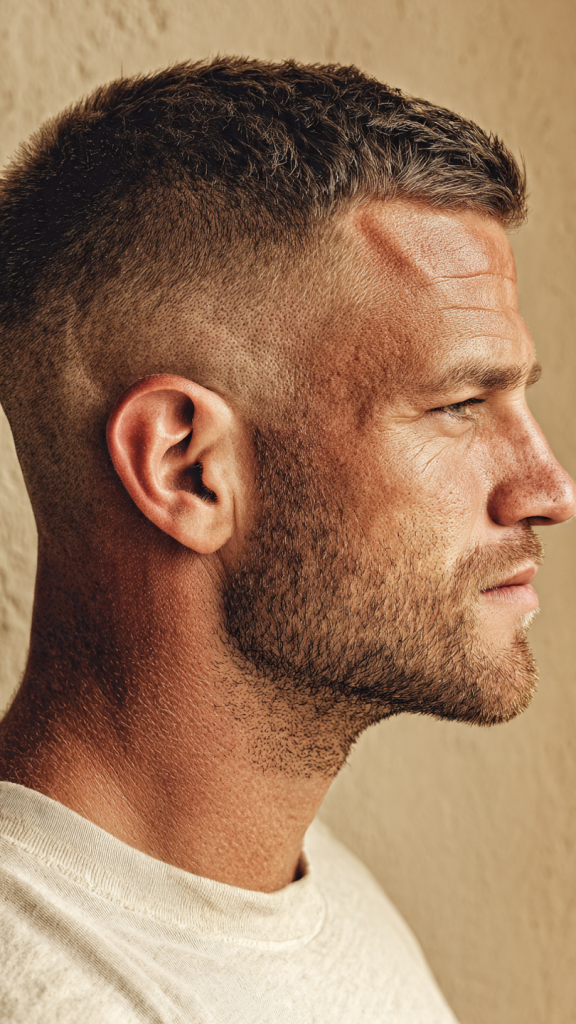
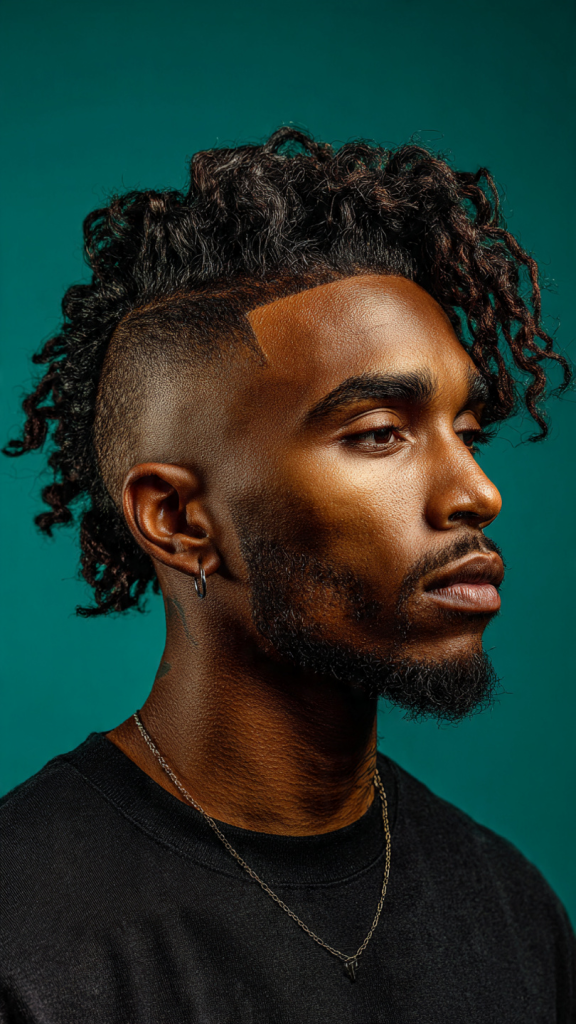
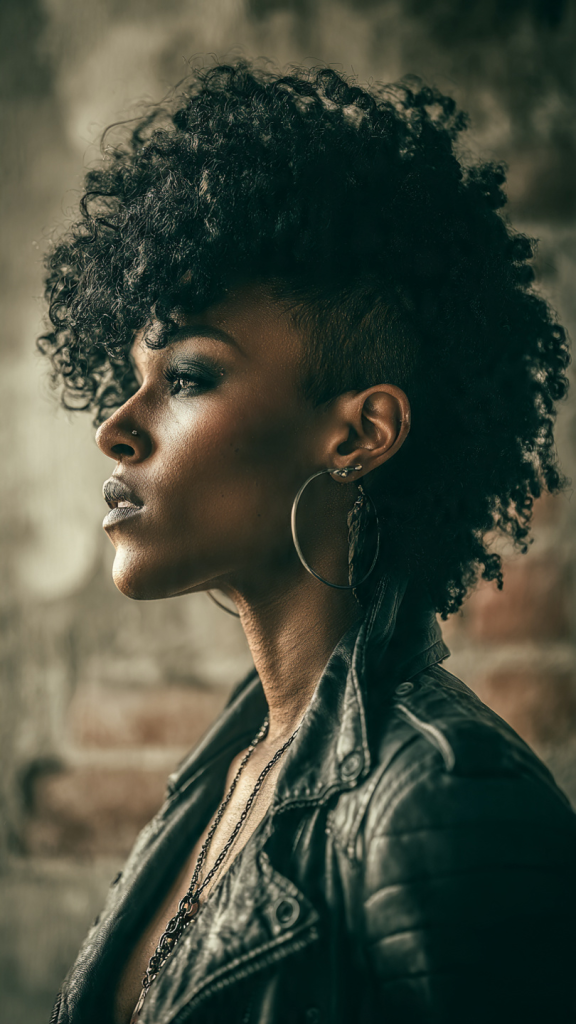
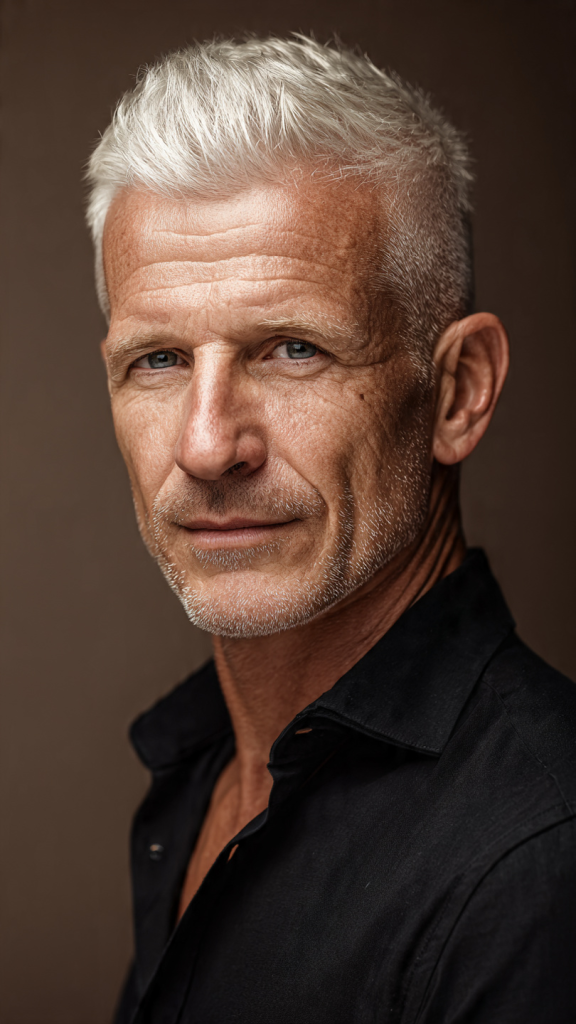
8. Wolf Cut with Tapered Sides
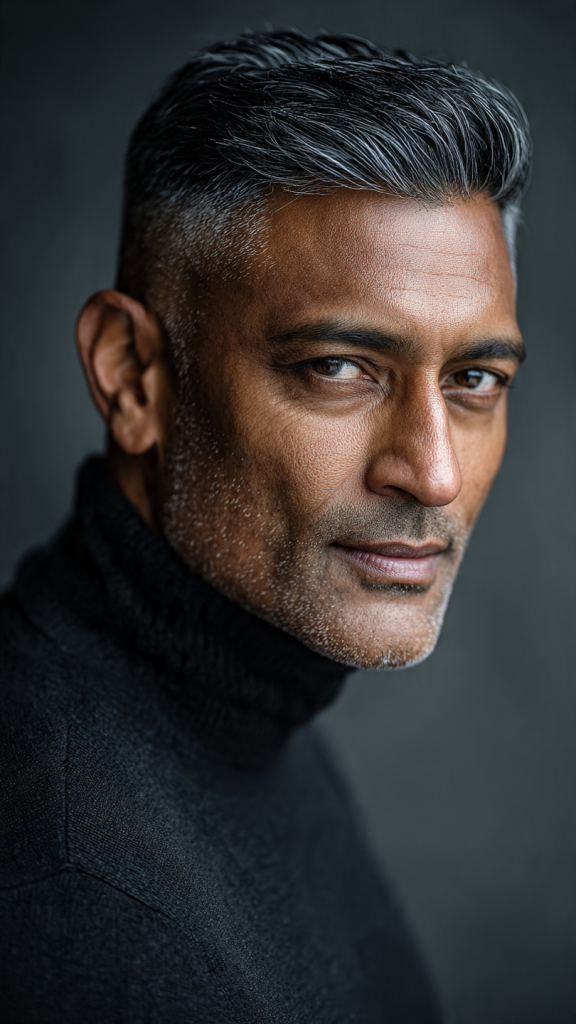
Why it works: For a slightly more structured and neat look, consider a wolf cut with tapered sides. The hair near the ears is cut shorter and gradually gets longer as it moves toward the top and back, creating a cleaner line. This version is great for reducing bulk around the ears and gives the overall look a more tailored, sophisticated feel while maintaining the wolf cut’s signature shape.
How to style it: Apply styling cream to damp hair on top only. Use a small round brush to lift the crown while blow-drying. The tapered sides need only a quick towel-dry. Run wax through the top length for separation, pushing it slightly forward or to the side. The back should remain longer and piecey.
Best face shapes: Oval, square, oblong (the clean lines suit sharper features)
Maintenance needs: Top trim every 6–8 weeks; tapered sides need refreshing every 4 weeks
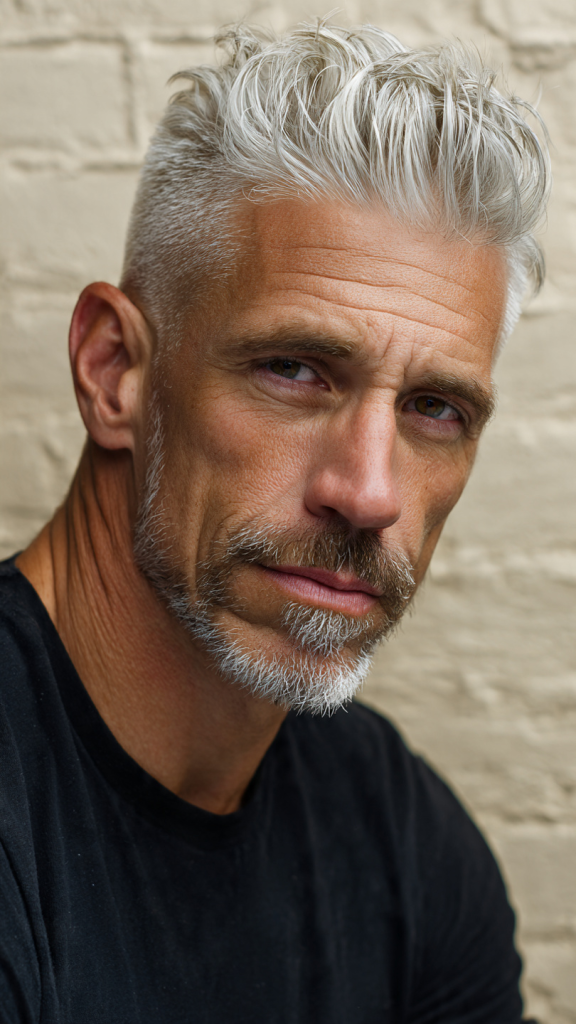
9. Wolf Cut with Subtle Color Accents
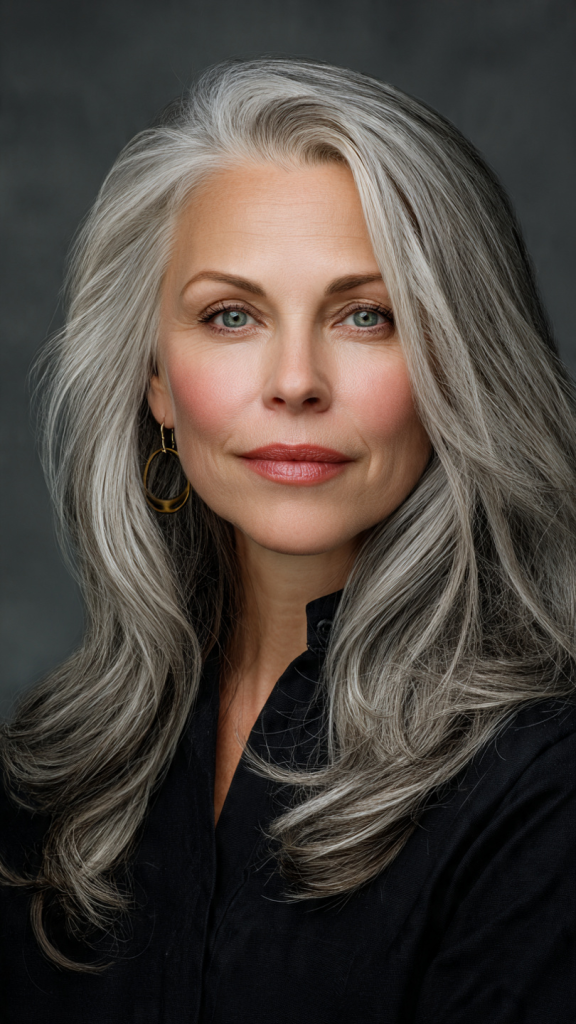
Why it works: Adding subtle color accents—a few lighter pieces around the face or through the crown—elevates the wolf cut from casual to distinctive. For men with gray or silver hair, adding platinum or silver highlights adds dimension and modernity. For darker hair, subtle caramel or ash tones woven through the layers make the wolf cut’s shape pop.
How to style it: Style your wolf cut as usual. The color will naturally enhance the layers. For best visibility of the cut’s shape, style with texture and separation—smooth styles hide the cut’s architecture. Use purple shampoo to maintain cool tones on gray hair.
Best face shapes: All face shapes (color adds dimension regardless of cut)
Maintenance needs: Wolf cut trim every 6–8 weeks; color touch-up every 8–12 weeks
For those blending grays with color, these grey blending highlights in ash blonde offer cool, sophisticated options.
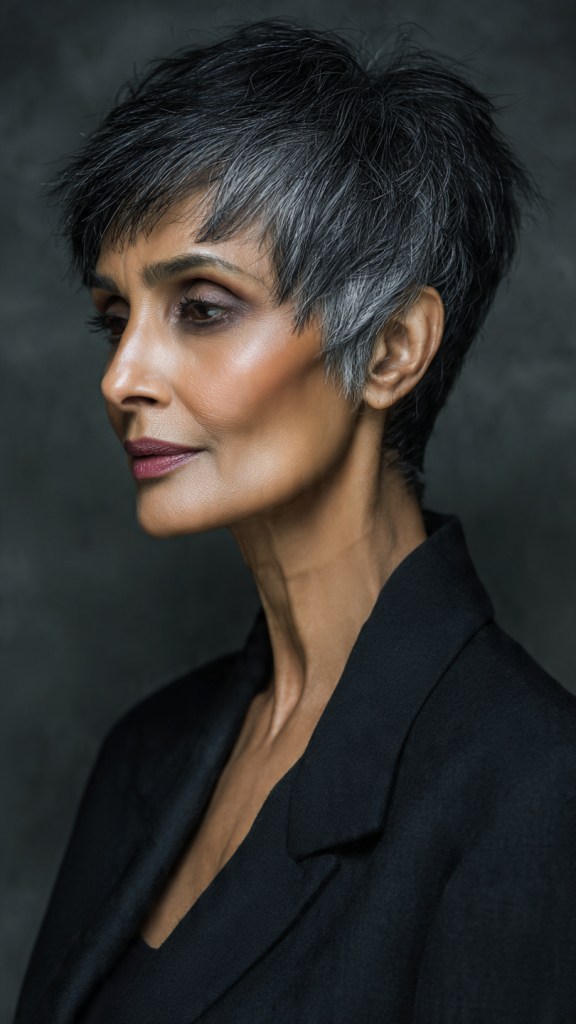
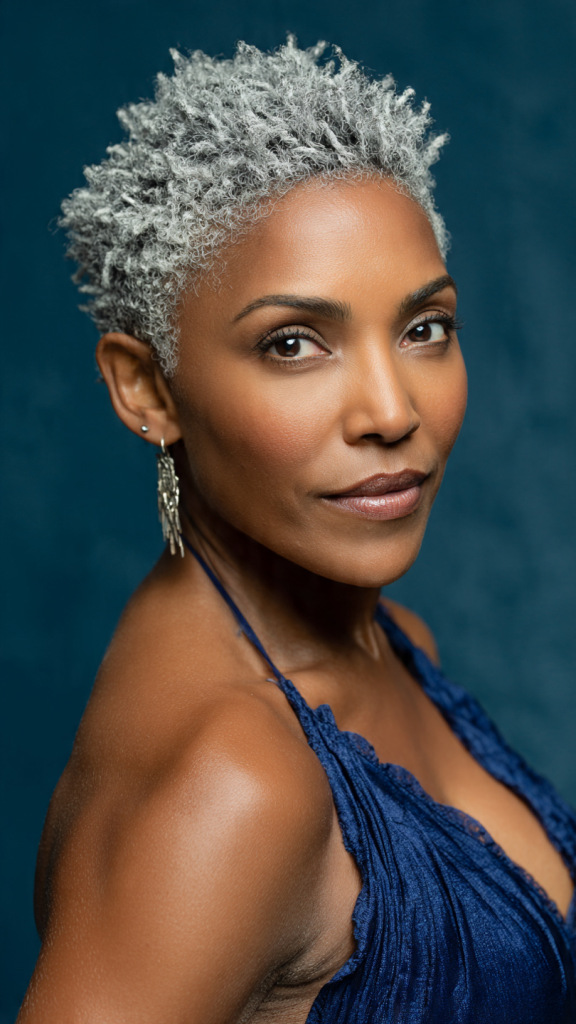
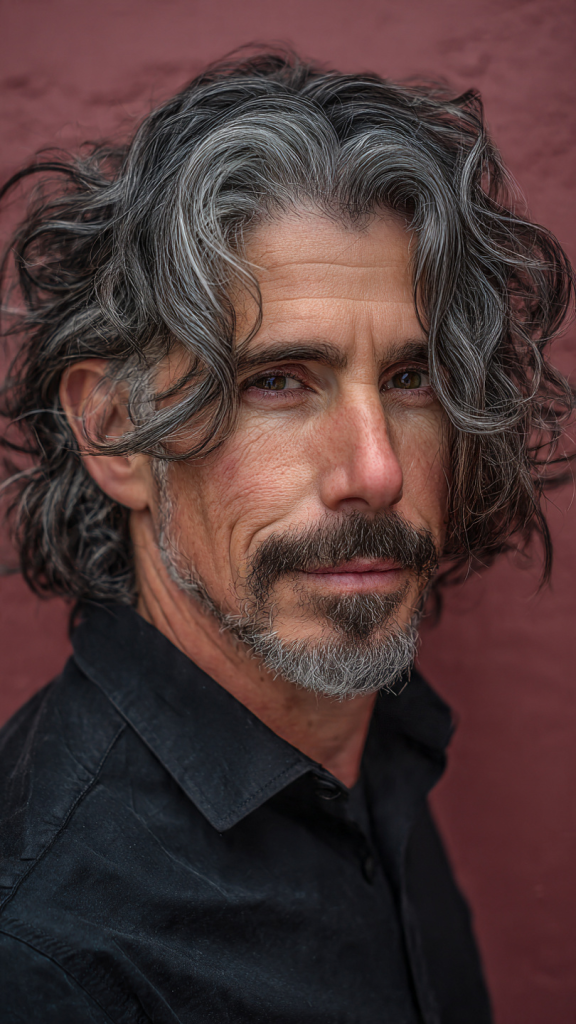
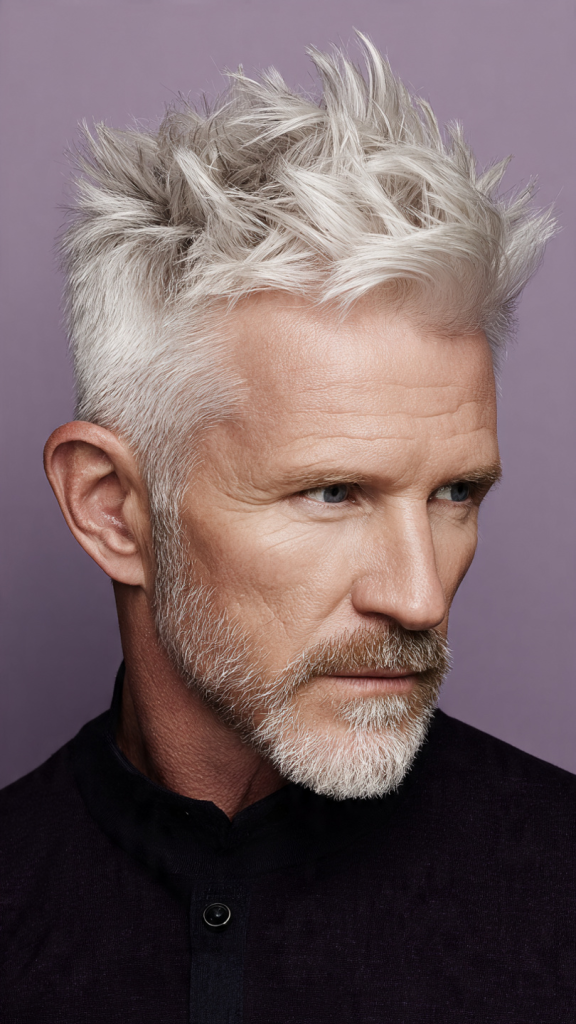
10. Silvery Wolf Cut (Embracing Gray)
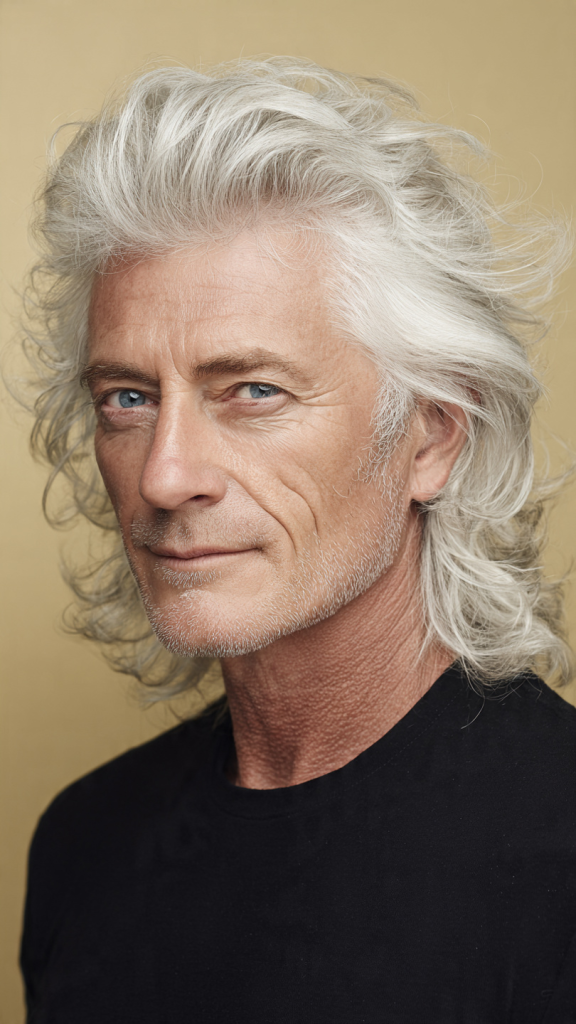
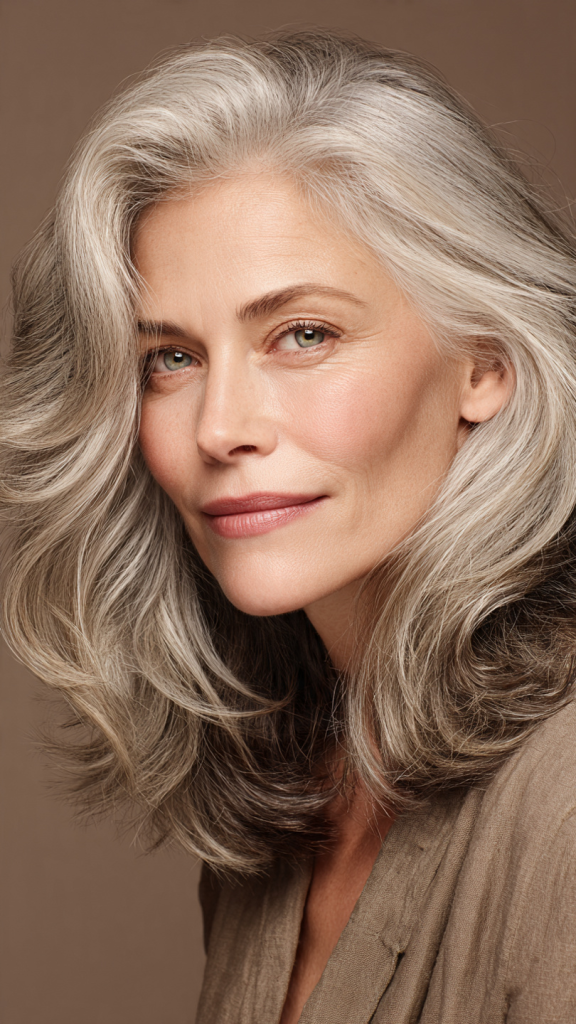
Why it works: For men embracing their natural silver or gray hair, the wolf cut is a stunning choice. The layered texture adds dimension to silver strands, making them look luminous rather than flat. The contrast between the shorter top layers and longer back creates visual interest that enhances the natural variations in gray hair. This is a sophisticated, low-maintenance way to celebrate your silver while rocking an edgy cut.
How to style it: Style your wolf cut as usual. Use purple shampoo once weekly to prevent yellowing and keep silver bright. For added shine, use a silver-enhancing gloss every 2–3 weeks. The layered texture will catch the light beautifully, making your silver stand out. Avoid heavy products that can make gray hair look dull.
Best face shapes: All face shapes (silver adds elegance to any style)
Maintenance needs: Trim every 6–8 weeks; tone every 4–6 weeks to maintain cool silver
How to Style the Wolf Cut for Men Over 50
Styling the wolf cut is intentionally low-maintenance. Here’s your daily roadmap:
- Embrace texture – The wolf cut looks best when it’s slightly messy. Use texturizing spray, sea salt spray, or dry shampoo to add grip and separation.
- Focus on crown volume – The signature of the wolf cut is volume at the crown. Blow-dry the crown section upward with a small round brush, or add texturizing powder for instant lift.
- Keep the back piecey – The longer back sections should look wispy and separated, not heavy or blunt. Use dry wax or matte paste on the ends to define individual pieces.
- Air-dry when possible – The wolf cut is designed to look great with minimal heat. Apply product to damp hair, scrunch, and let it air-dry.
- Create bends, not curls – For straight hair, use a 1-inch curling iron to create random bends throughout the back section only. Alternate directions for a natural look.
- Refresh with water – On non-wash days, mist your hair with plain water from a spray bottle. Re-scrunch and go. Water reactivates the original products.
- Sleep on a satin pillowcase – A satin pillowcase preserves your texture and prevents frizz.
- Avoid heavy products – Butters, oils, and heavy creams will weigh down the choppy layers. Stick to lightweight sprays, mousses, and powders.
- For silver hair – Use purple shampoo once weekly to prevent yellowing and keep silver bright.
Quick Maintenance Cheat Sheet
| Style | Trim Frequency | Special Notes |
|---|---|---|
| Classic Wolf Cut | 6–8 weeks | Most versatile option |
| Curly Wolf Cut | 8–10 weeks (dry cut) | Always cut dry for curls |
| Wavy Wolf Cut | 8–10 weeks | Waves hide grow-out well |
| Wolf Cut with Curtain Bangs | Bangs: 3–4 weeks; Cut: 6–8 weeks | Bangs require frequent trims |
| Short Wolf Cut (Above Shoulders) | 5–6 weeks | Shortest interval on this list |
| Wolf Cut for Fine Hair | 6–8 weeks | Keep layering subtle |
| Wolf Cut for Thick Hair | 6–8 weeks | Removes bulk effectively |
| Wolf Cut with Tapered Sides | Top: 6–8 weeks; Sides: 4 weeks | Taper requires precision |
| Wolf Cut with Subtle Color Accents | Cut: 6–8 weeks; Color: 8–12 weeks | Color adds dimension |
| Silvery Wolf Cut | 6–8 weeks | Tone every 4–6 weeks |
Final Thoughts
The wolf cut for men over 50 proves that age is no barrier to modern, textured style. Whether you choose a classic version, a curly interpretation, or a silvery gray style, the key is embracing texture, volume, and individuality. This cut celebrates what you have—whether that’s fine hair needing lift, thick hair needing shaping, or silver strands needing dimension—while making you feel confident, edgy, and undeniably yourself. Take this guide to your barber, discuss which of these 10 options aligns with your hair type and lifestyle, and get ready to discover how liberating and stylish the wolf cut can be at 50 and beyond.