There is a reason the short layered bob with bangs never goes out of style. It is versatile, flattering, and surprisingly low-maintenance. Whether you have fine hair that needs volume, thick hair that needs shaping, or straight hair that needs movement, the short layered bob with bangs delivers every single time. The layers add bounce and texture. The bangs frame your face and draw attention to your eyes. And the short length keeps things easy and modern. This guide walks you through eleven stunning variations of this classic cut, plus exactly how to style them and what to tell your stylist.
Why the Short Layered Bob with Bangs Works for Almost Everyone
This haircut is popular for good reason. The layers remove weight from the interior, which prevents the dreaded triangle shape that can happen with blunt bobs. The bangs soften your forehead and can be customized to suit your face shape. And the short length — usually hitting between the ear and the chin — keeps your hair off your neck while still giving you enough length to style. Whether you are in your twenties or your seventies, have straight hair or curly hair, want something edgy or something soft, there is a version of this cut that will make you look and feel amazing. The eleven styles below cover the full spectrum.
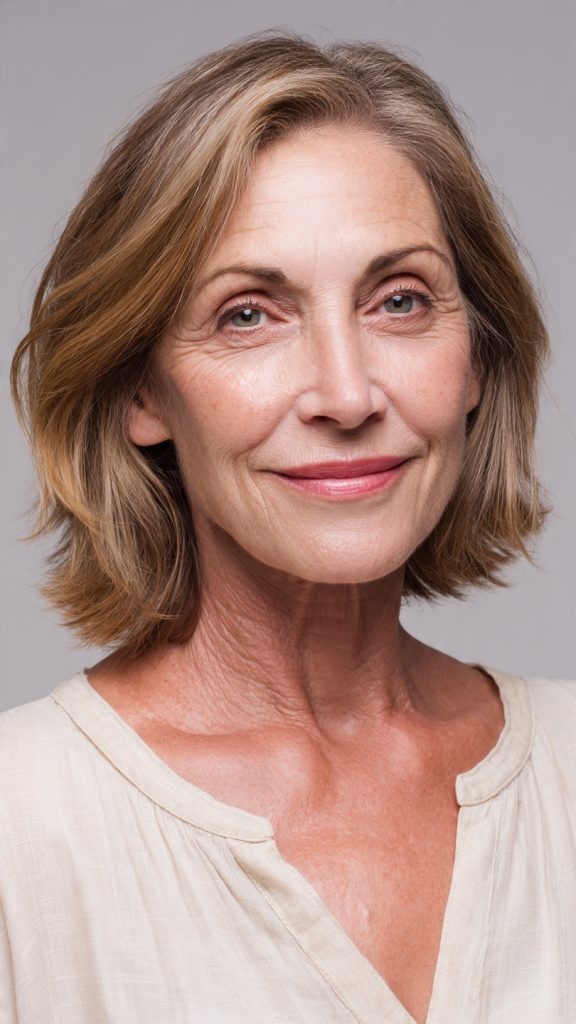
1. The Classic Short Layered Bob with Side-Swept Bangs
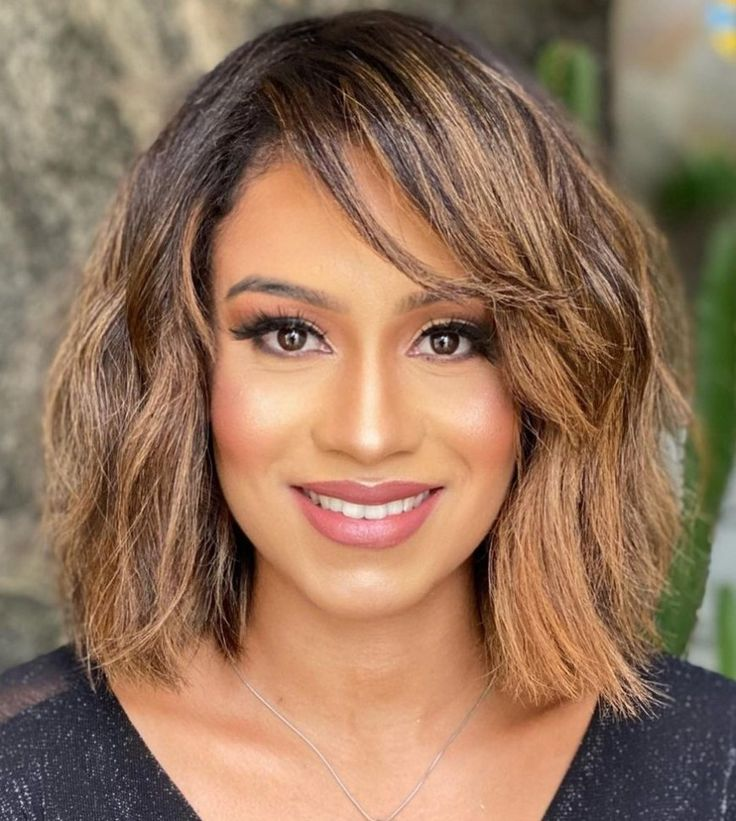
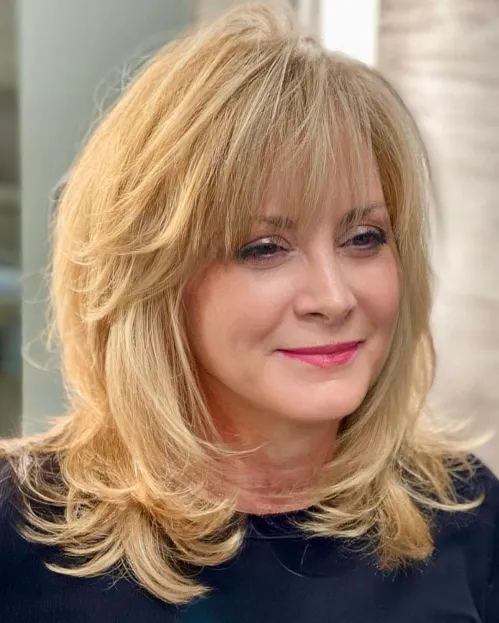
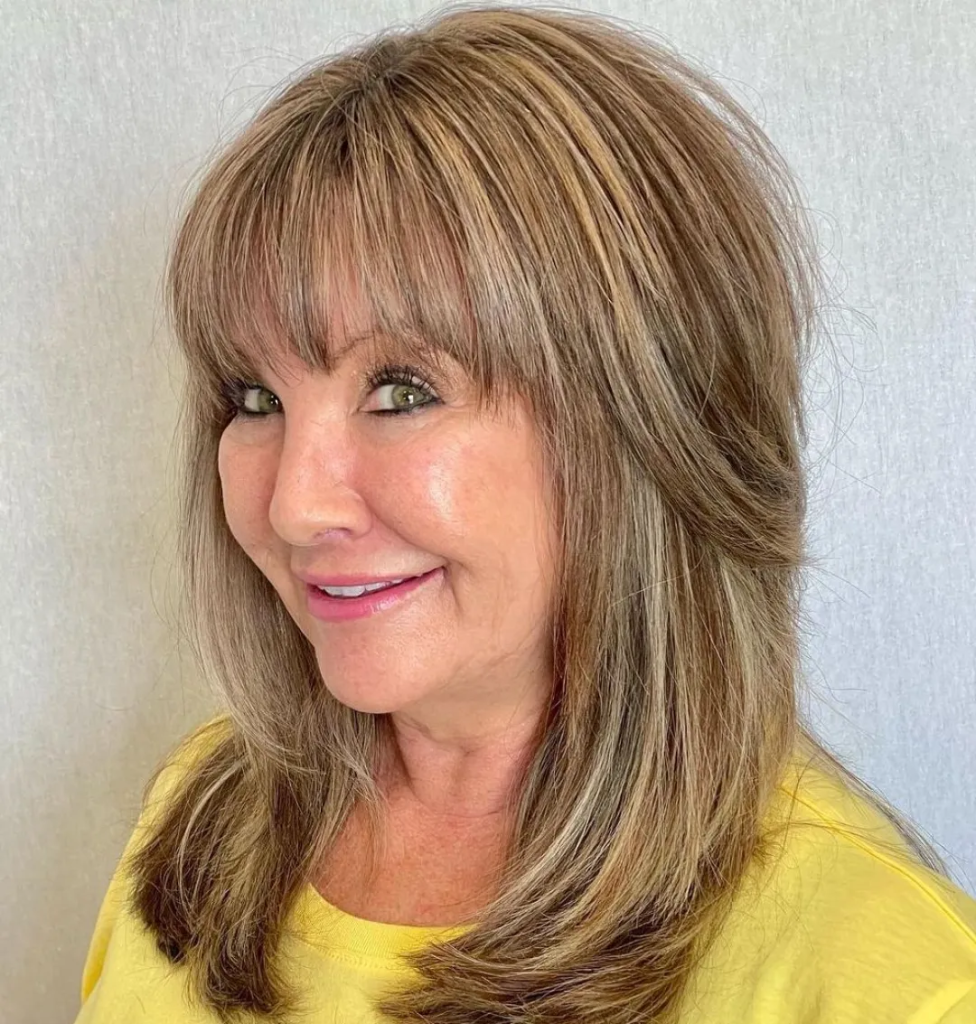
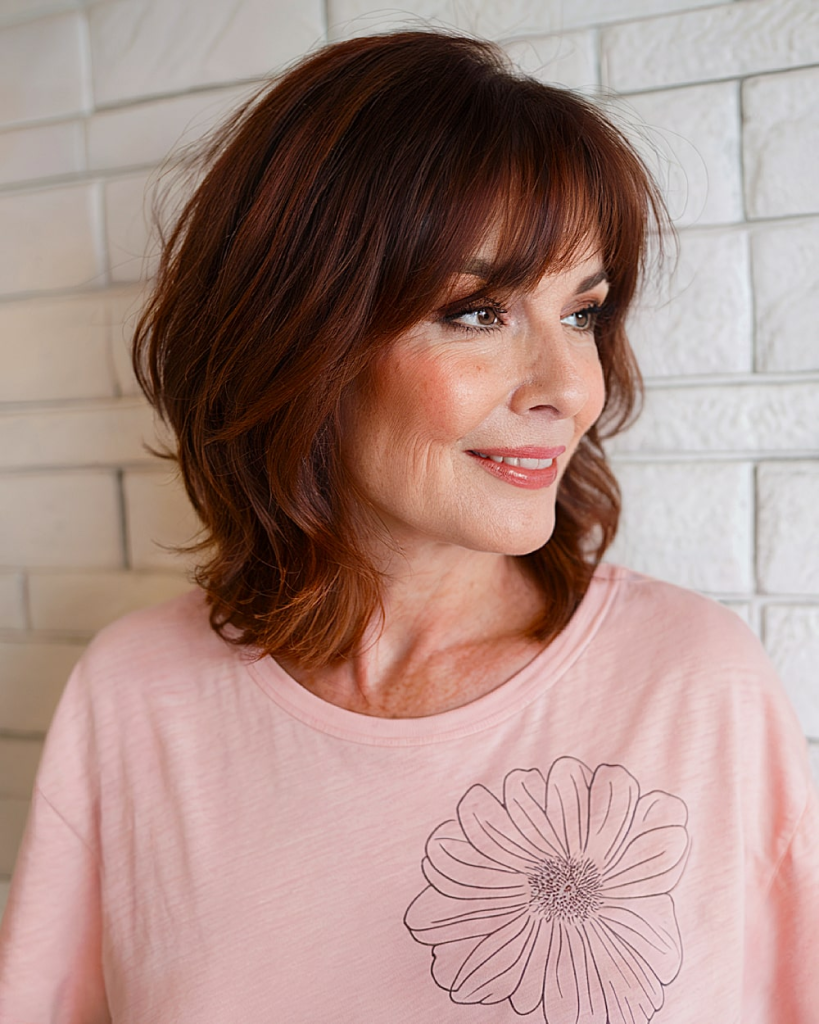
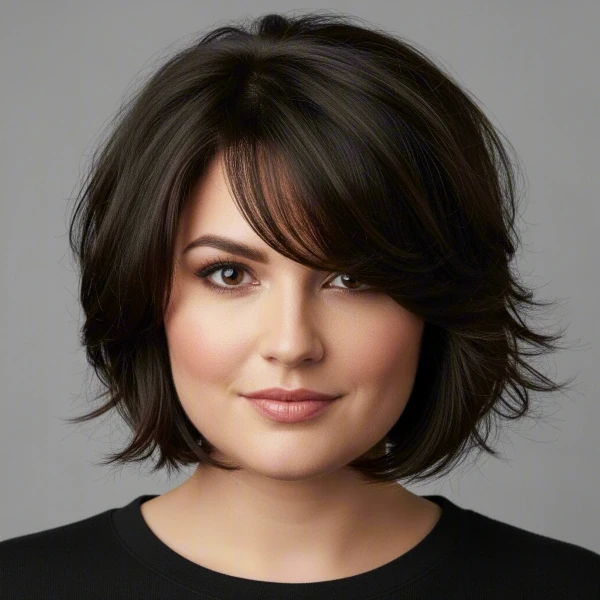
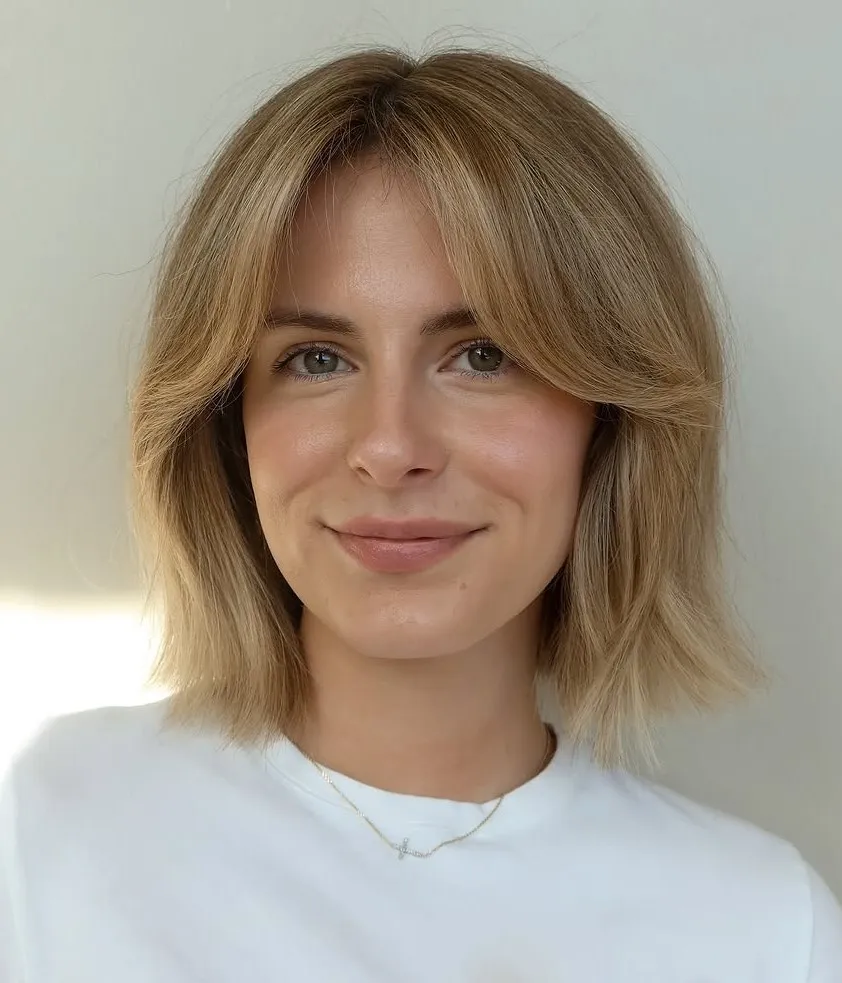
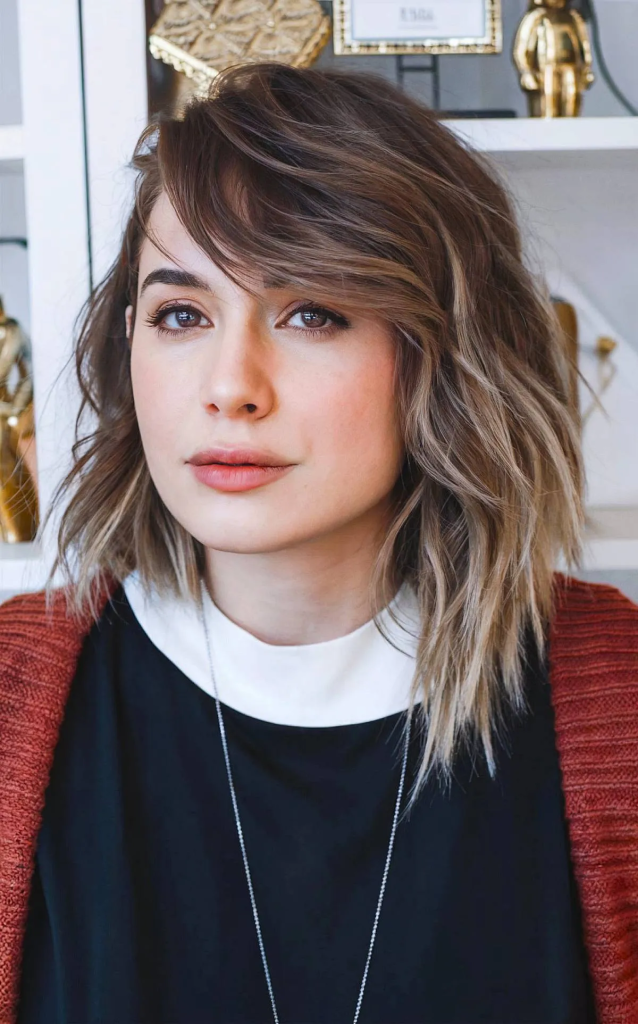
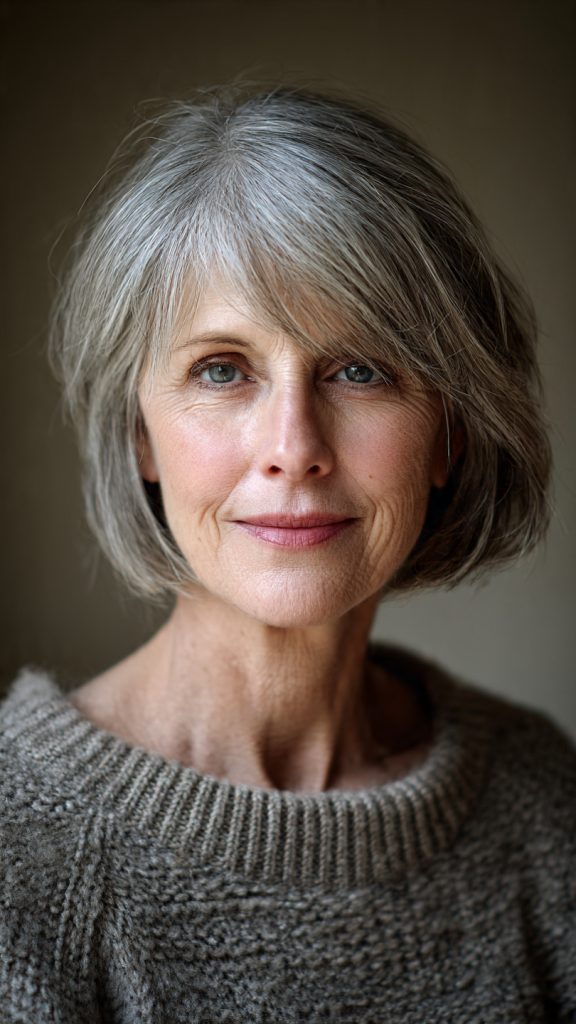
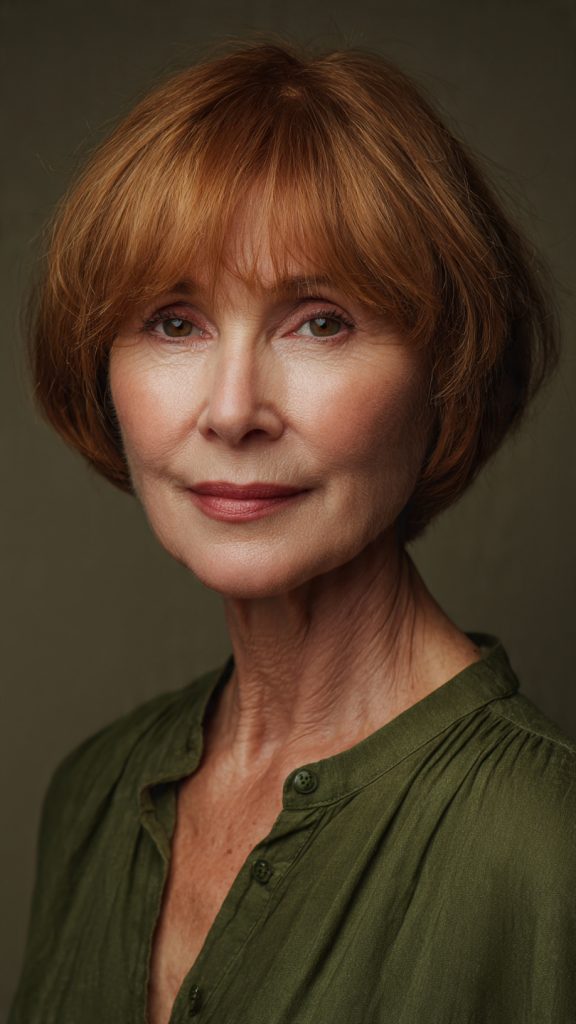
Why it works: This is the entry-level version of the cut. The bob hits at the chin, with soft layers throughout. The side-swept bangs create a diagonal line across your forehead, which is universally flattering. This style works on straight, wavy, or slightly curly hair.
How to style: Apply a lightweight mousse to damp hair. Blow-dry using a round brush, turning the ends under slightly. Sweep the bangs to one side. A light hairspray keeps everything in place.
Best face shapes: Oval, round, and heart. The diagonal bangs soften roundness.
Maintenance: Trim every 5 to 6 weeks.
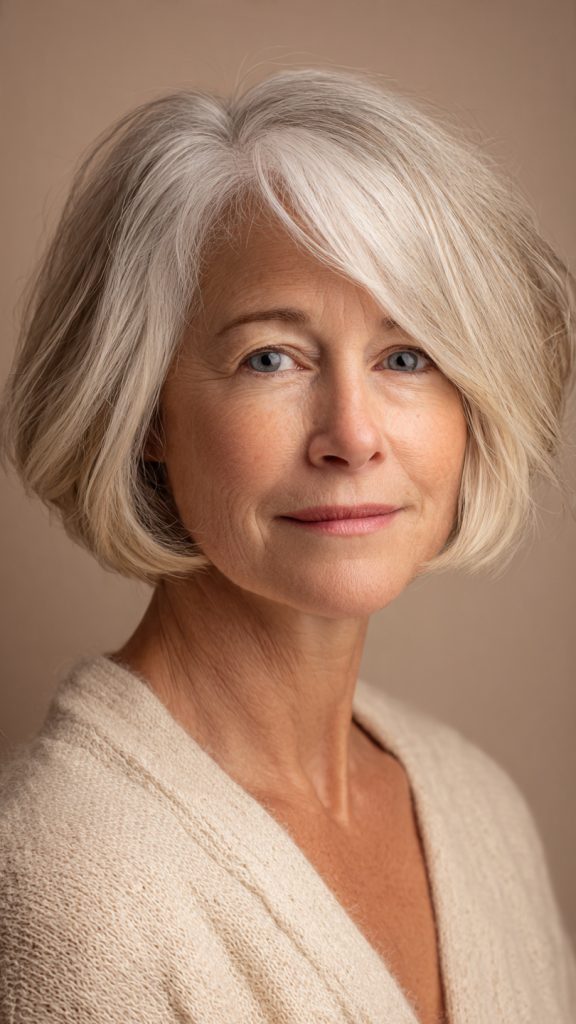
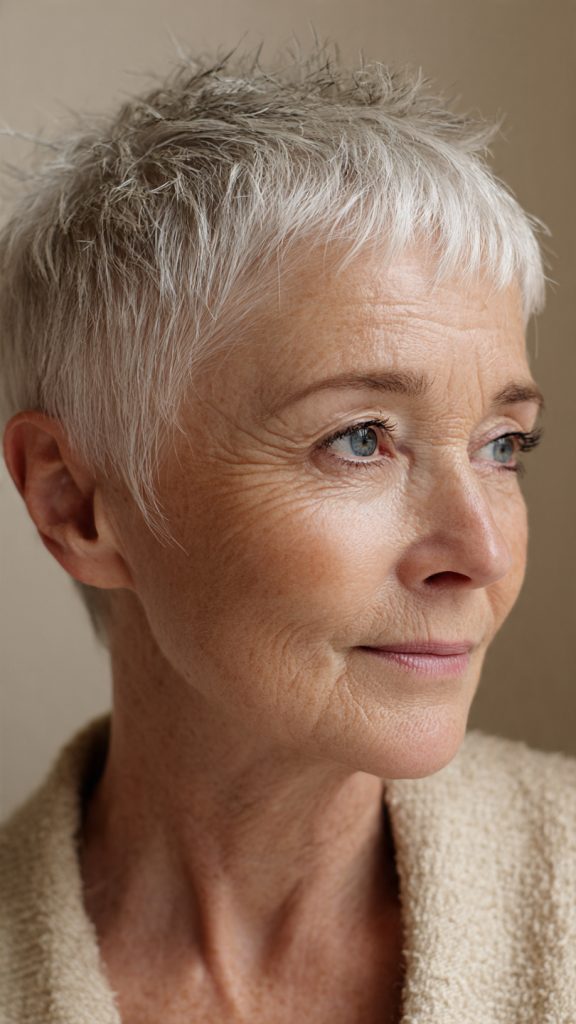
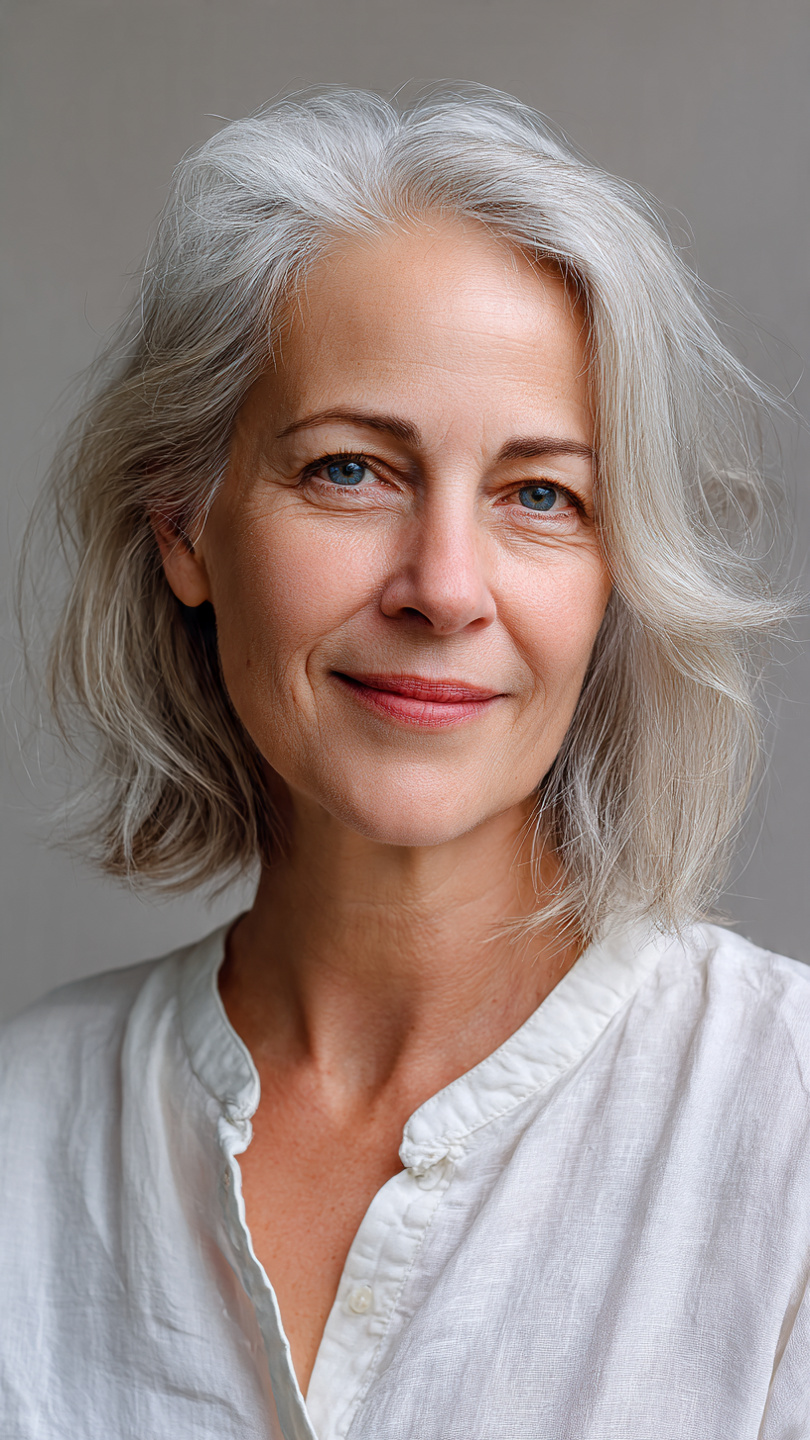
2. The Textured Short Layered Bob with Wispy Bangs
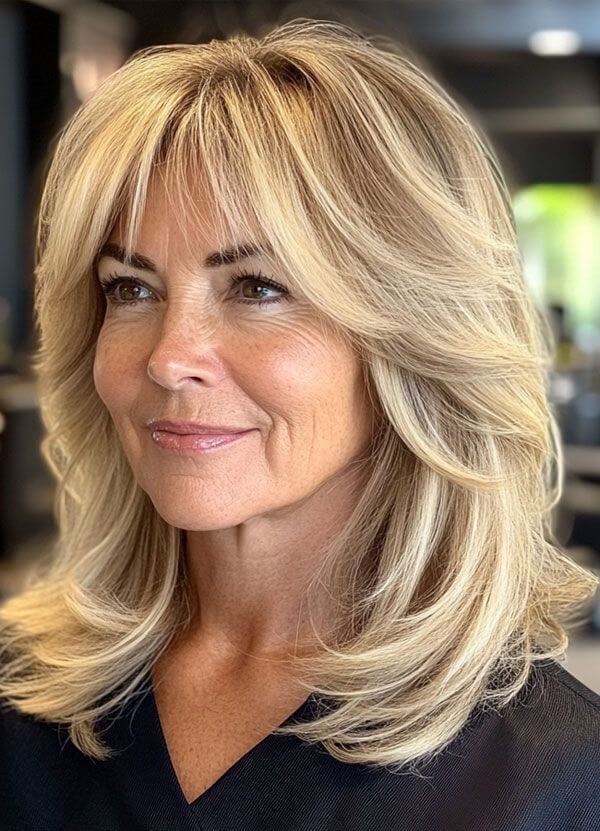
Why it works: Wispy bangs are light, airy, and barely there. They are cut with point-cutting or razor techniques to create soft, feathery ends. The textured bob has choppy layers throughout. Together, they create a soft, romantic look that is perfect for fine or thinning hair.
How to style: Apply a texturizing spray to damp hair. Blow-dry using your fingers to lift and separate. The wispy bangs should look soft and piece-y. Do not over-brush.
Best face shapes: Oval, heart, and oblong. The wispiness softens angular features.
Maintenance: Trim every 5 to 6 weeks.
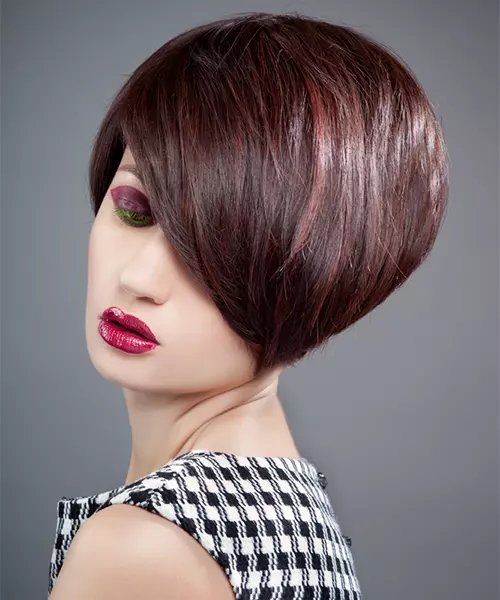
3. The Stacked Short Layered Bob with Blunt Bangs
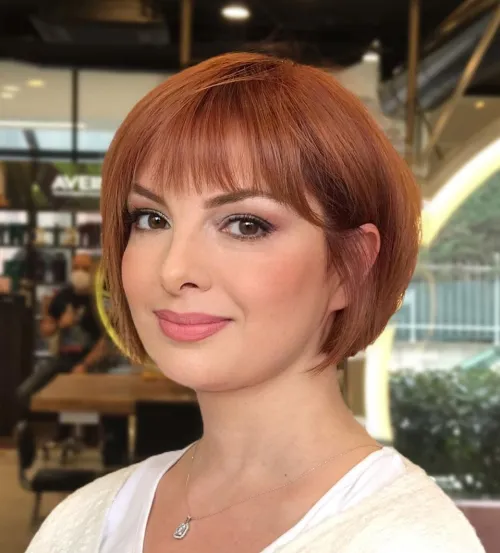
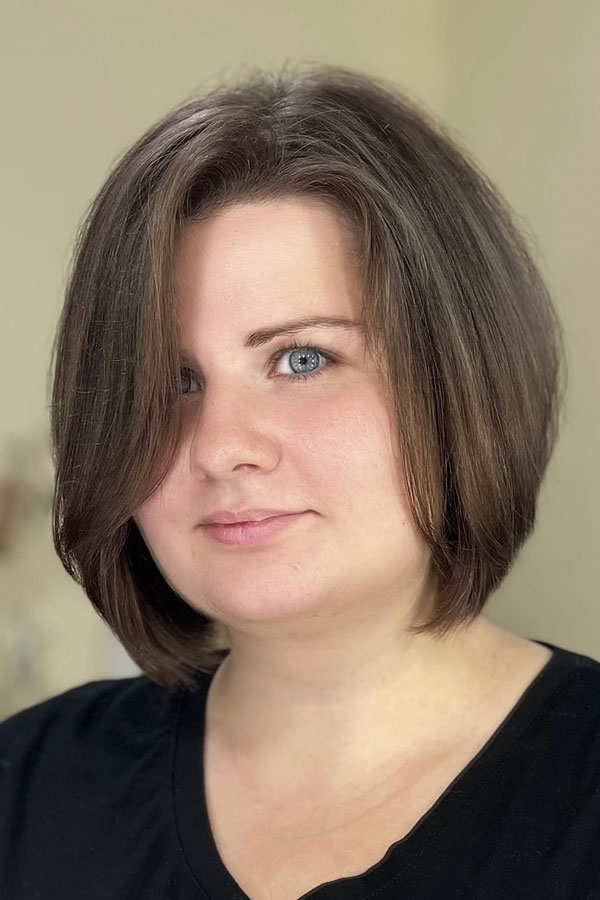
Why it works: A stacked bob has visible layers in the back that create interior volume. The back is shorter than the front. Adding blunt bangs — cut straight across — creates a bold, graphic look. This version works best on straight or slightly wavy hair.
How to style: Apply a smoothing serum and heat protectant. Blow-dry using a round brush, lifting the stacked back for extra volume. The blunt bangs should be dried straight down. Finish with a shine spray.
Best face shapes: Oval and heart. Blunt bangs can overwhelm round or square faces.
Maintenance: The stacked back needs trimming every 4 to 5 weeks. The bangs every 3 to 4 weeks.
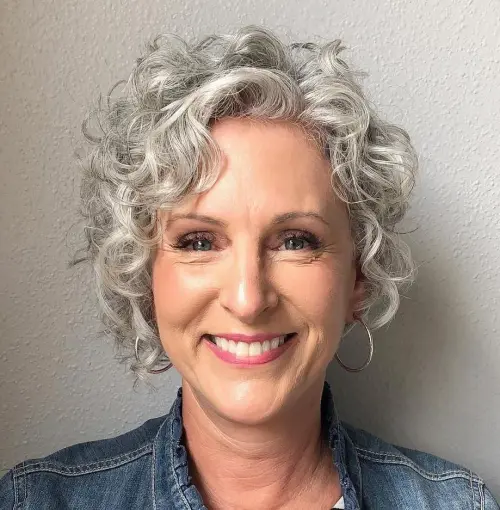
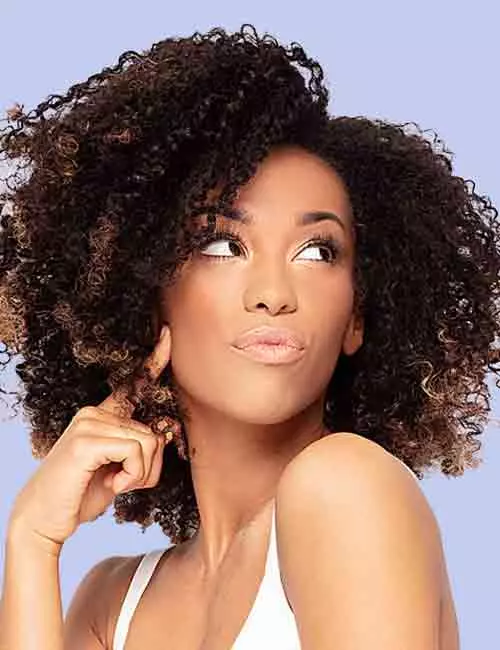
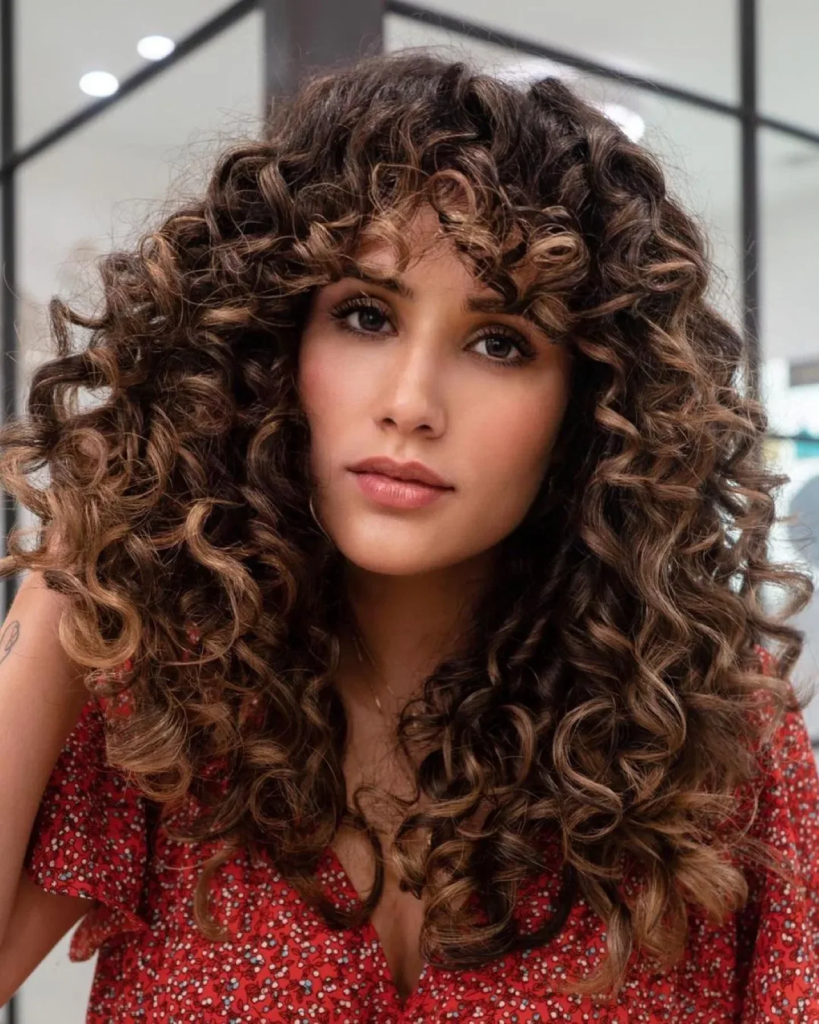
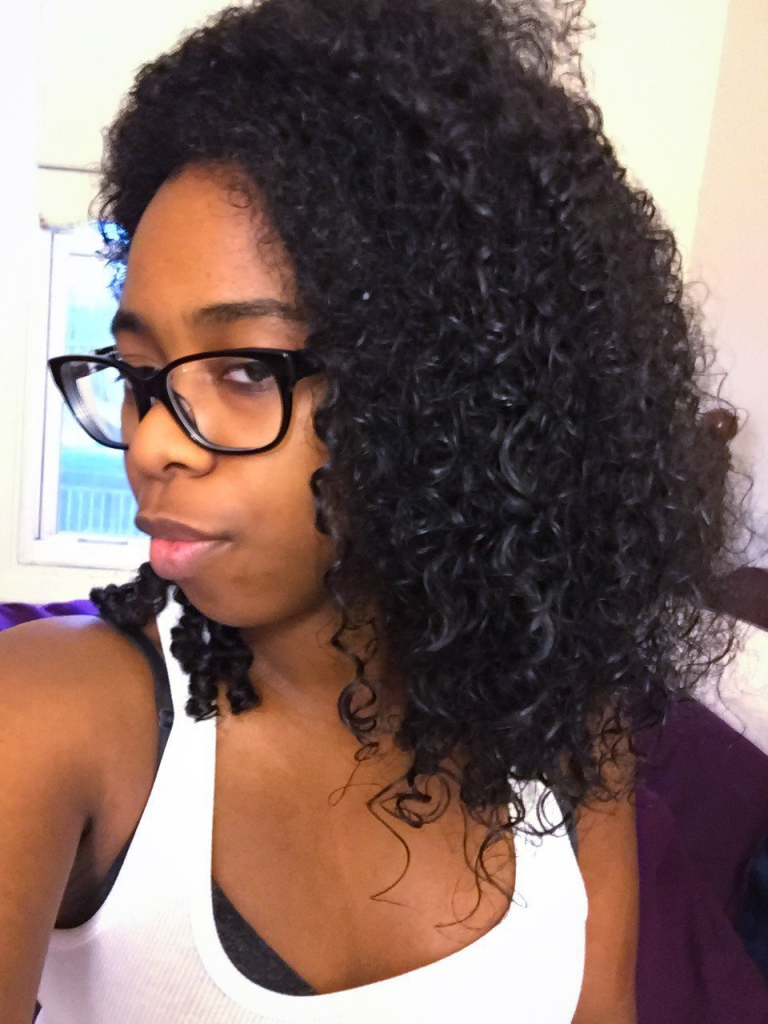
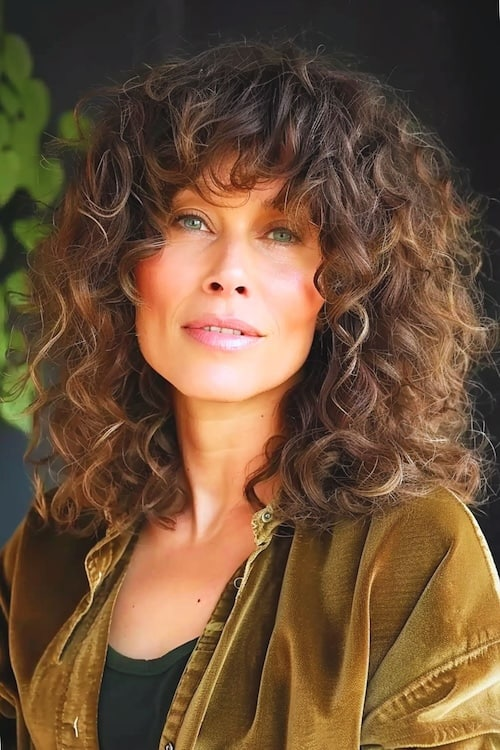
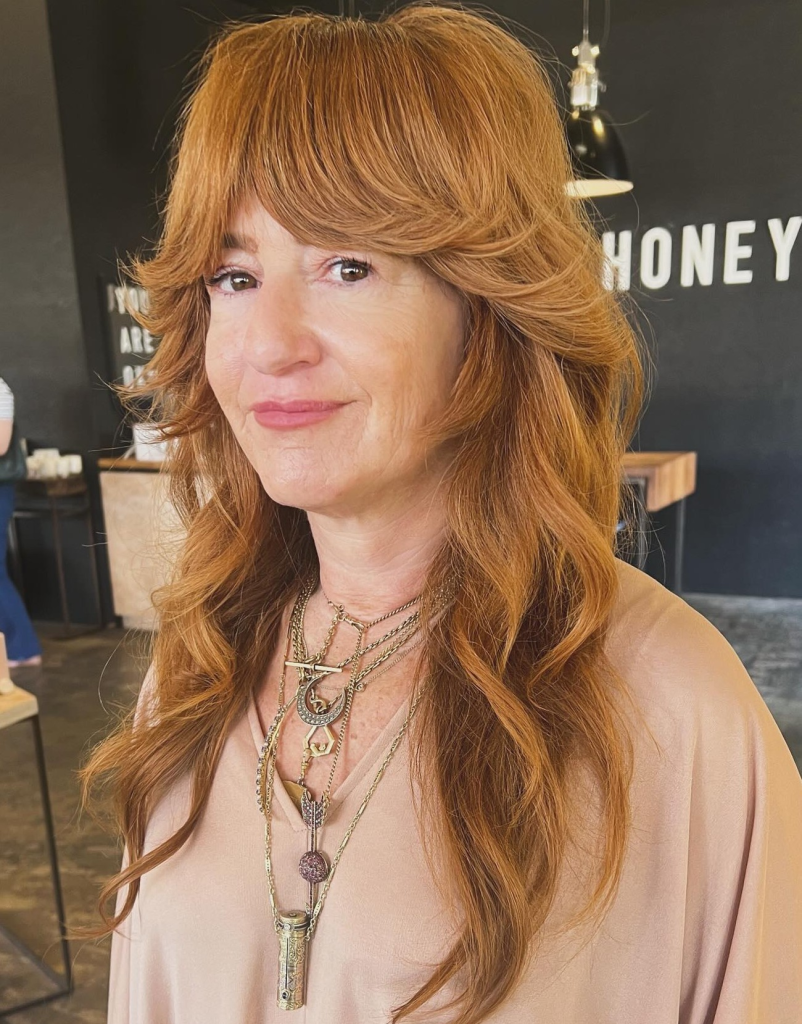
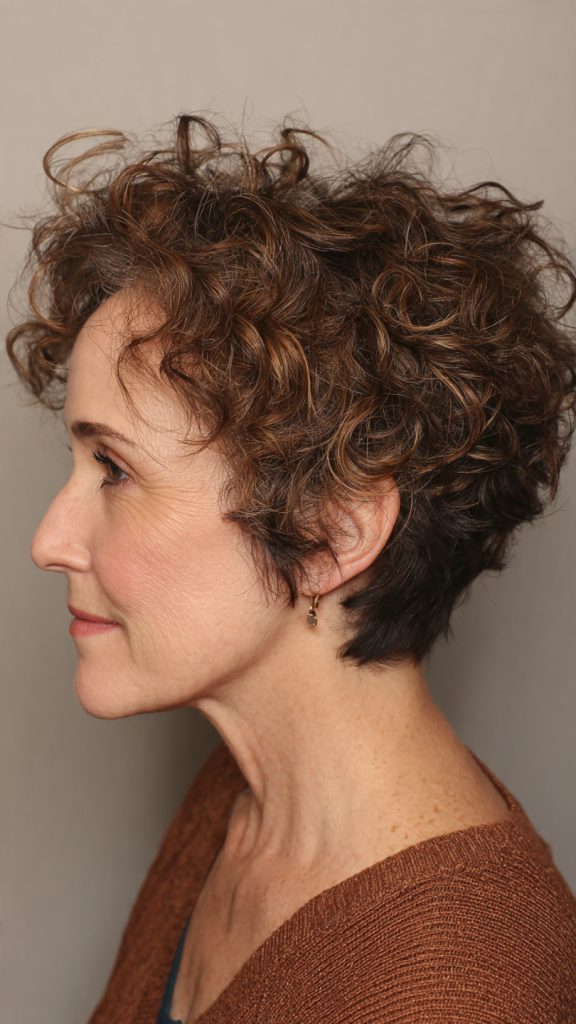
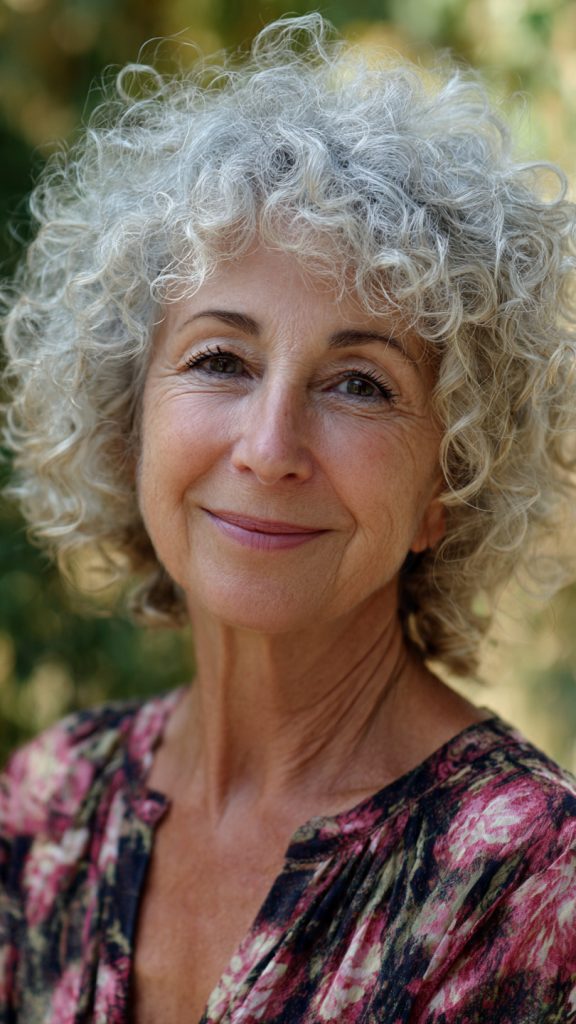
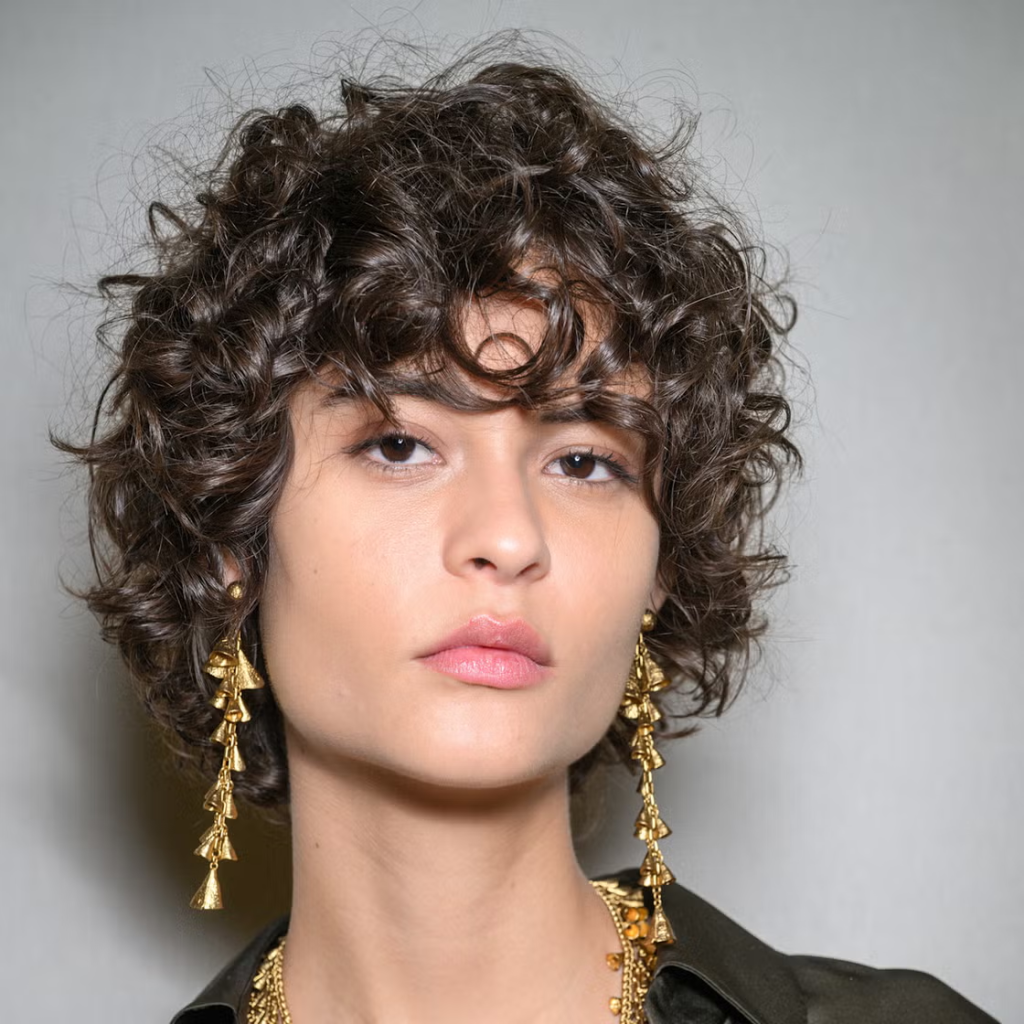
4. The Curly Short Layered Bob with Curtain Bangs
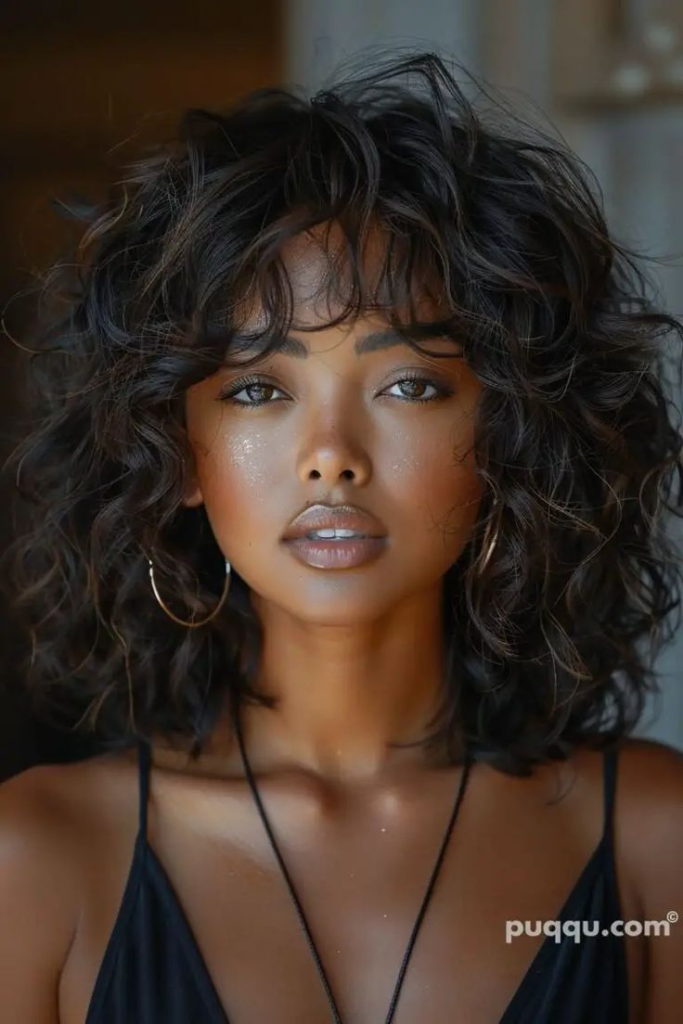
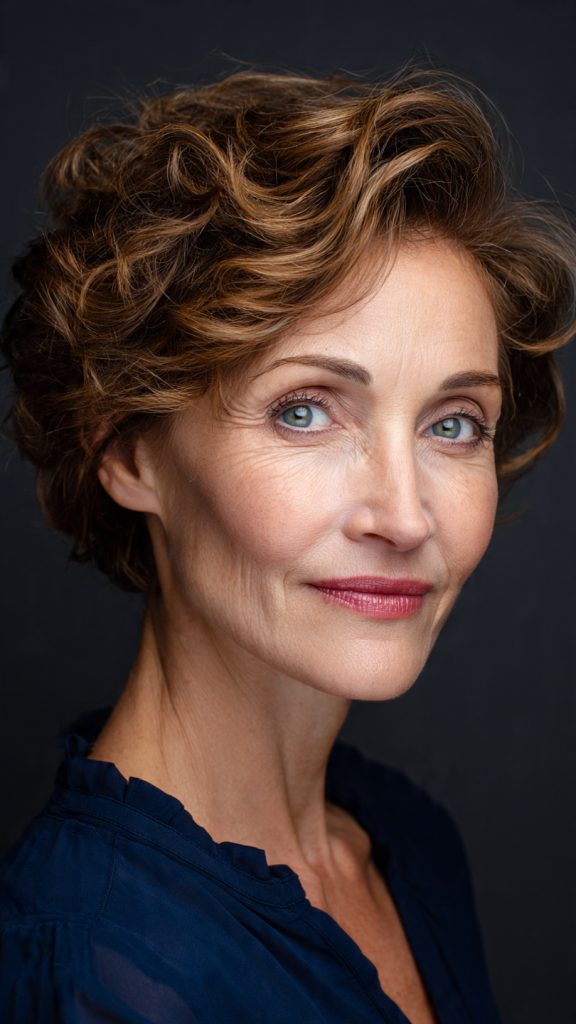
Why it works: Curly hair and layers are a match made in heaven. The layers remove weight, allowing your curls to bounce up. Curtain bangs — parted down the middle and curving to each side — blend seamlessly into the face-framing layers. The result is soft, romantic, and full of volume.
How to style: Apply a curl cream to soaking wet hair. Define the curtain bangs separately, directing them to each side. Let air-dry or diffuse. Do not brush.
Best curl types: Type 3A to 4A.
Maintenance: Trim every 6 to 8 weeks. Bangs every 5 to 6 weeks.
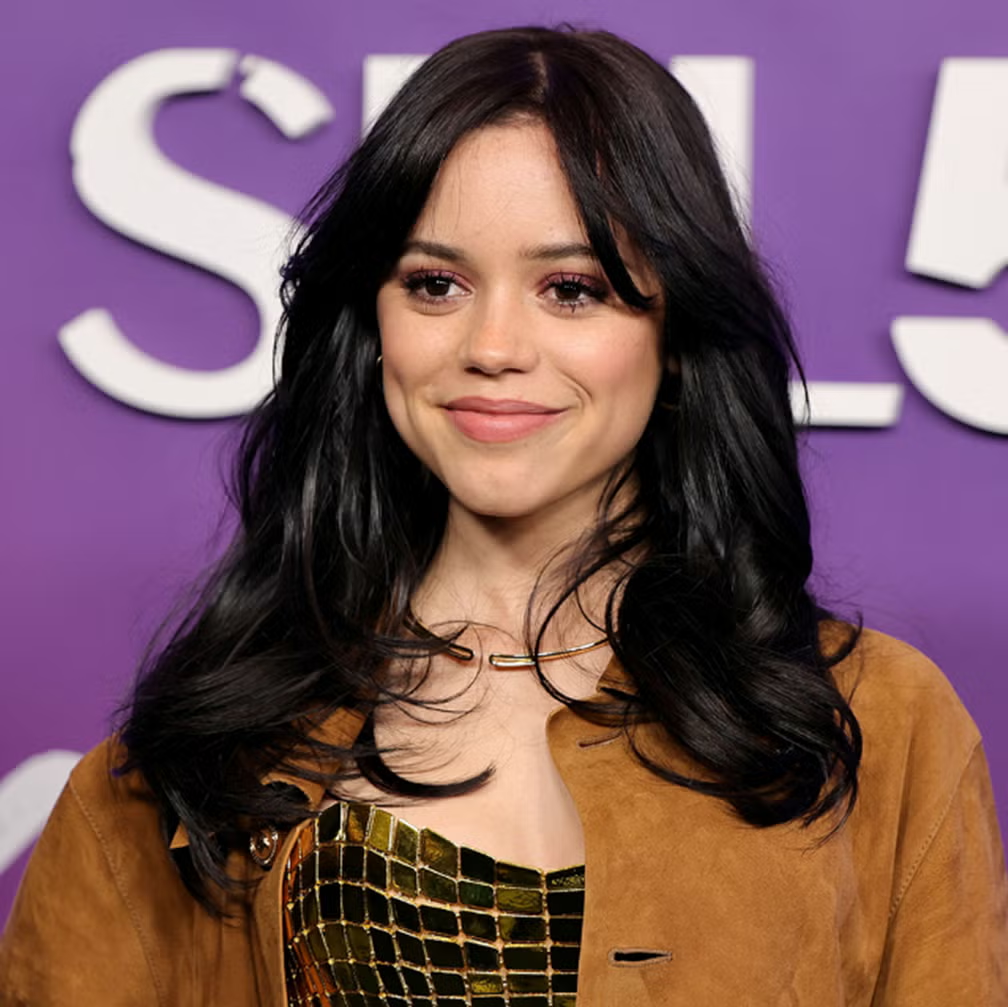
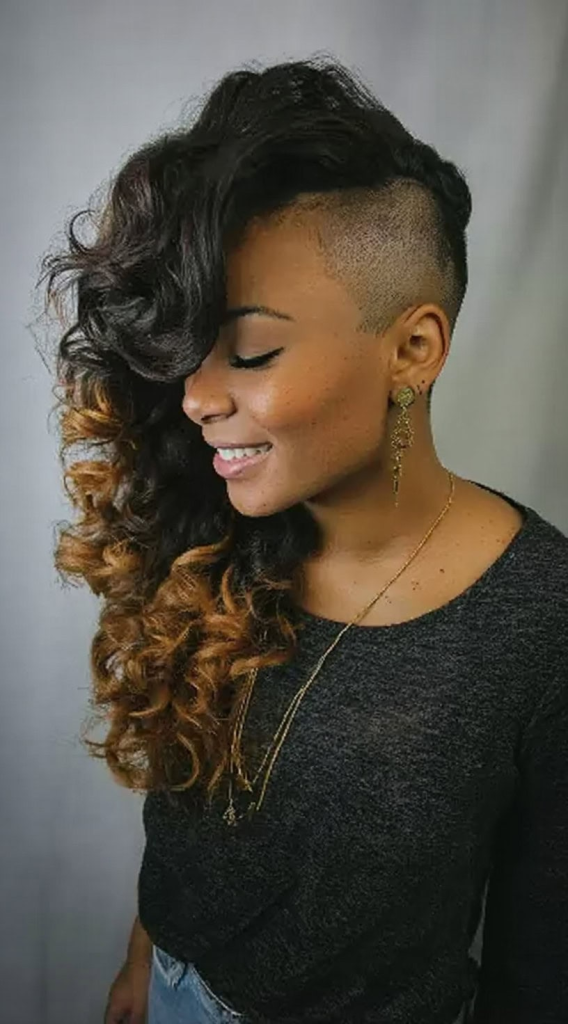
5. The Asymmetrical Short Layered Bob with Long Bangs

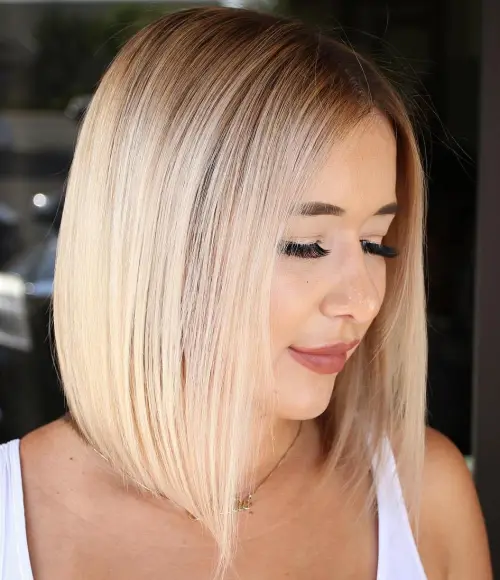
Why it works: One side of the bob is longer than the other. The asymmetry creates visual interest and draws the eye across your face. The long bangs — hitting at or below the eyebrows — sweep to the shorter side, emphasizing the asymmetry.
How to style: Apply a styling cream to damp hair. Blow-dry using a round brush, directing the longer side where you want it to fall. Sweep the long bangs to the shorter side.
Best face shapes: Oval, round, and square. The asymmetry breaks up width.
Maintenance: Trim every 5 to 6 weeks.
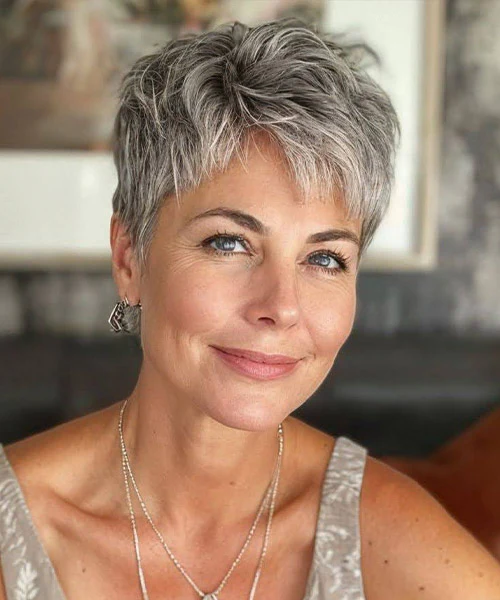
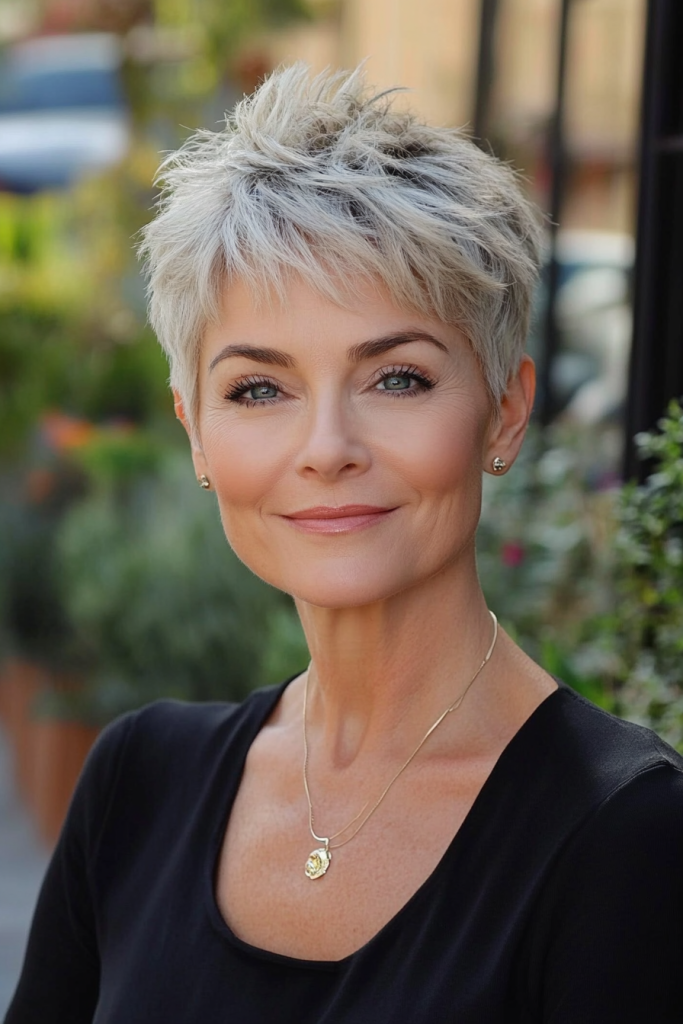
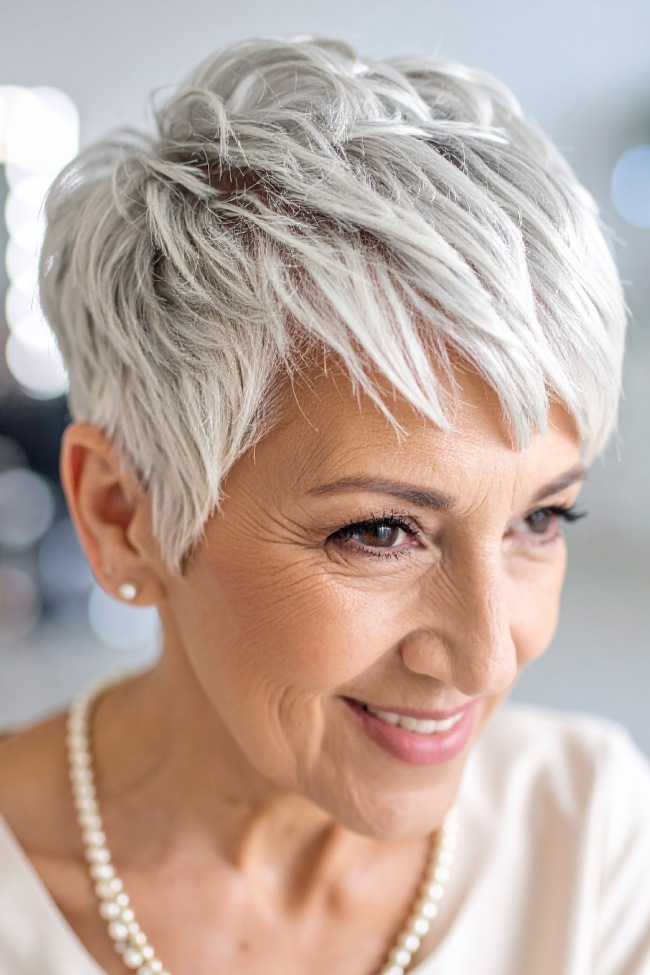
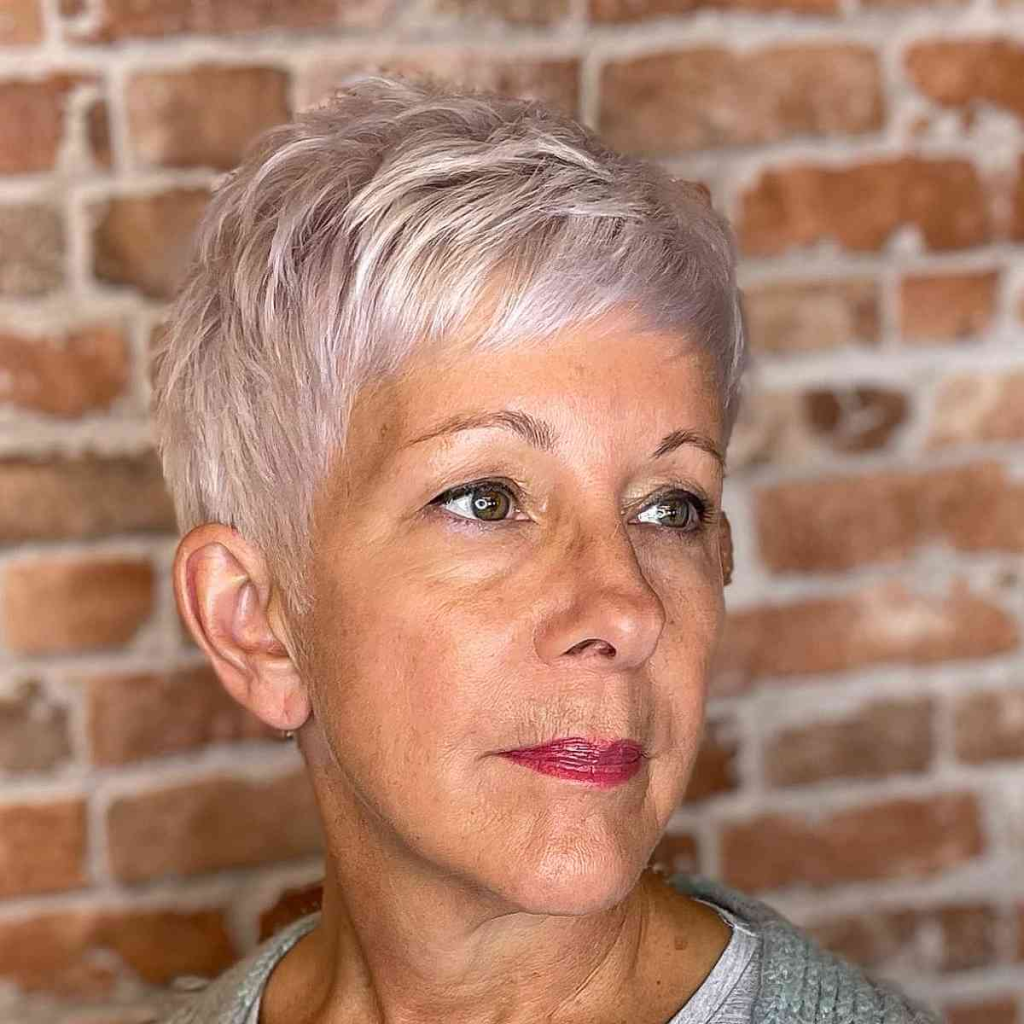
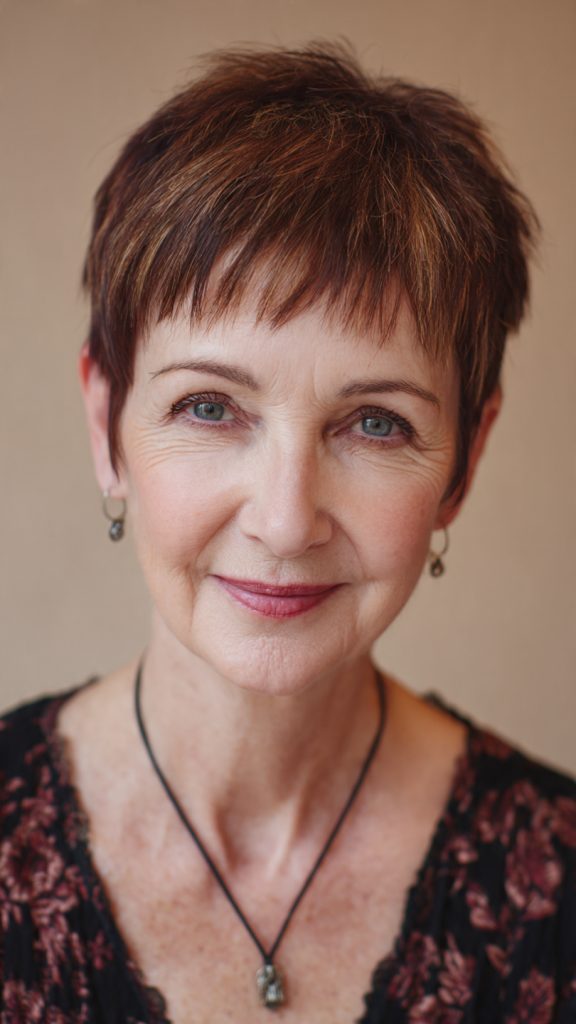
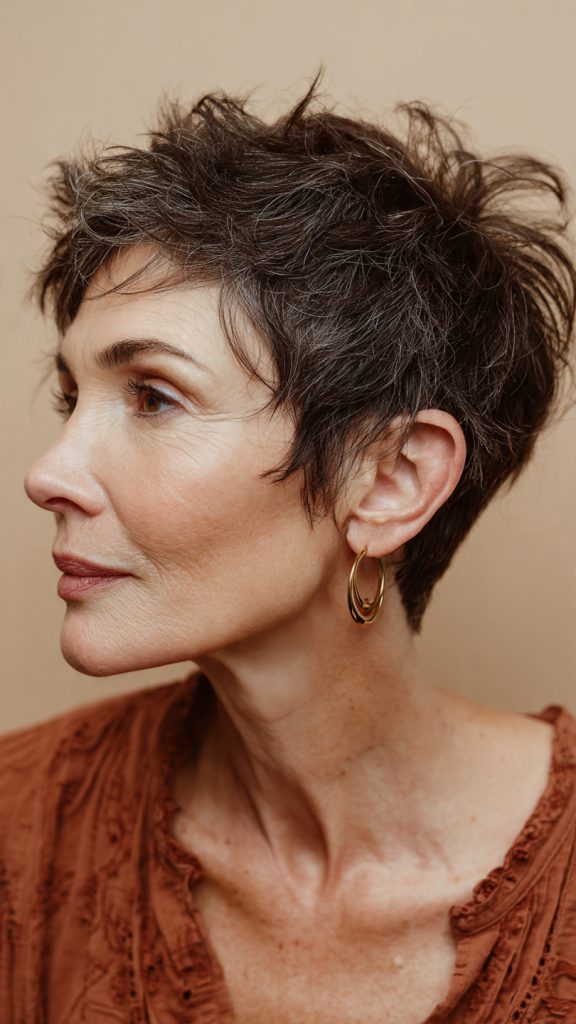
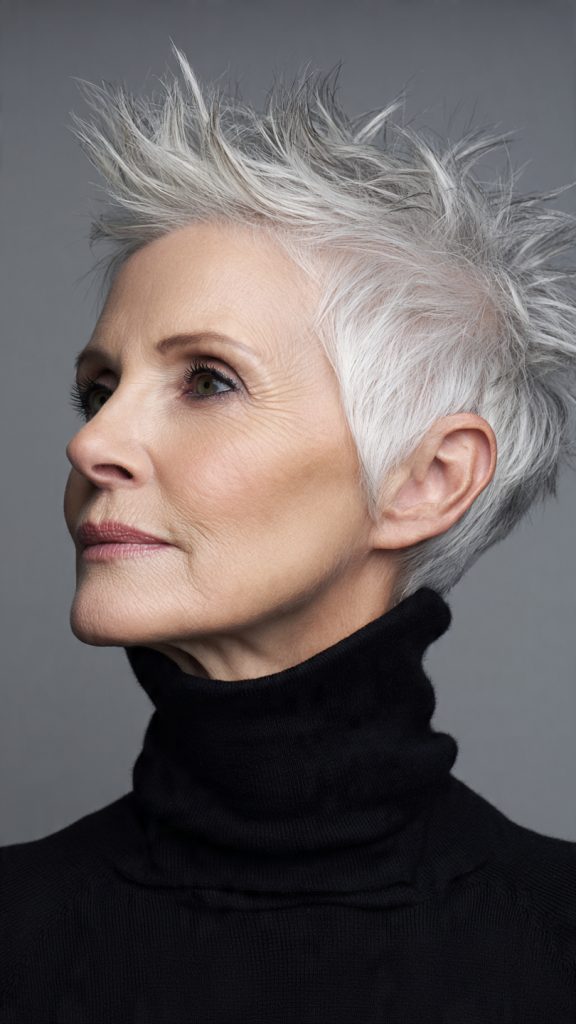
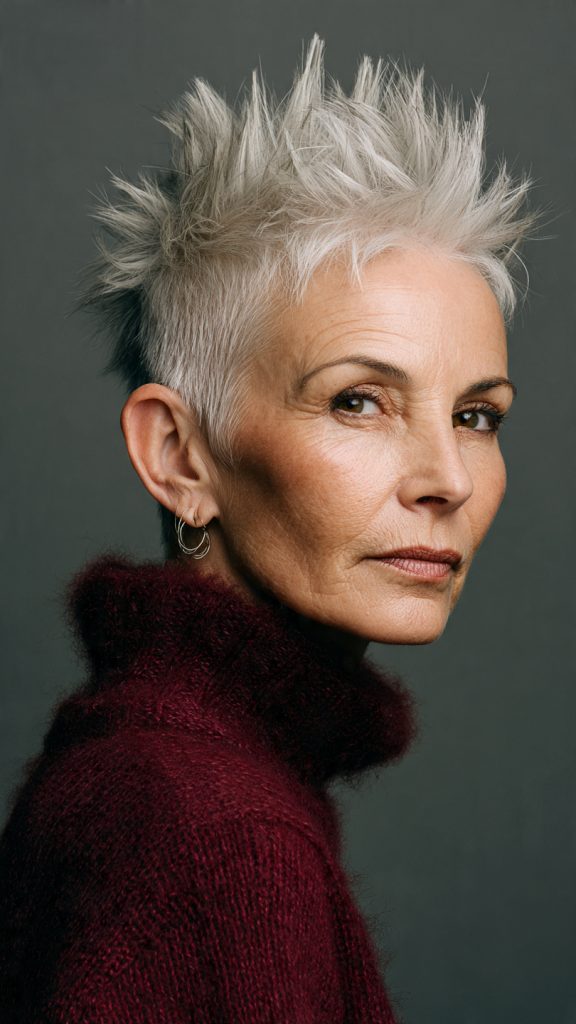
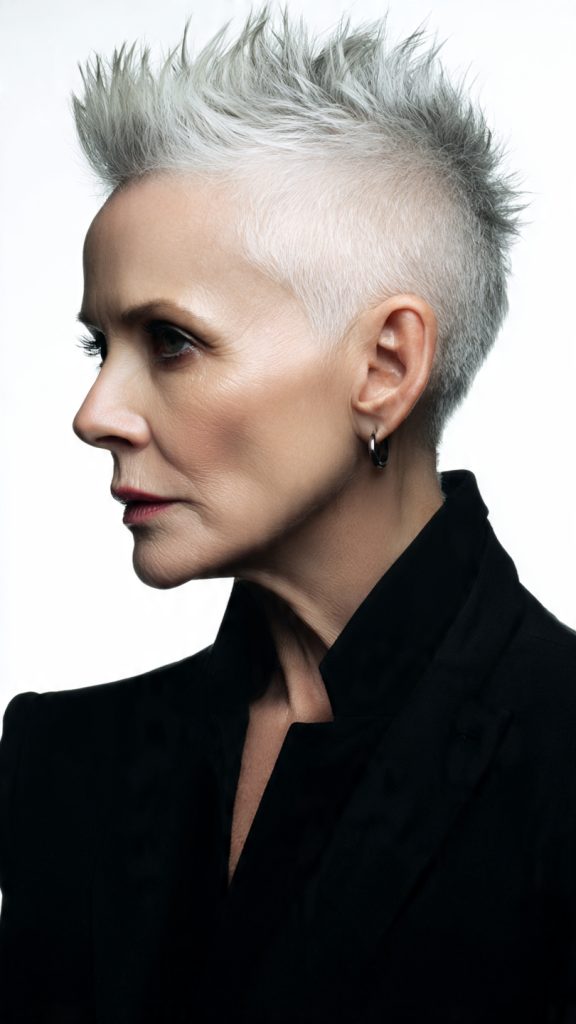
6. The Choppy Short Layered Bob with Micro Bangs

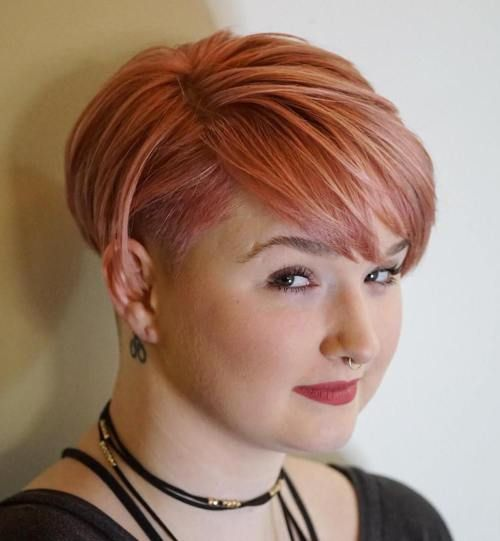
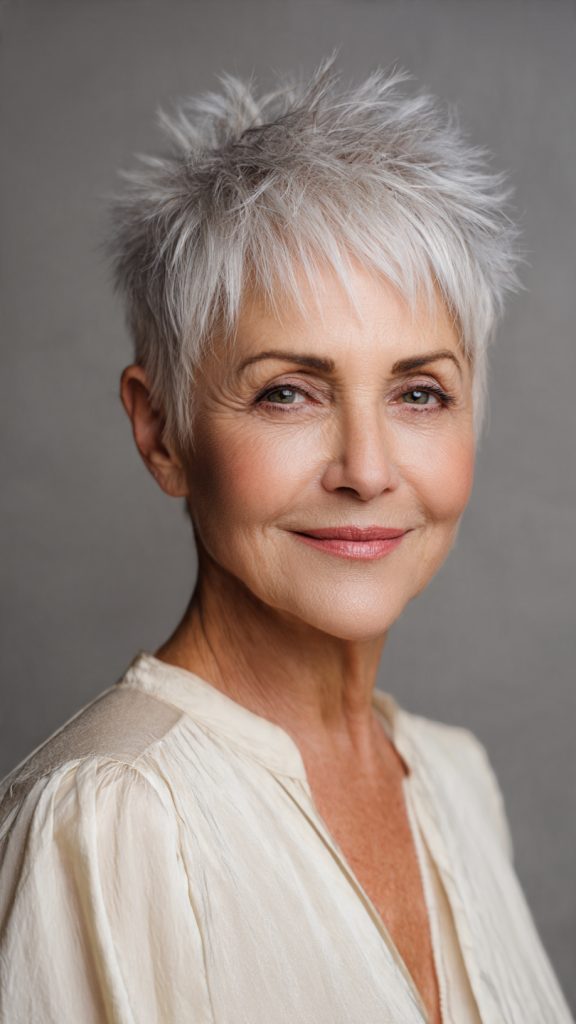
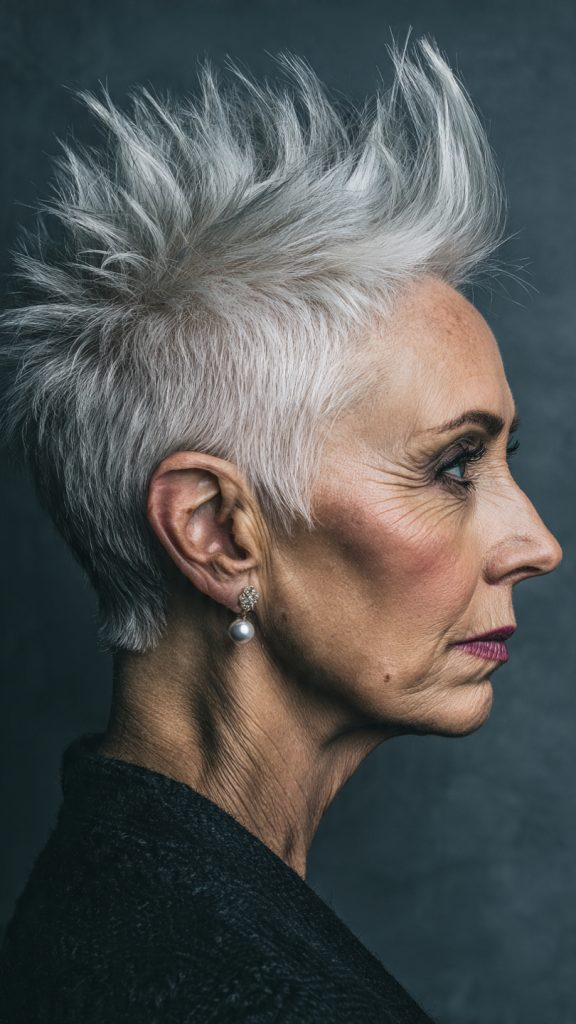
Why it works: This is the edgy version. The bob is cut with choppy, uneven layers throughout. The micro bangs sit high on the forehead, often above the eyebrows. This look is bold, modern, and not for the timid. It works best on straight or fine hair.
How to style: Apply a texturizing paste to dry hair. Use your fingers to separate and define the choppy pieces. The micro bangs can be left natural or styled straight down.
Best face shapes: Oval and heart. Micro bangs can overwhelm round or square faces.
Maintenance: Trim every 4 to 5 weeks. Micro bangs need refreshing every 2 to 3 weeks.
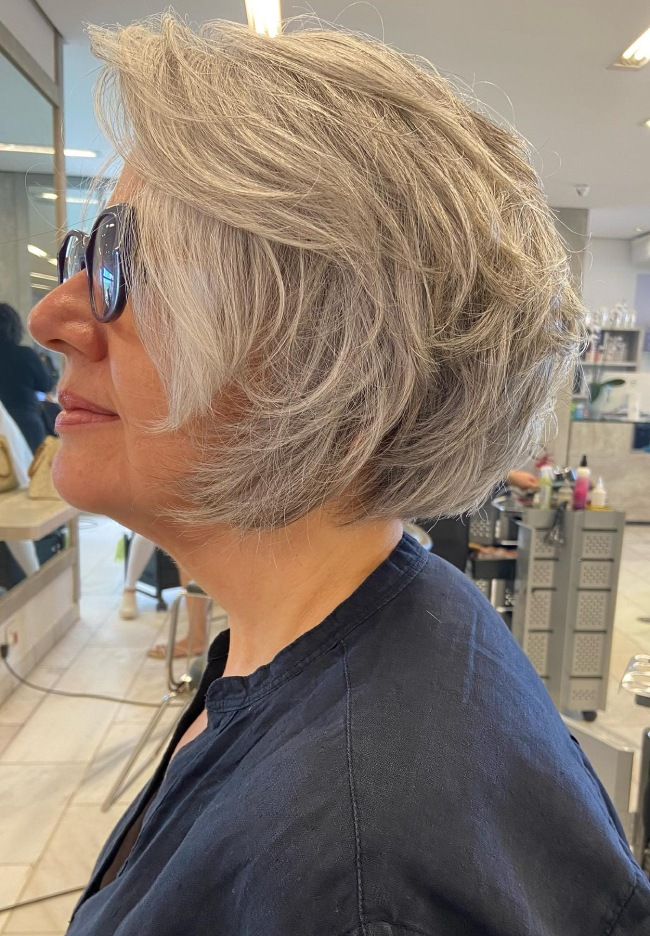
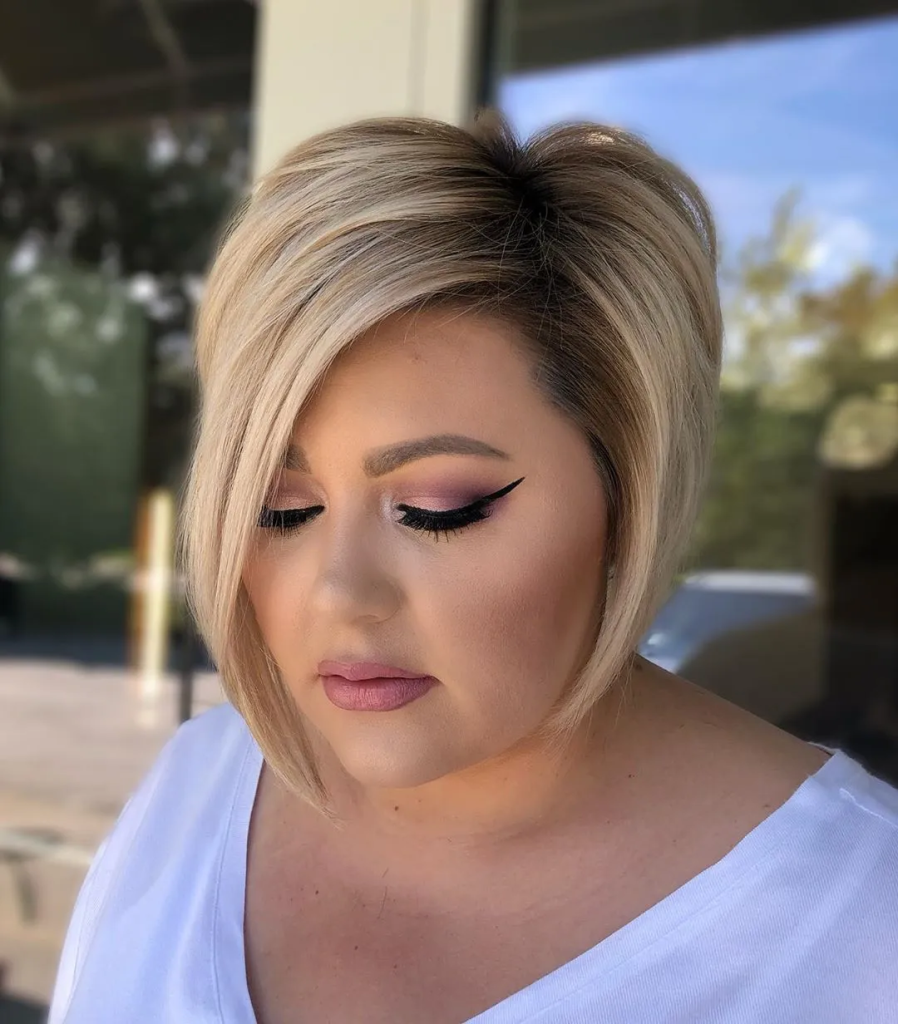
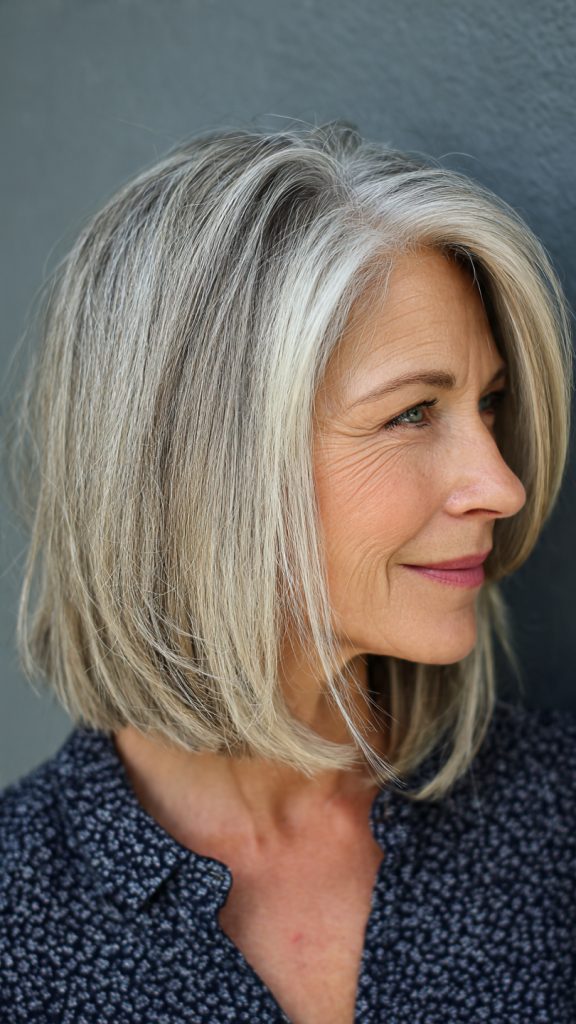
7. The Angled Short Layered Bob with Side-Swept Bangs
Why it works: An angled bob is shorter in the back and gradually longer toward the front. The angle creates a slimming diagonal line along your jaw. Adding side-swept bangs doubles the diagonal effect, which is extremely flattering on round or square faces.
How to style: Apply a smoothing cream to damp hair. Blow-dry using a round brush, turning the ends under slightly. Sweep the bangs to one side.
Best face shapes: Oval, round, and square. The angles slim and elongate.
Maintenance: Trim every 5 to 6 weeks.
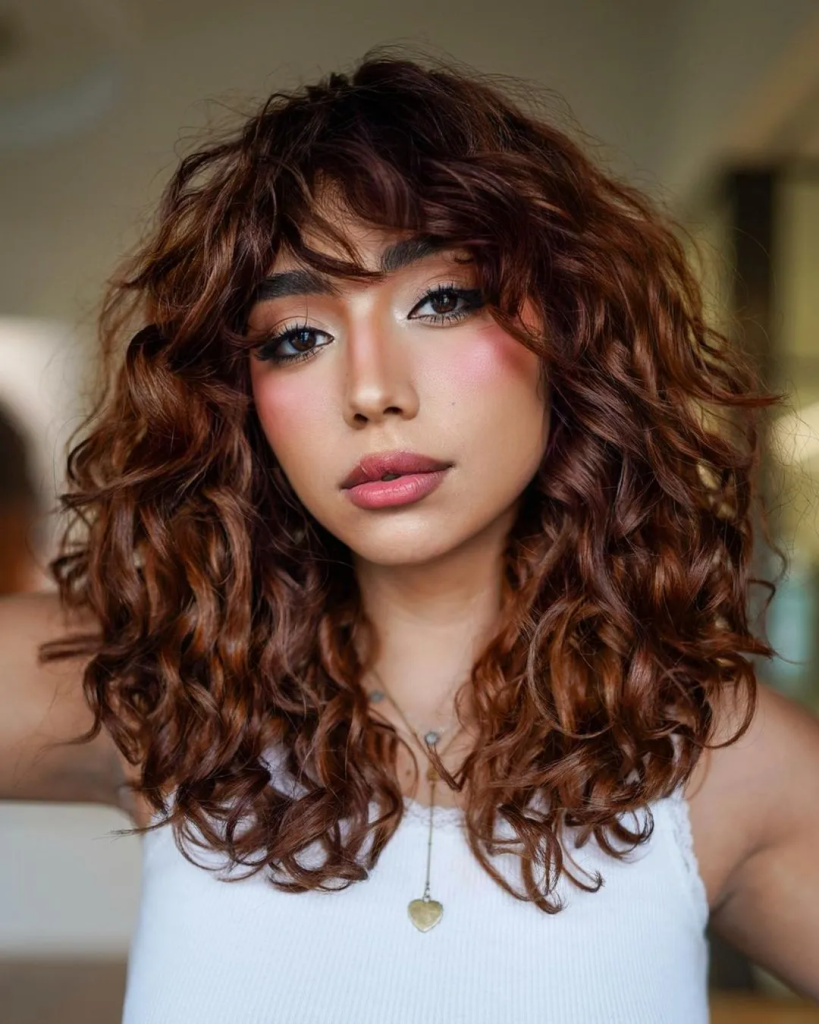
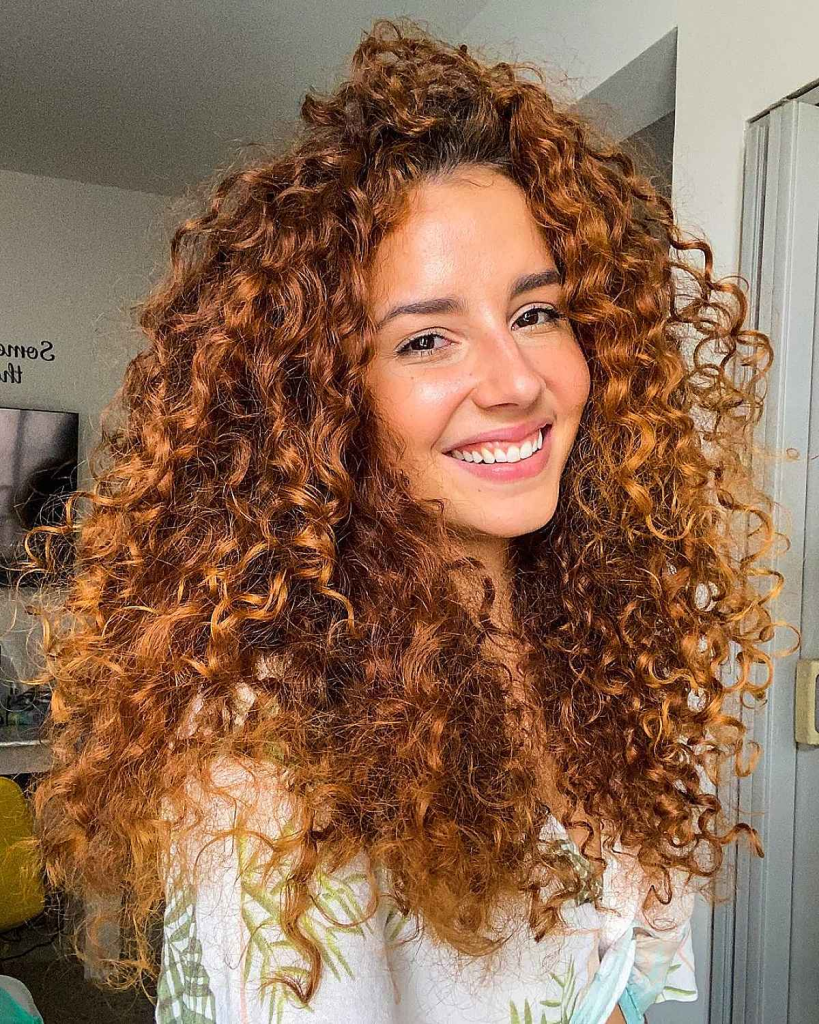
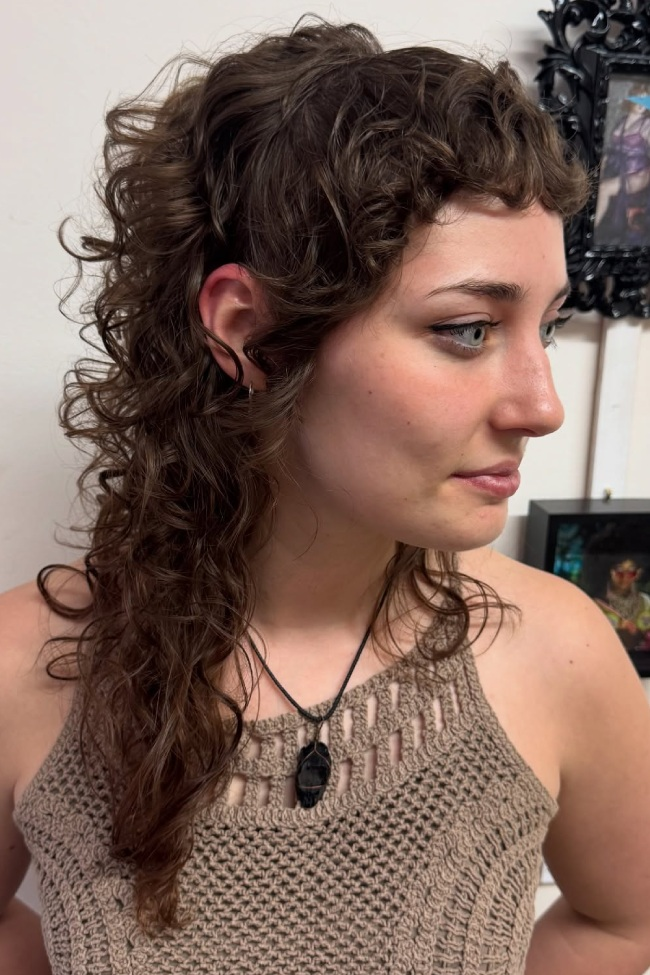
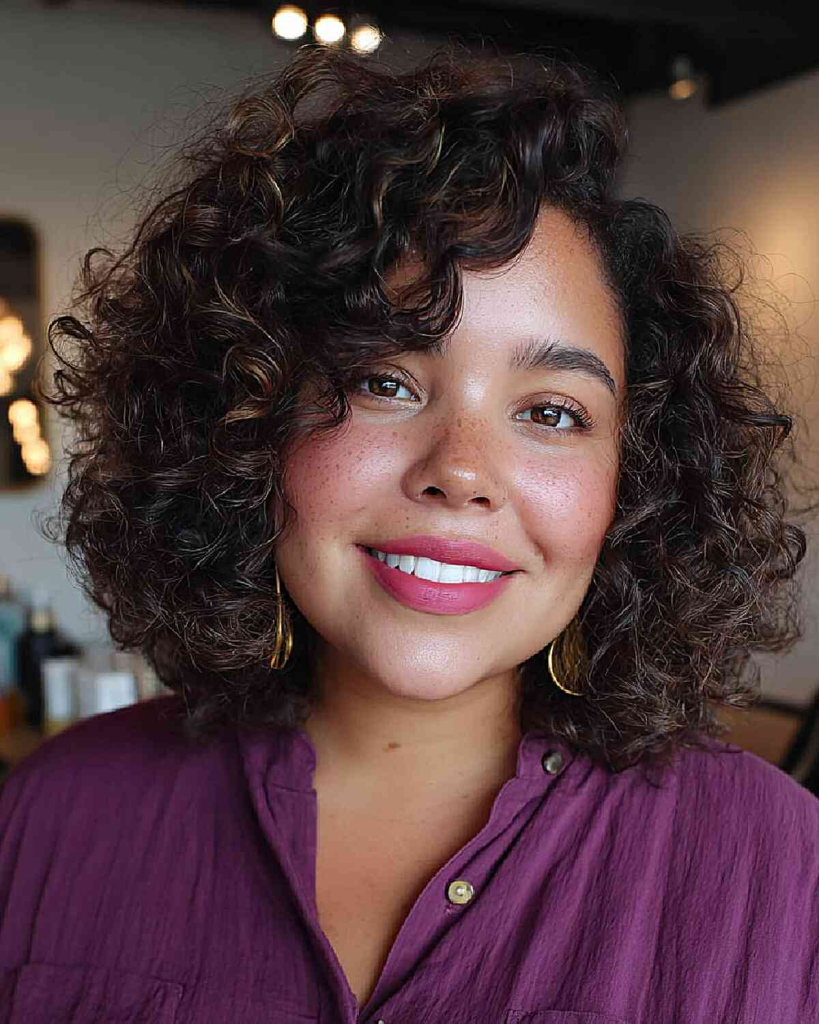
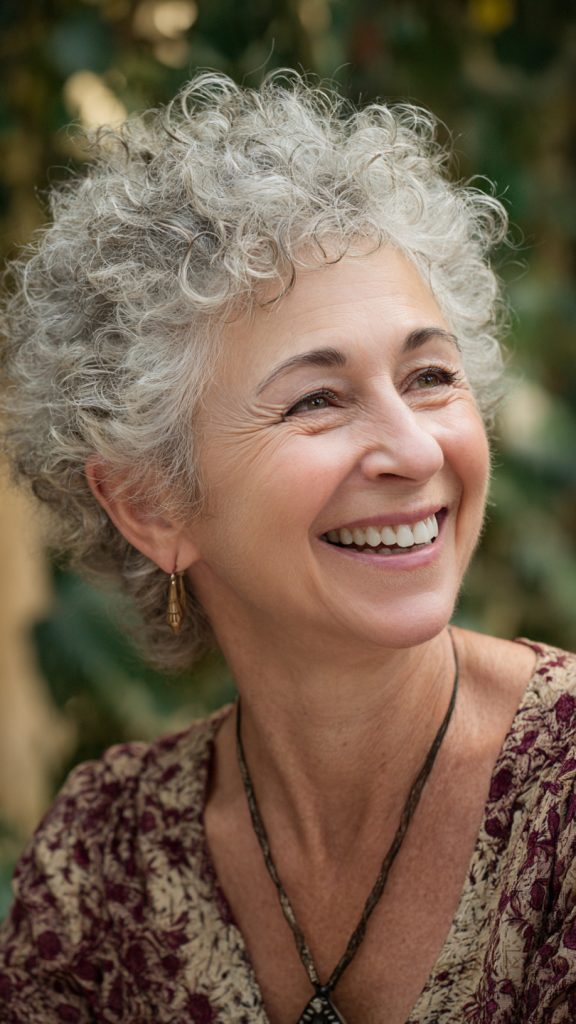
8. The Short Layered Bob with Curly Bangs
Why it works: Curly bangs are having a major moment. On a short layered bob, curly bangs add volume and interest at the front of your hair. The bangs should be cut dry so your stylist can see exactly where each curl falls. The result is playful, modern, and full of personality.
How to style: Apply a curl cream to wet hair. Define the curly bangs separately from the rest of your curls. Let air-dry or diffuse. Do not brush the bangs forward — let them fall naturally.
Best curl types: Type 3A to 4A.
Maintenance: Bangs need trimming every 4 to 5 weeks. The bob every 6 to 8 weeks.
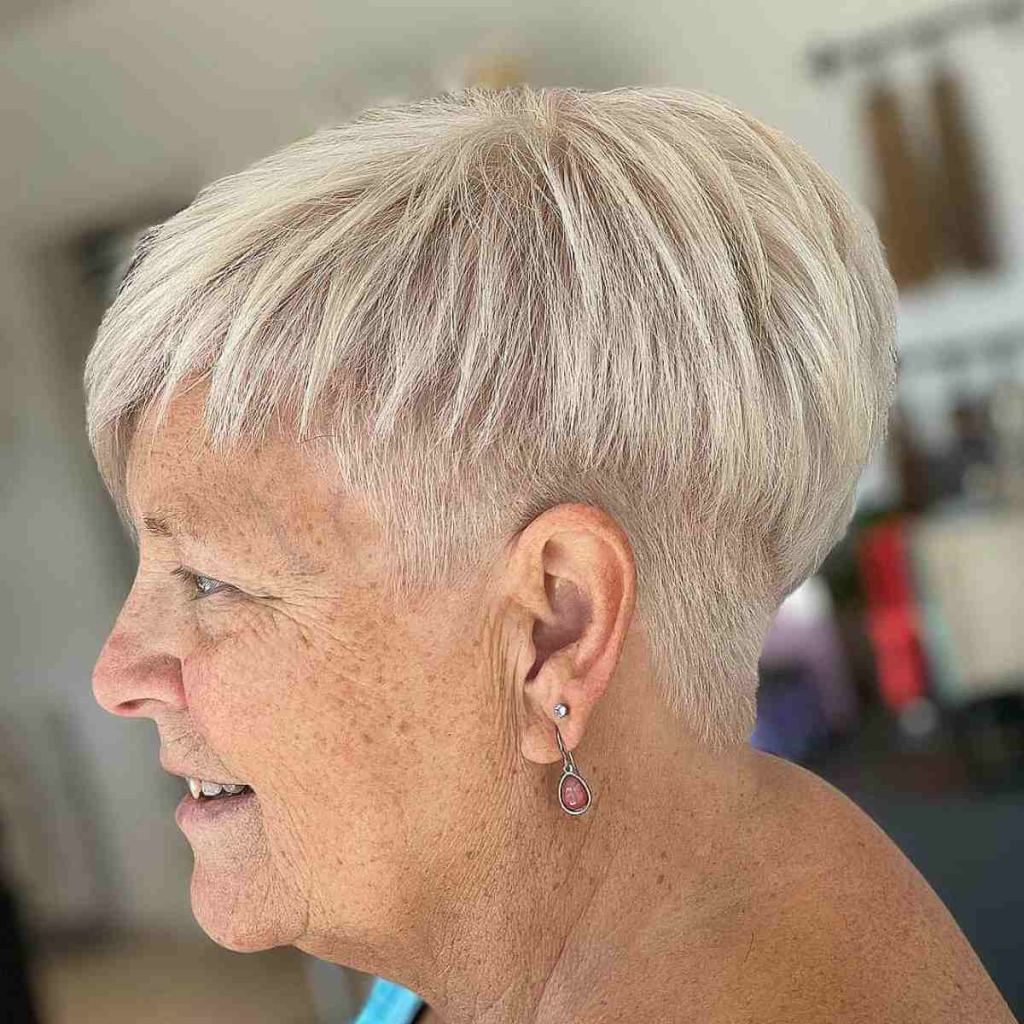
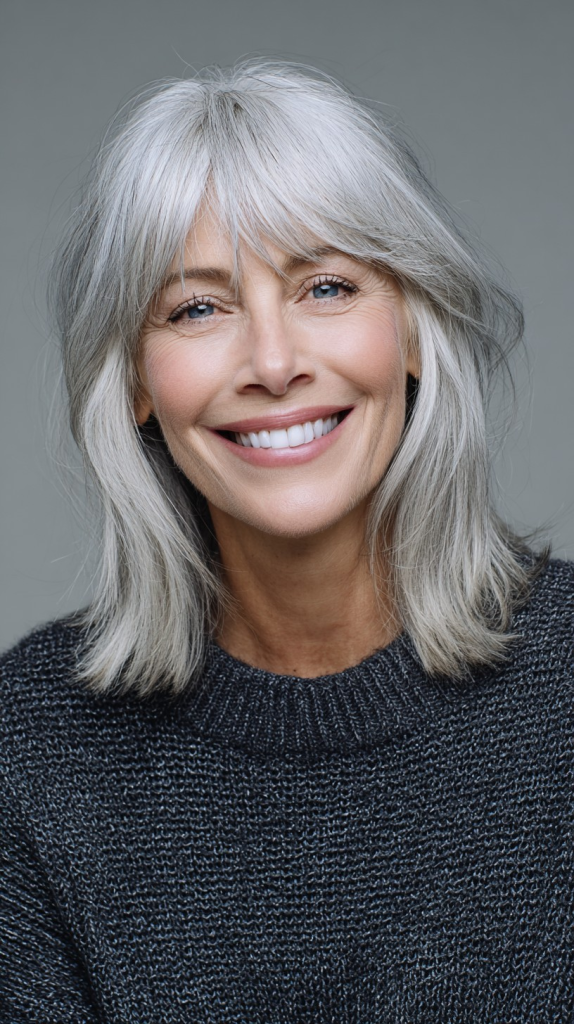
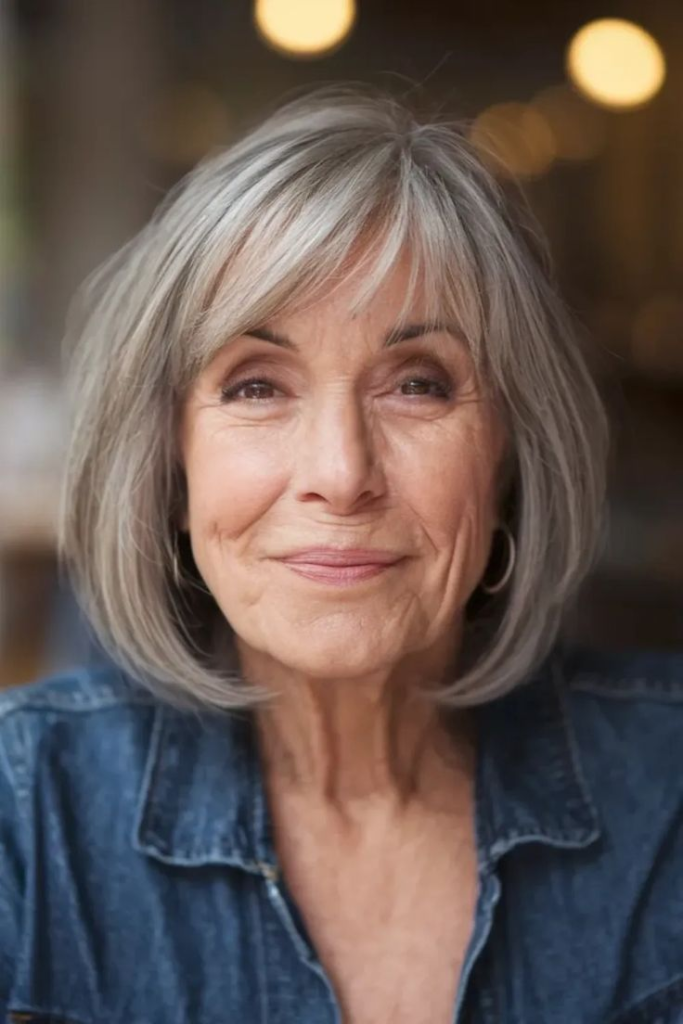
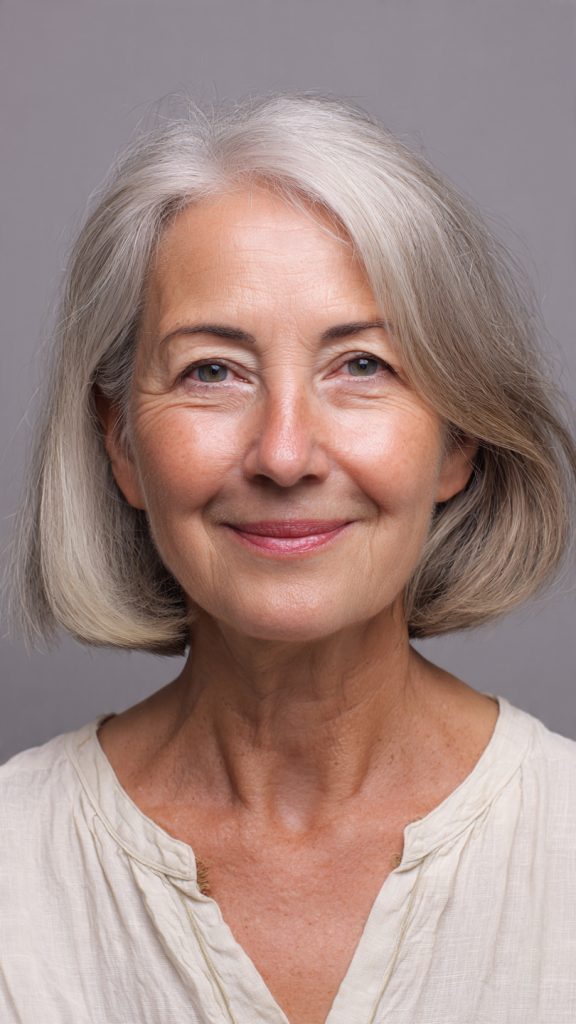
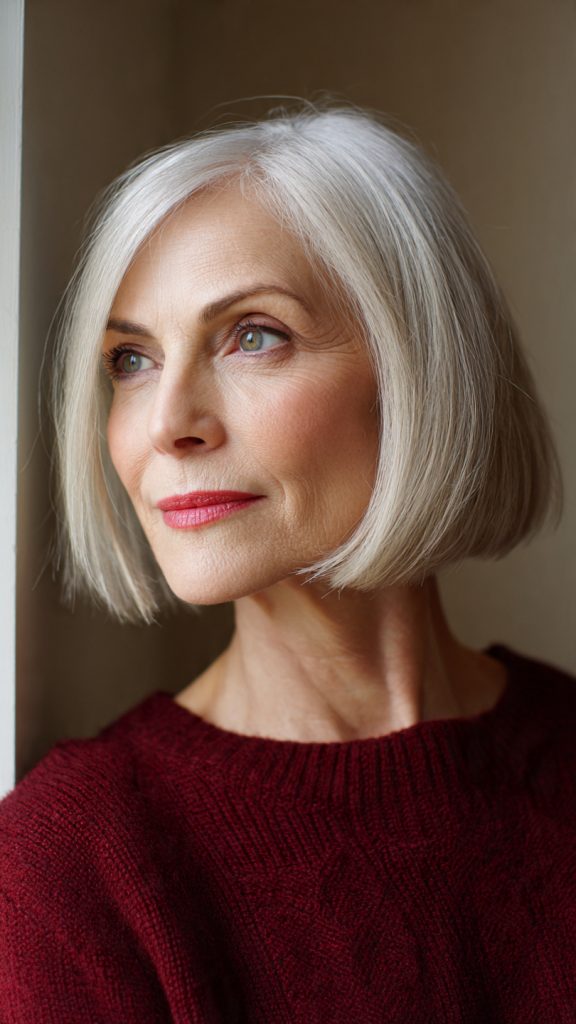
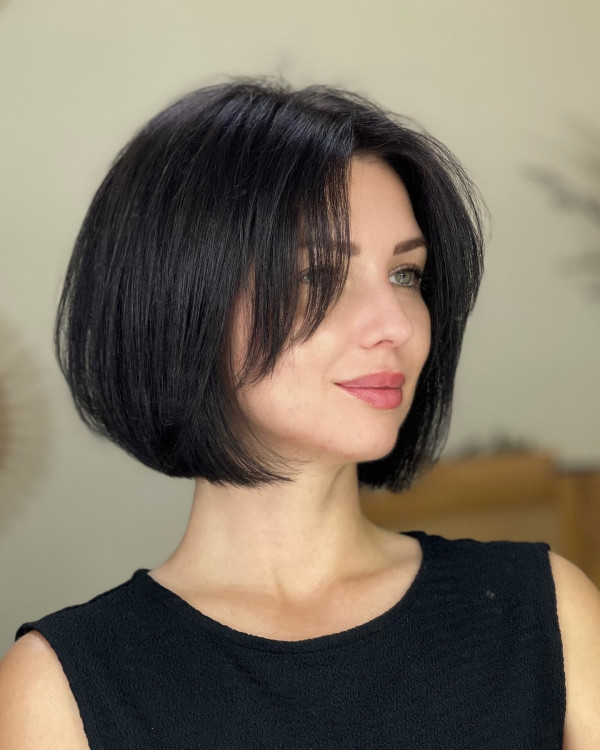
9. The Sleek Short Layered Bob with Blunt Bangs

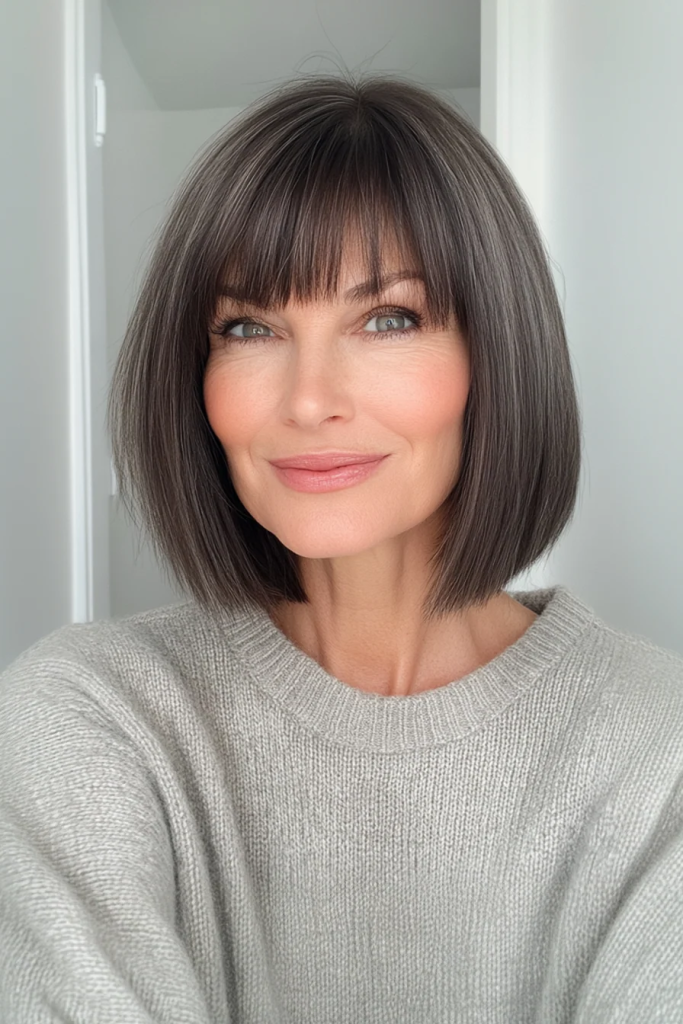
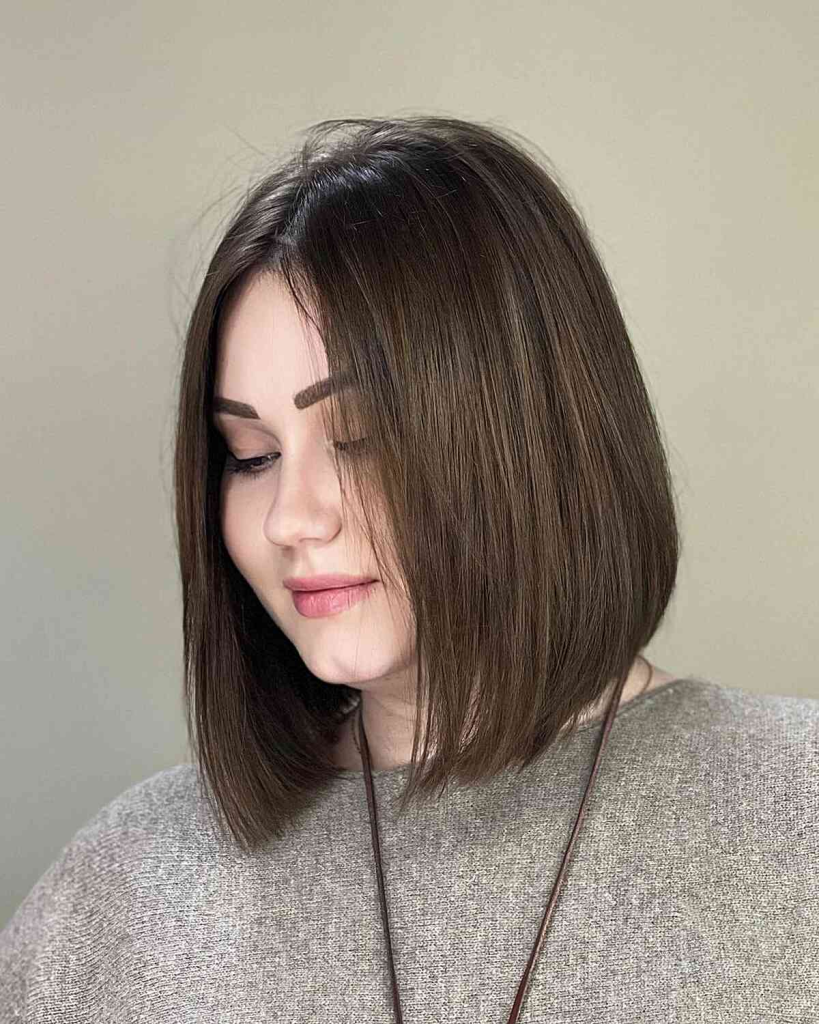
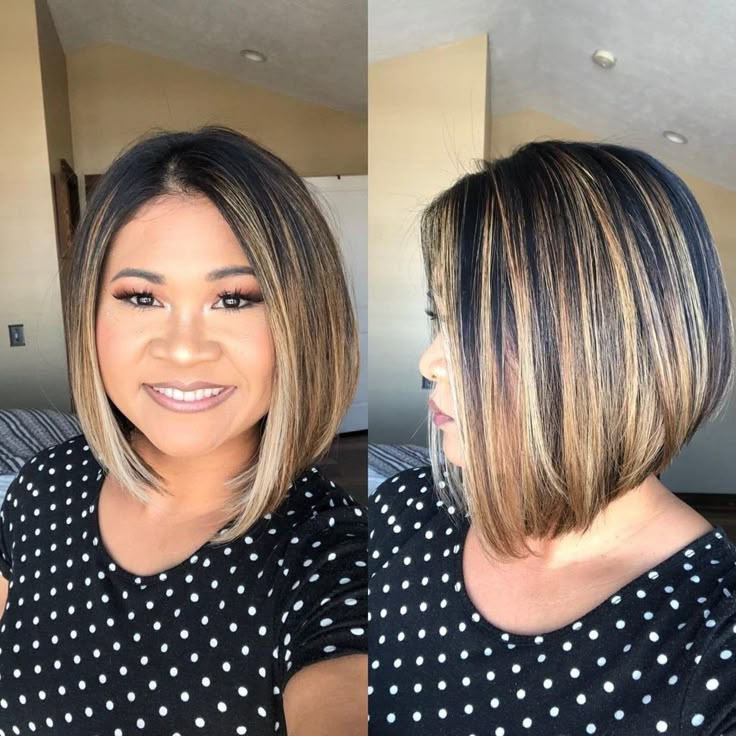
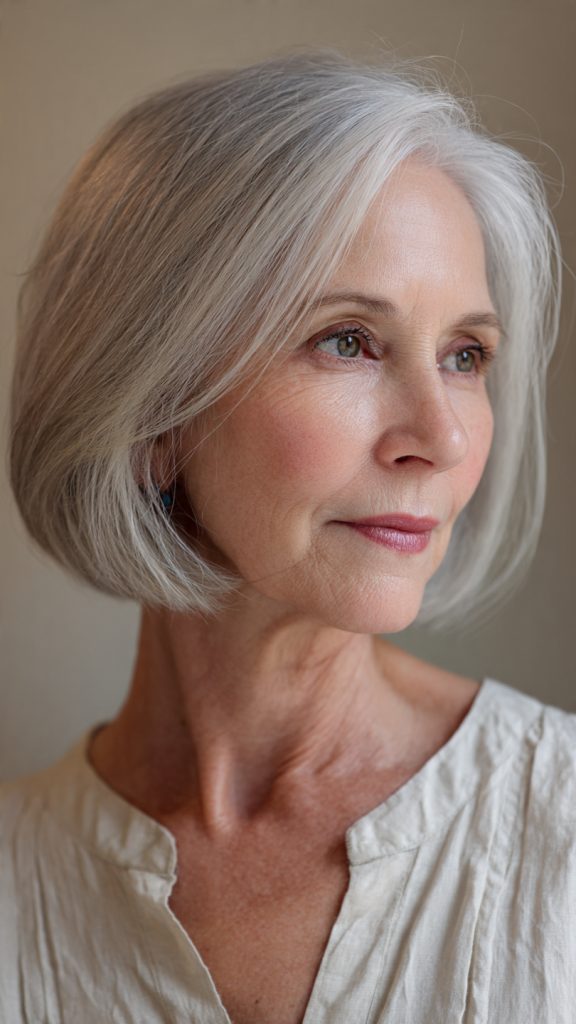
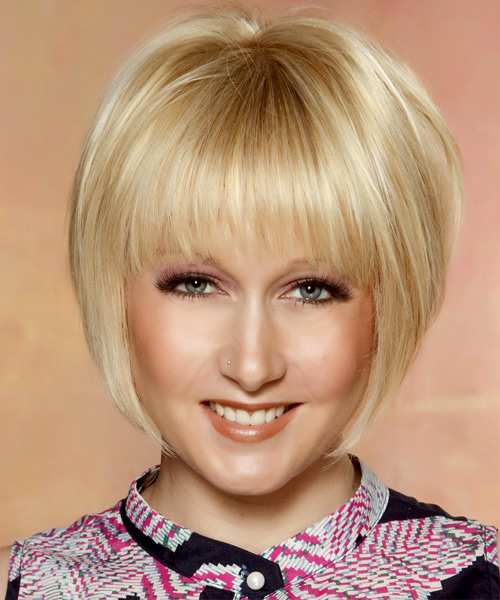
Why it works: This is the polished, professional version. The bob is cut with subtle layers that add movement without looking choppy. The blunt bangs are cut straight across at the eyebrows. The entire look is smooth, shiny, and sophisticated. This works best on straight hair.
How to style: Apply a smoothing serum and heat protectant. Blow-dry using a round brush, then flat-iron for maximum sleekness. The blunt bangs should be dried straight down. Finish with a shine spray.
Best face shapes: Oval and heart. Blunt bangs can be harsh on round or square faces.
Maintenance: Trim every 4 to 5 weeks. Blunt bangs need refreshing every 3 weeks.
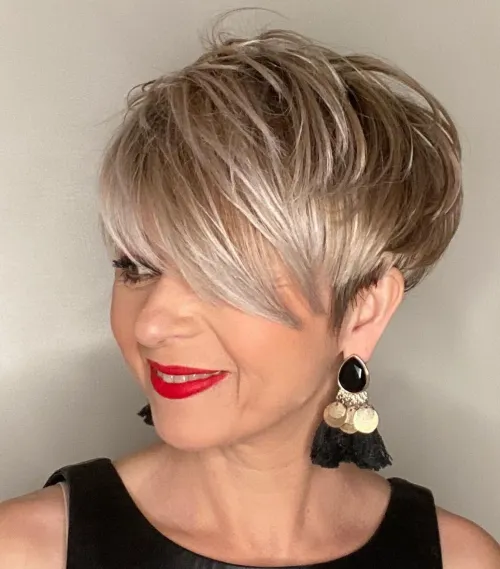
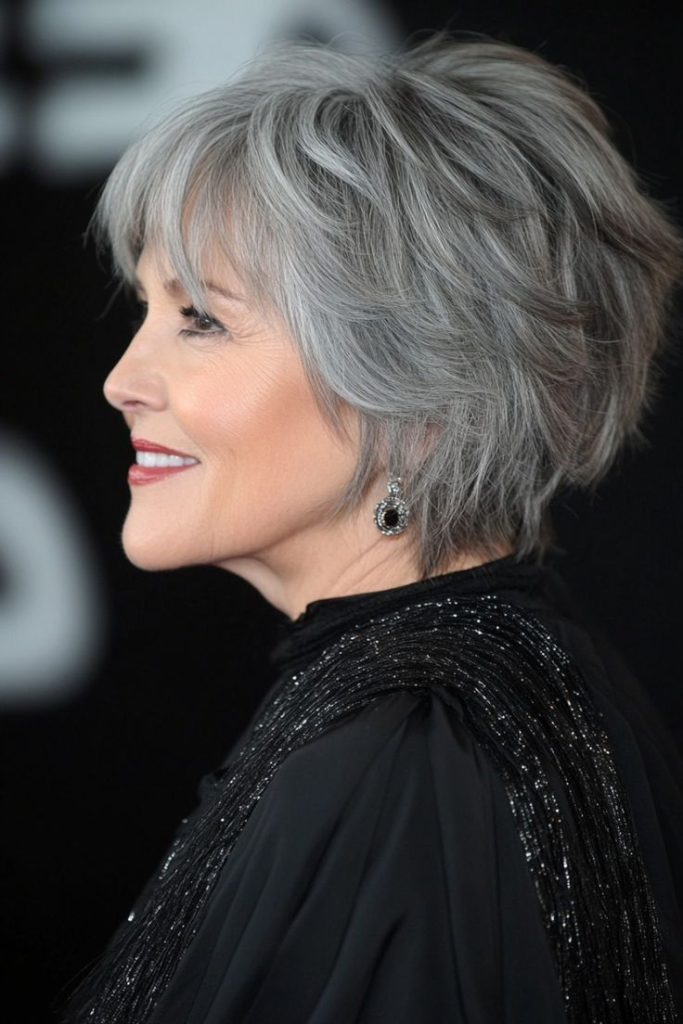
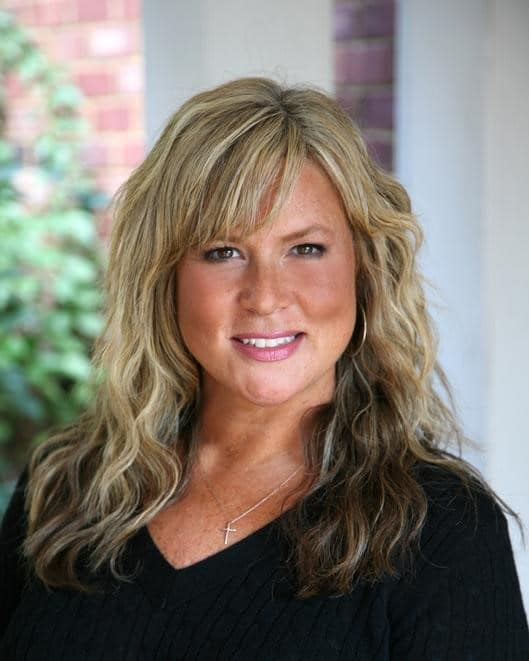
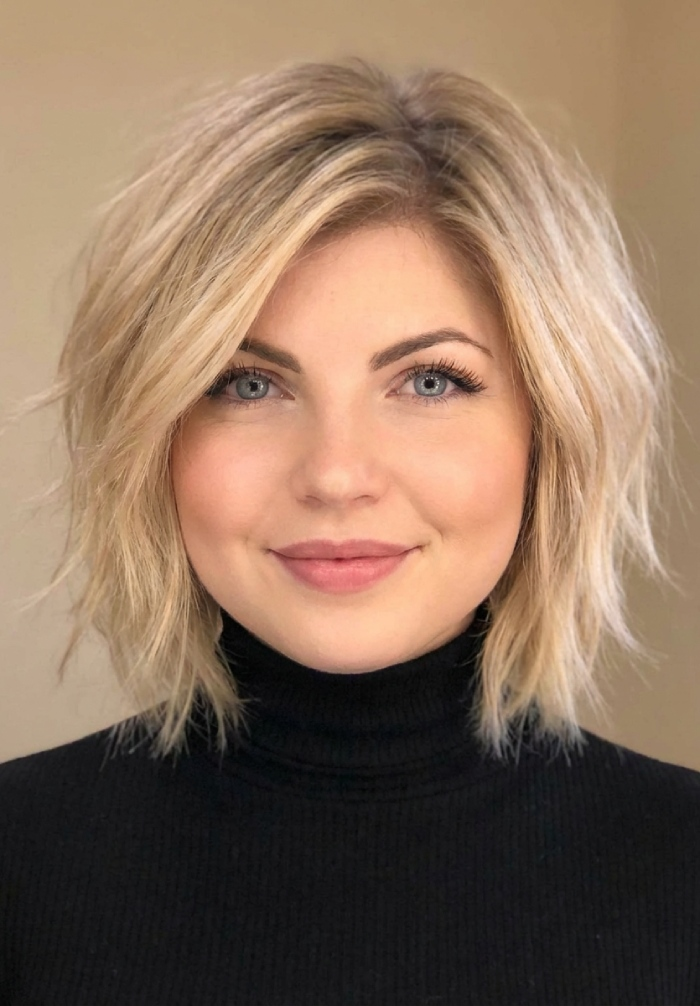
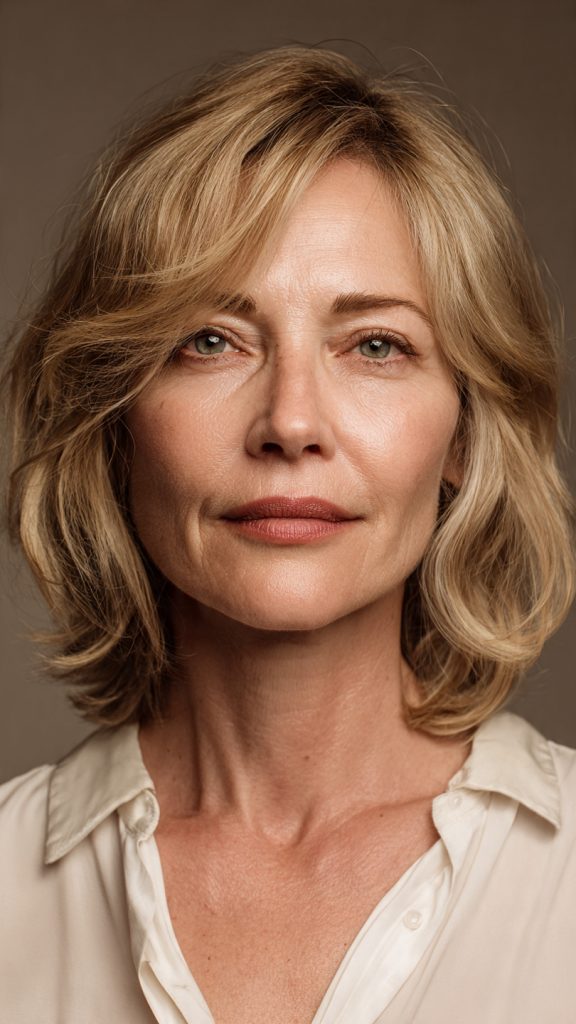
10. The Messy Short Layered Bob with Piece-Y Bangs
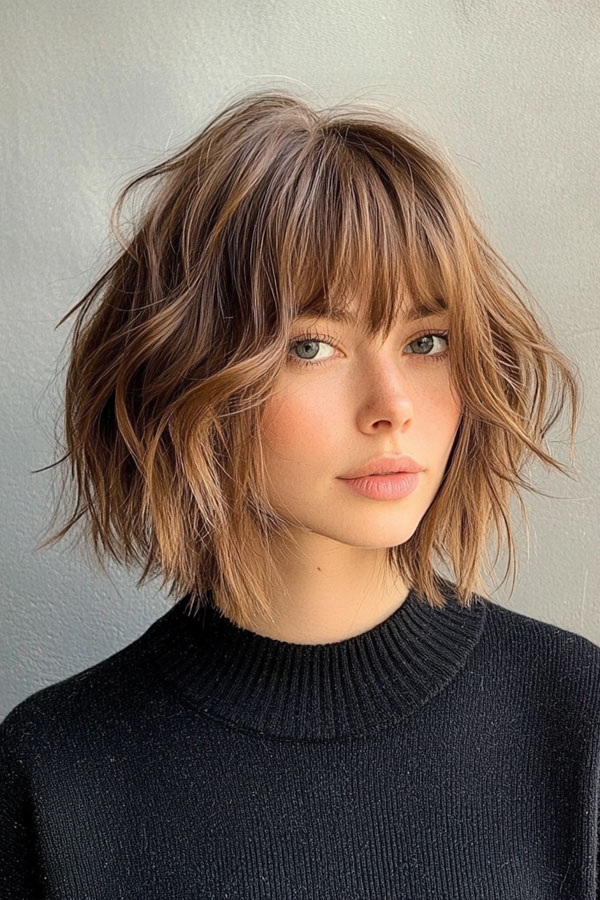
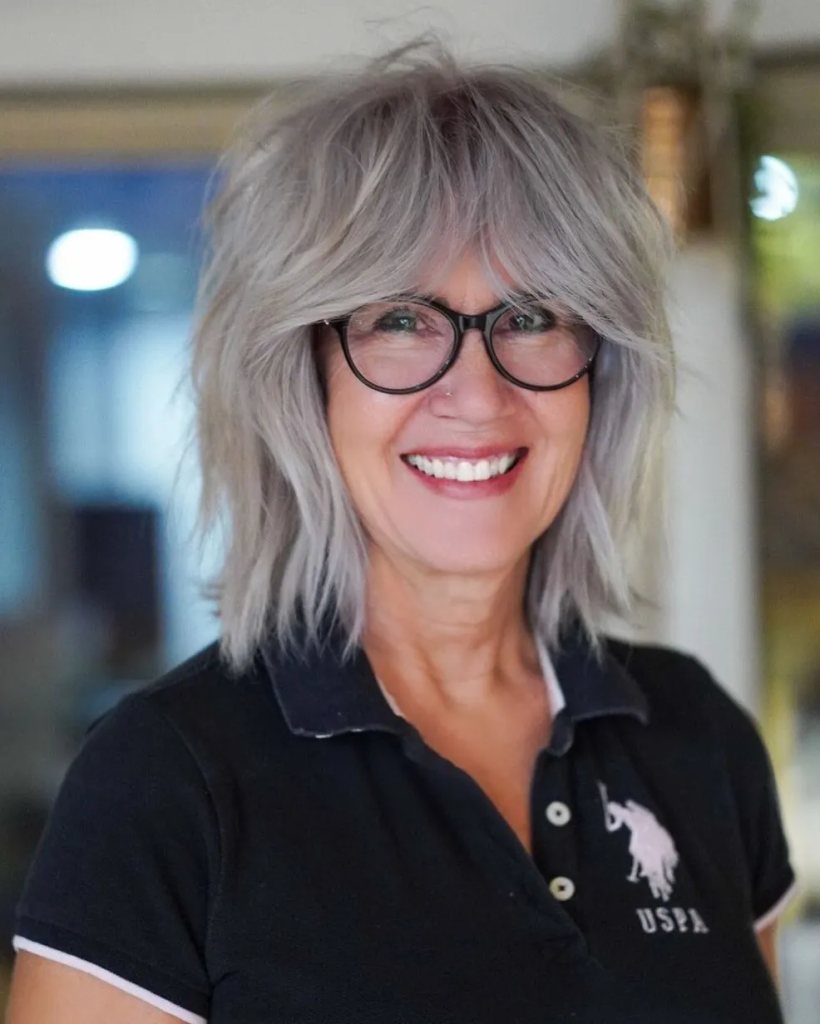
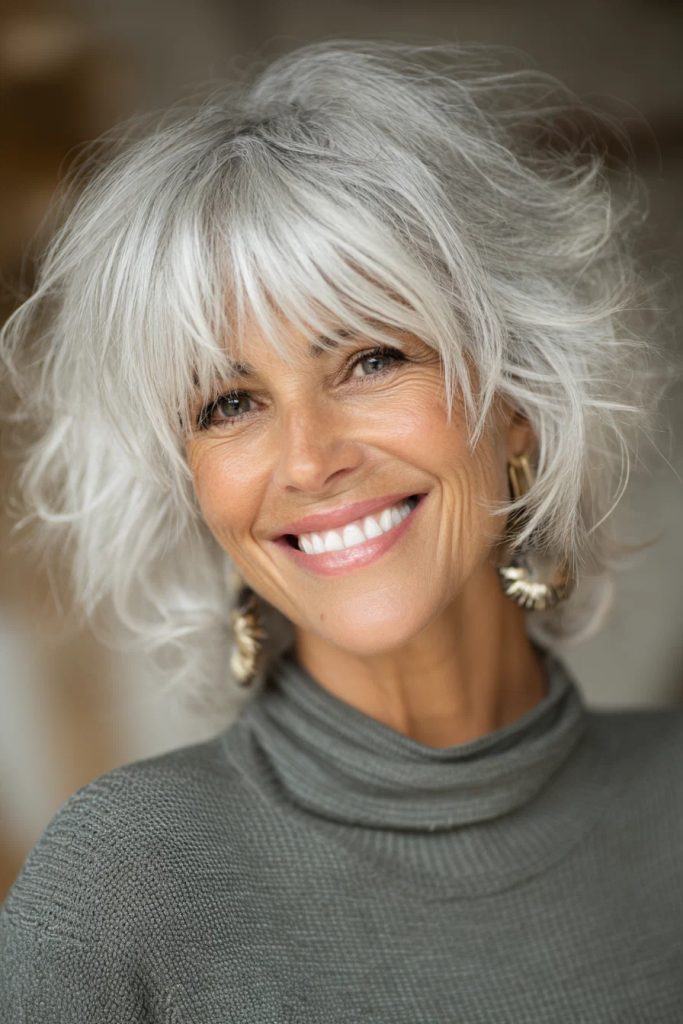
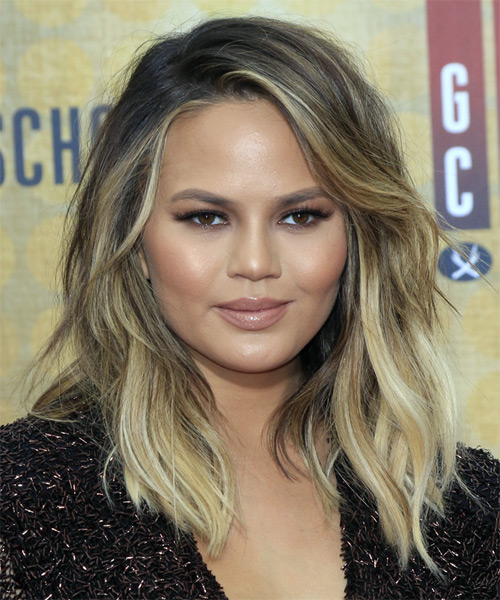
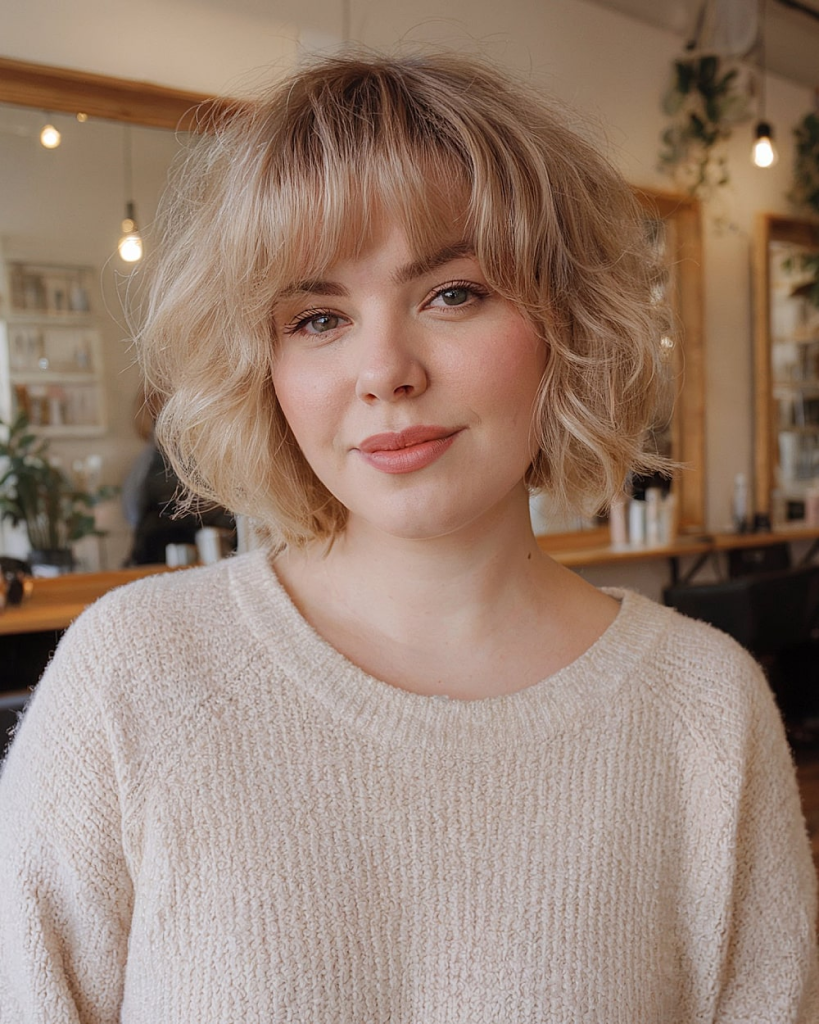
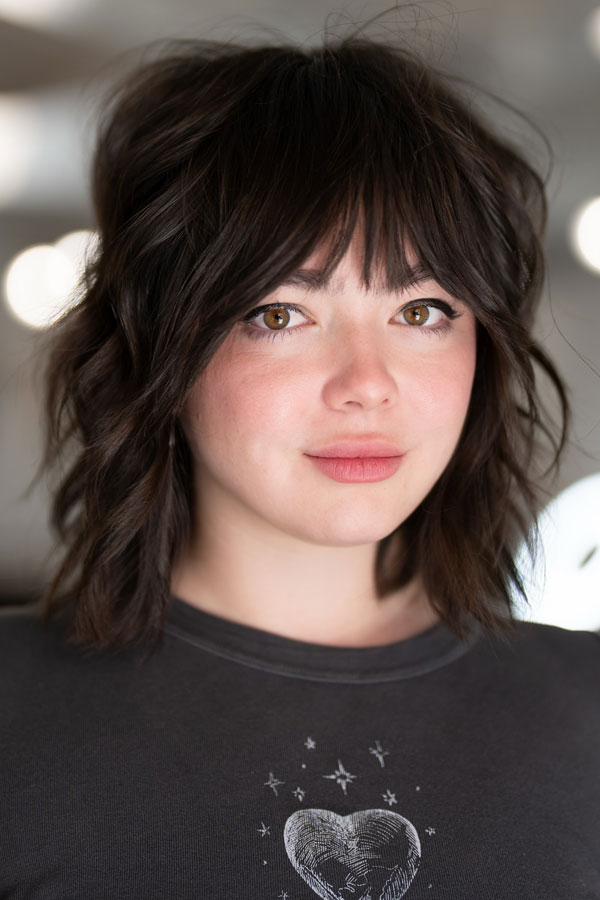
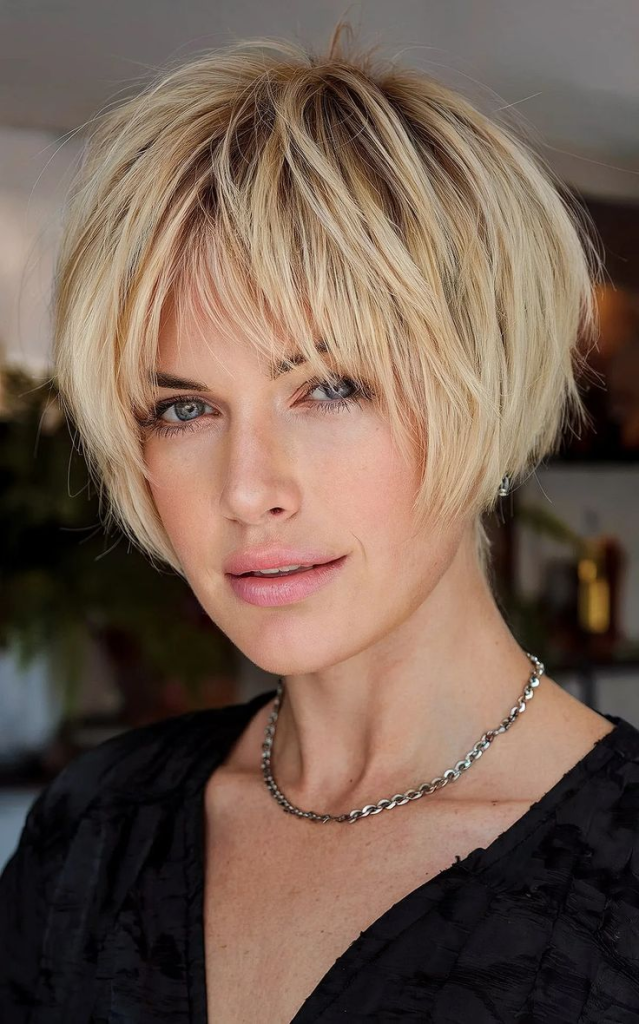
Why it works: This is the cool-girl version. The bob is cut with lots of texture, and the bangs are cut into separate, piece-y sections. The entire look is deliberately messy and unstructured. It says “I woke up like this” in the best possible way.
How to style: Apply a texturizing spray or dry shampoo to dry hair. Use your fingers to tousle and lift. Separate the piece-y bangs with your fingers. Do not use a brush. A tiny amount of styling wax on the ends adds definition.
Best face shapes: Oval, round, and heart. The messiness softens all face shapes.
Maintenance: Trim every 6 to 7 weeks. The lived-in look means it grows out beautifully.
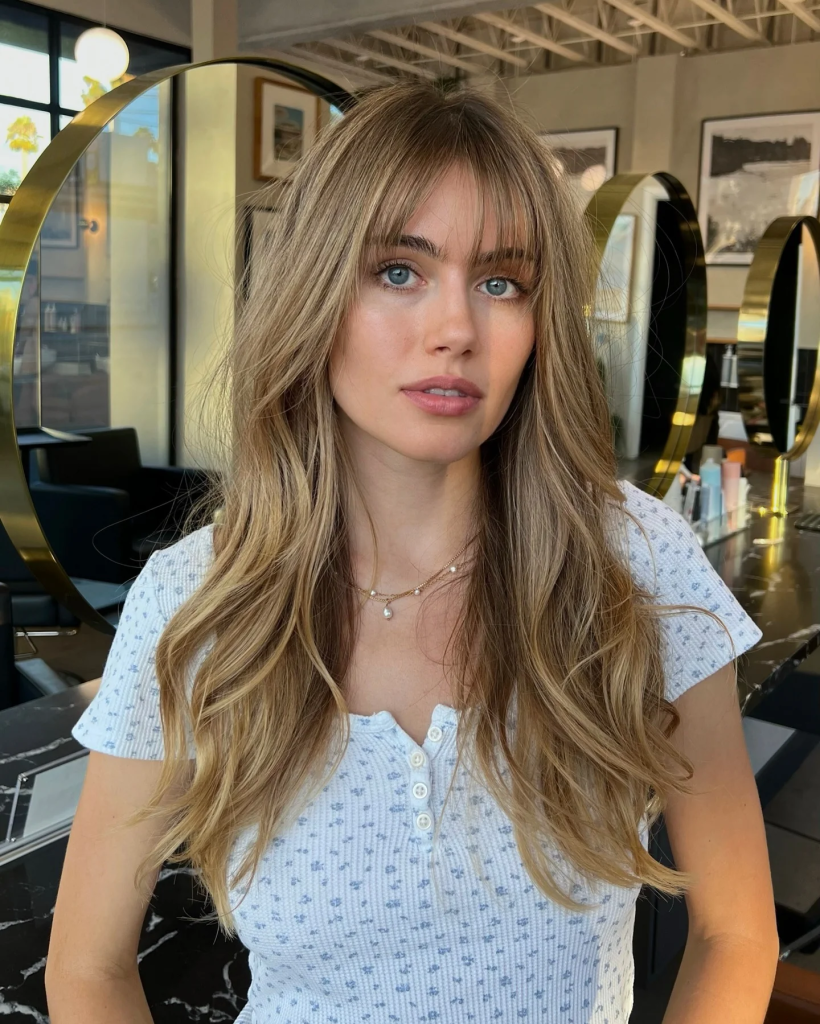
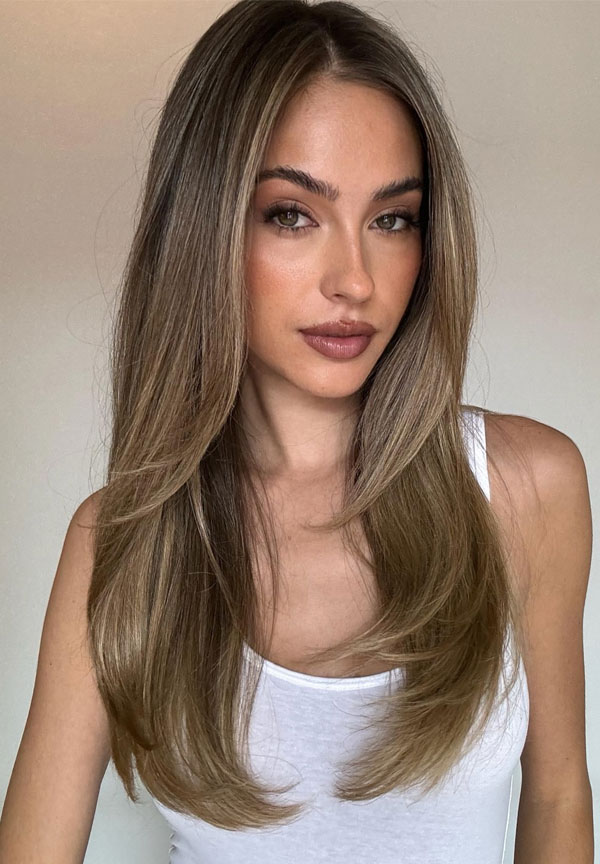
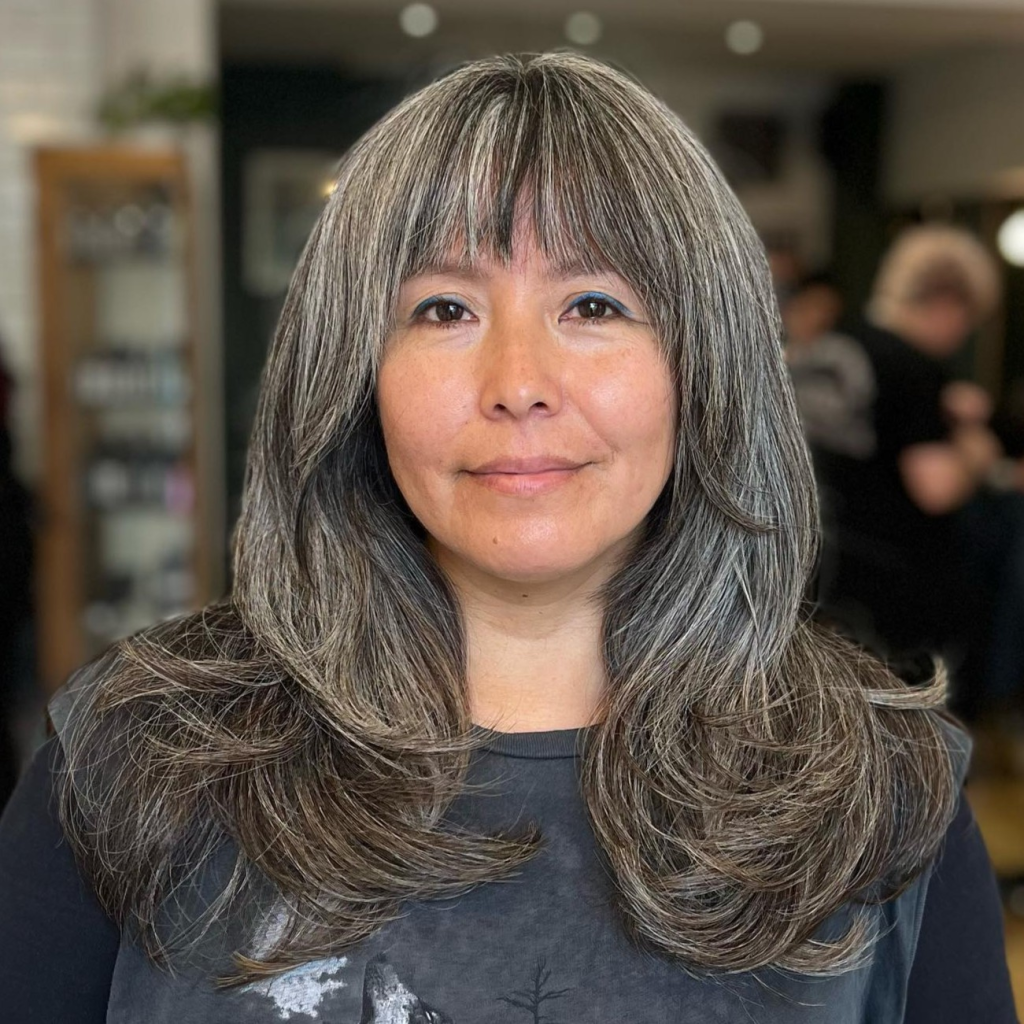
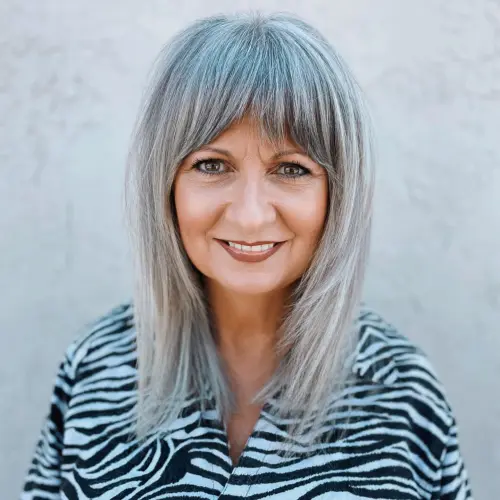
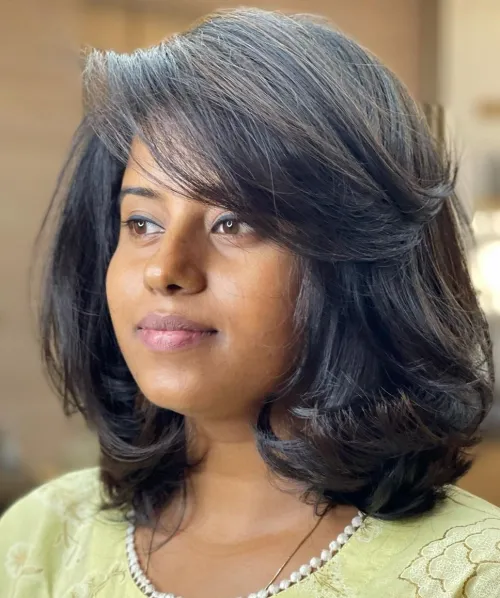
11. The Low-Maintenance Short Layered Bob with Long Bangs
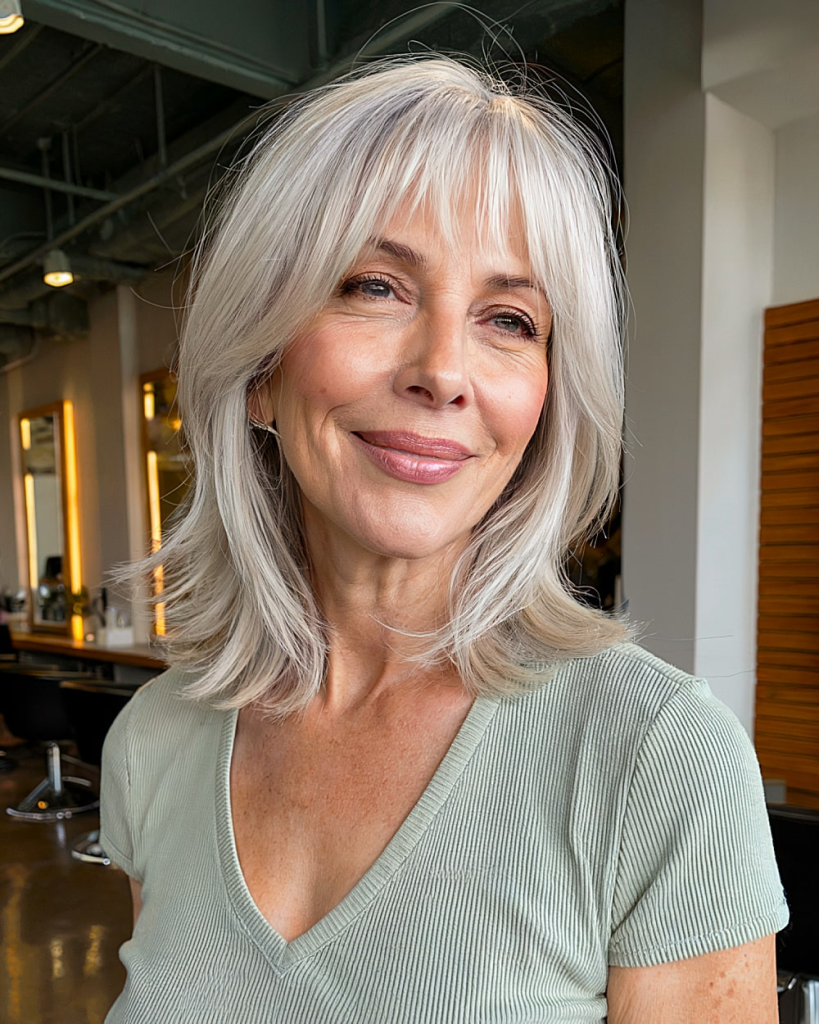
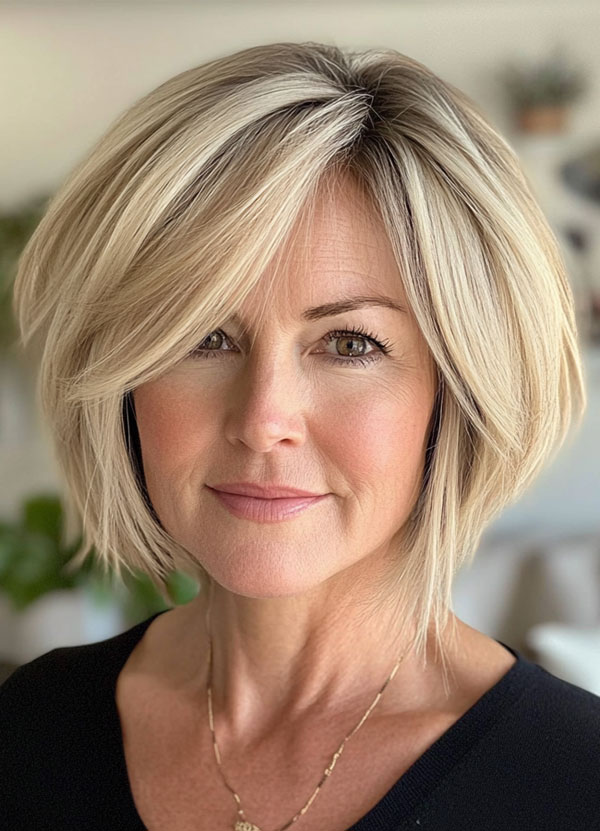
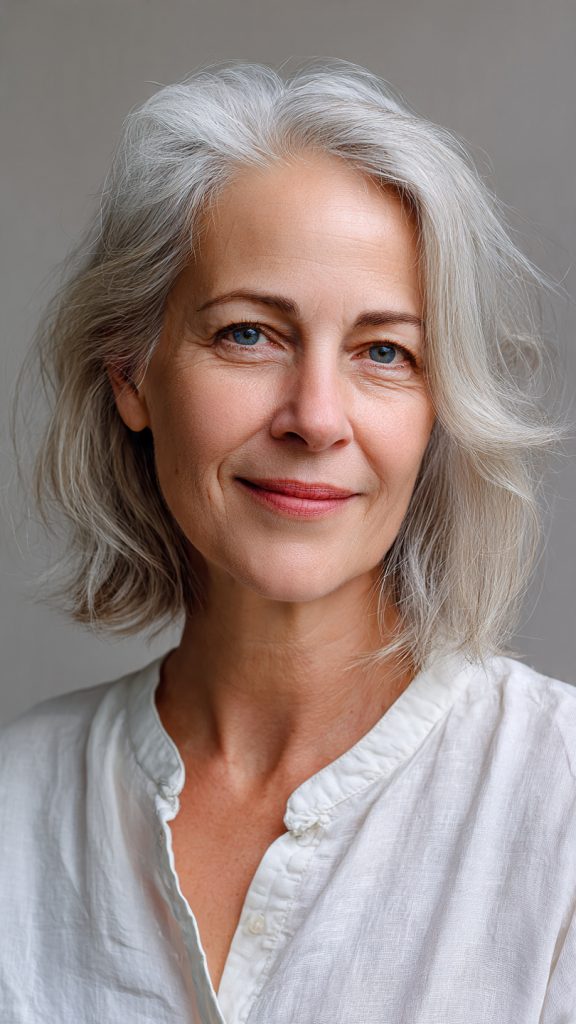
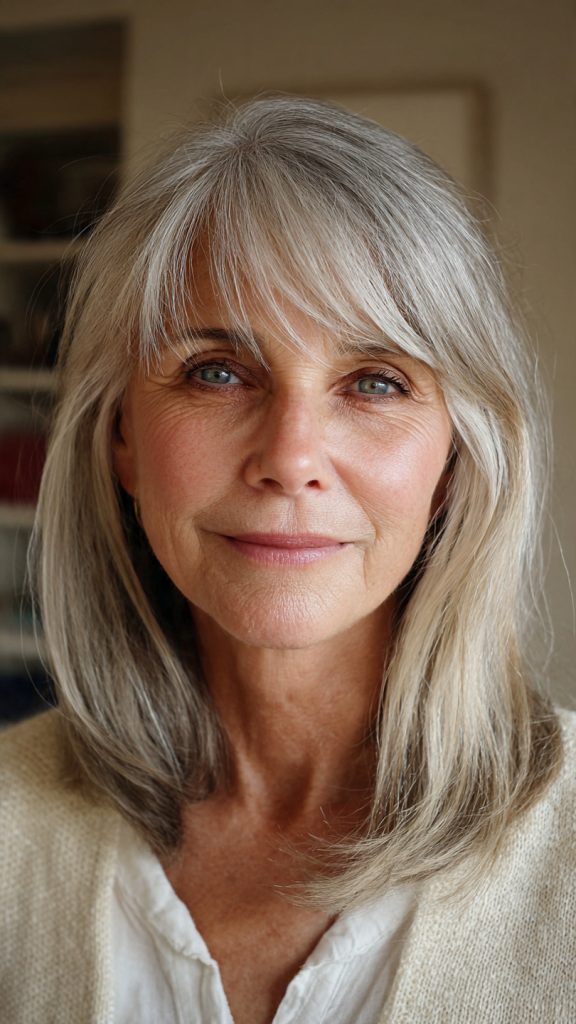
Why it works: Not every woman wants to spend ten minutes blow-drying her hair. This version is cut so that air-drying looks intentional. The layers are subtle. The long bangs can be swept to the side or tucked behind your ears. This is the bob for women who want style without effort.
How to style: Wash and condition. Towel-dry gently. Apply a leave-in conditioner and a light gel or mousse. Use your fingers to push the hair in the direction you want it to dry. Let it air-dry completely. That is it.
Best face shapes: Oval, round, and heart. The softness flatters all.
Maintenance: Trim every 6 to 8 weeks.
How to Choose the Right Short Layered Bob with Bangs for You
Ask yourself these three questions before booking your appointment:
1. What kind of bangs do you want?
- Soft and romantic: Wispy bangs, curtain bangs, long bangs
- Bold and graphic: Blunt bangs, micro bangs
- Effortless: Side-swept bangs, piece-y bangs
2. What is your hair texture?
- Straight or fine: Classic, textured, asymmetrical, sleek, low-maintenance
- Wavy: Classic, choppy, angled, messy
- Curly: Curly bob with curtain bangs, curly bob with curly bangs
- Thick: Stacked, choppy, angled, messy
3. What is your face shape?
- Round: Angled, asymmetrical, side-swept bangs
- Oval: Any of the eleven styles
- Square: Angled, side-swept bangs, wispy bangs
- Heart: Side-swept bangs, curtain bangs, wispy bangs
- Long/oblong: Blunt bangs, micro bangs, long bangs
What to Tell Your Stylist
Bring a photo of two or three styles from this guide. Then say this exactly:
*”I want a short layered bob with bangs that flatters my face shape. I want the bob to hit [at my chin / above my chin / below my chin]. I want the layers to be [soft / choppy / stacked]. I want my bangs to be [side-swept / blunt / wispy / curtain / micro]. My hair is [straight / wavy / curly / fine / thick]. I am willing to spend [5 / 10] minutes styling it daily.”*
If you have a cowlick or strong natural part, add: “Please cut my bangs to work with my cowlick, not against it.”
How to Style a Short Layered Bob with Bangs
You will need:
- A small round brush (1 to 2 inches in diameter)
- A hairdryer with a concentrator nozzle
- Lightweight mousse or styling cream
Step-by-step:
- Start with damp, towel-dried hair.
- Apply a pea-sized amount of mousse or styling cream throughout.
- Blow-dry the bangs first using the round brush.
- For side-swept: brush to one side.
- For curtain: brush left side to the left, right side to the right.
- For blunt: brush straight down.
- Blow-dry the rest of the bob using the round brush, turning the ends under slightly.
- Once dry, let the hair cool for 30 seconds.
- Use your fingers to separate and adjust. A tiny amount of wax defines the ends.
For second-day hair:
Spritz with a water bottle until slightly damp. Re-blow-dry the bangs only. Dry shampoo at the roots absorbs oil and adds volume.
Common Mistakes to Avoid
Mistake 1: Cutting the bob too short. A bob that hits above the chin can look severe on some face shapes. Start at chin length. You can always go shorter next time.
Mistake 2: Cutting bangs too thick. Thick bangs on fine or thinning hair can look heavy. Start with wispy bangs. You can always add more density later.
Mistake 3: Skipping the blow-dry. Most bobs and bangs look flat and sad air-dried. The blow-dry with a round brush takes five minutes and makes all the difference.
Mistake 4: Forgetting to blend. The bangs should blend into the layers around your face. If there is a visible line where the bangs end, your stylist cut them too bluntly.
Products for a Short Layered Bob with Bangs
For volume:
- Volumizing mousse
- Root-lifting spray
For texture:
- Texturizing spray
- Styling wax or paste
For smoothness:
- Smoothing cream
- Shine spray
For hold:
- Flexible hold hairspray
Tools to own:
- Small round brush
- Hairdryer with concentrator nozzle
- Flat iron (for sleek styles only)
Final Thoughts
Eleven versions of the short layered bob with bangs. Classic and side-swept. Textured with wispy bangs. Stacked with blunt bangs. Curly with curtain bangs. Asymmetrical with long bangs. Choppy with micro bangs. Angled with side-swept bangs. Curly bangs. Sleek with blunt bangs. Messy with piece-y bangs. Low-maintenance with long bangs. Each one starts with the same foundation — a short bob, layered for movement, with bangs to frame your face — but each one feels completely different. The right version for you depends on your hair texture, your face shape, and your personality. Pick the one that makes you excited to book that appointment. Bring the photo. Talk to your stylist. And enjoy a haircut that frames your face perfectly every single day.
Which of these eleven short layered bob with bangs styles will you try at your next appointment? Drop a comment below and let us know. And if this guide helped you, share it with a friend who has been thinking about taking the plunge.