The 14 wash and wear haircuts for women over 60 in this guide prove that looking polished does not require a thirty-minute blowout or a drawer full of hot tools. Wash and wear haircuts are designed to air-dry beautifully, hold their shape without product, and still look intentional from morning to night. As hair naturally changes with age—becoming finer, drier, or more brittle—the right cut becomes even more essential. Whether you have fine hair that needs volume, curly hair that needs definition, or straight hair that needs movement, there is a wash and wear cut here that will simplify your mornings. In this guide, we will explore fourteen wash and wear haircuts for women over 60, complete with why each works, how to style it, best face shapes, and maintenance needs.
What Makes a Haircut Wash and Wear
A true wash and wear haircut is cut specifically to look good with minimal effort. Key features include:
- Strategic layering that falls naturally when air-dried
- Texture that hides unevenness and adds interest
- Length that works with your natural texture rather than against it
- No need for heat styling to look finished
- Grows out gracefully so you can stretch time between trims
The 14 Wash and Wear Haircuts for Women Over 60
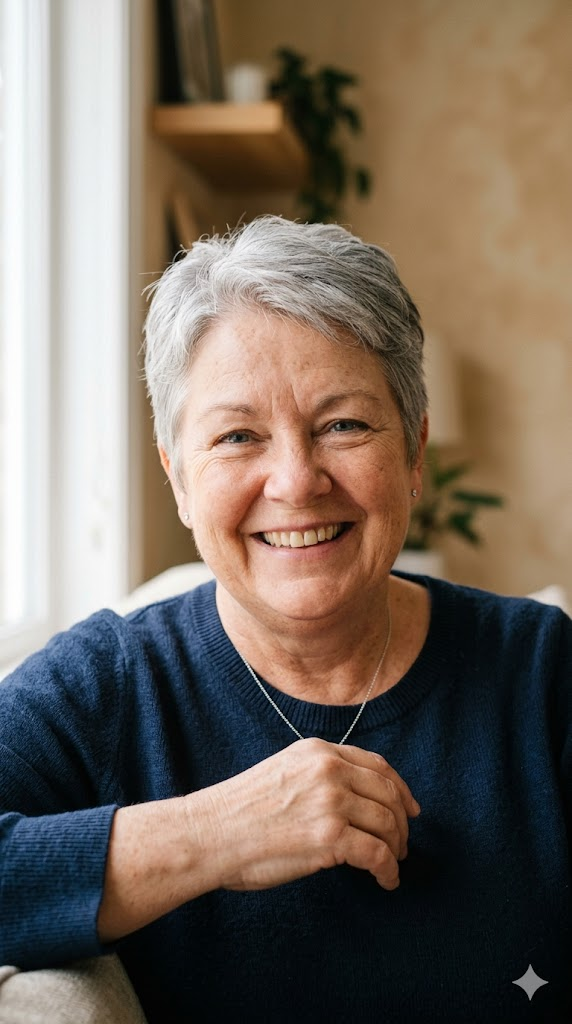
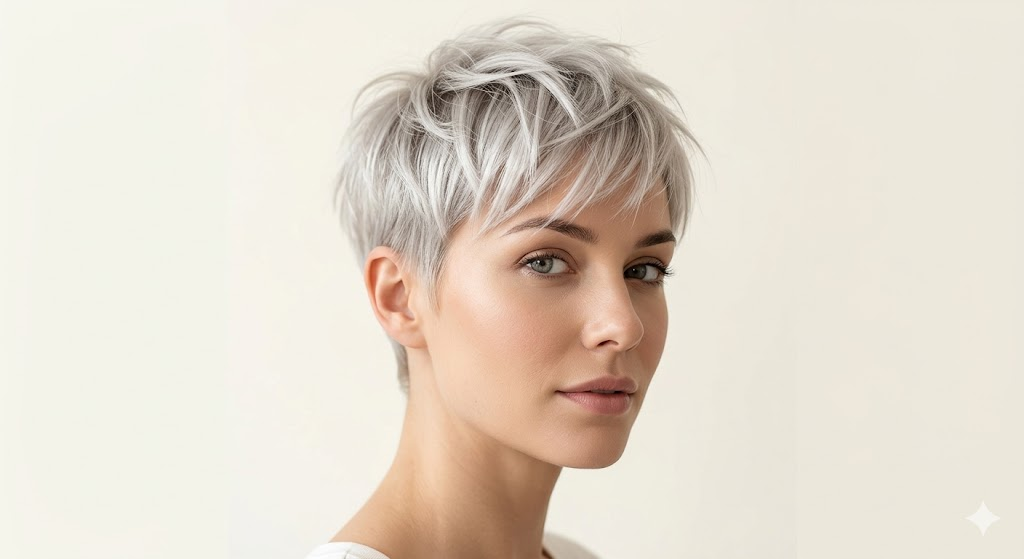
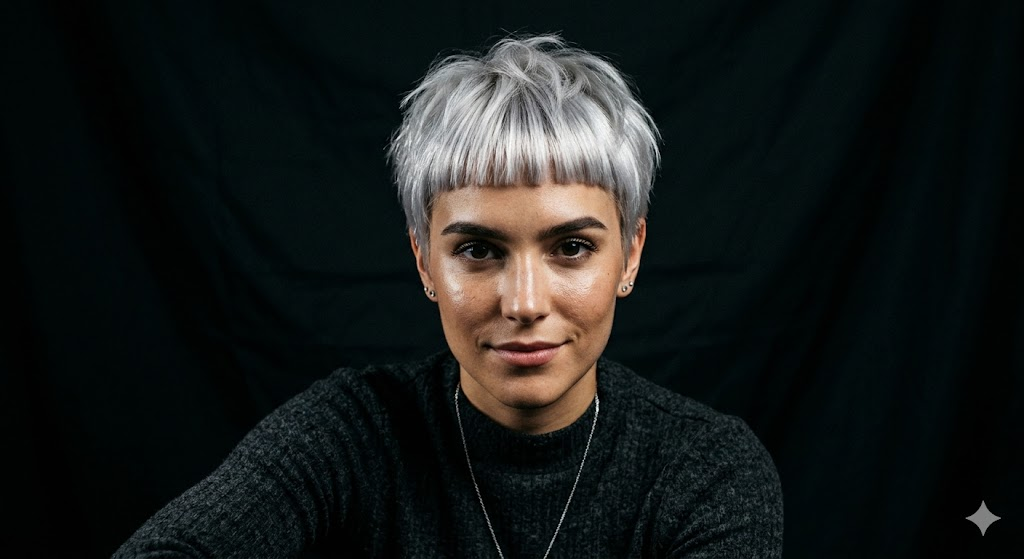
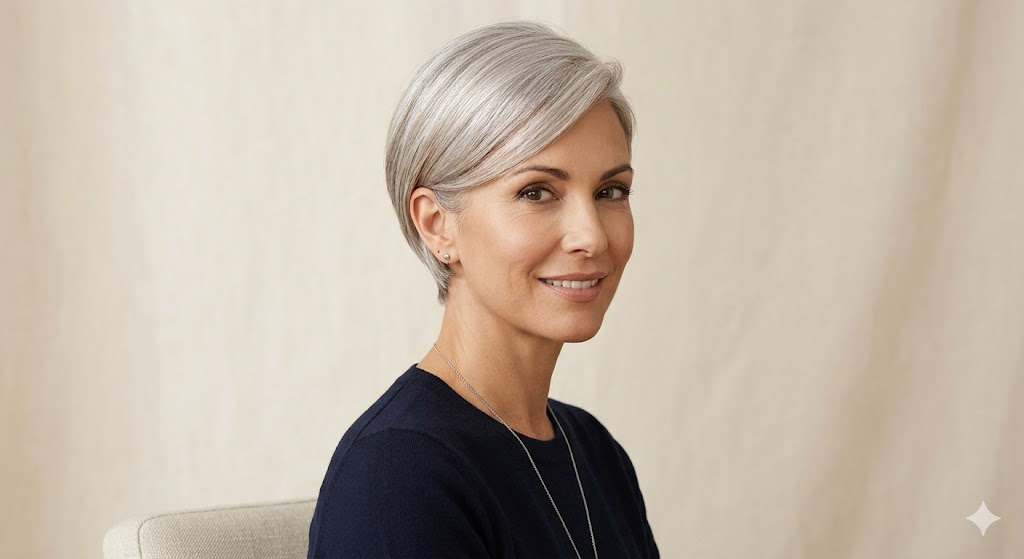
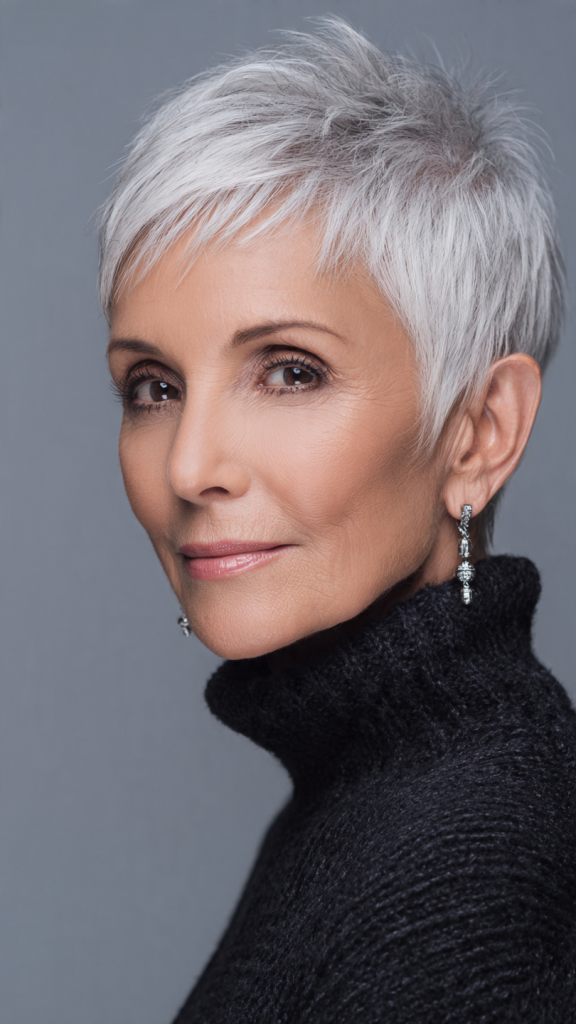
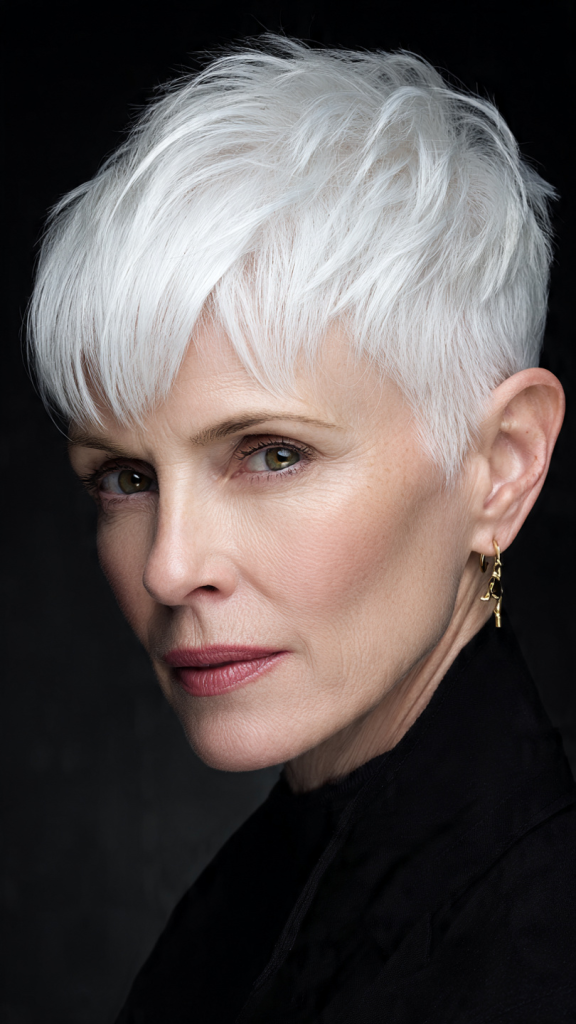
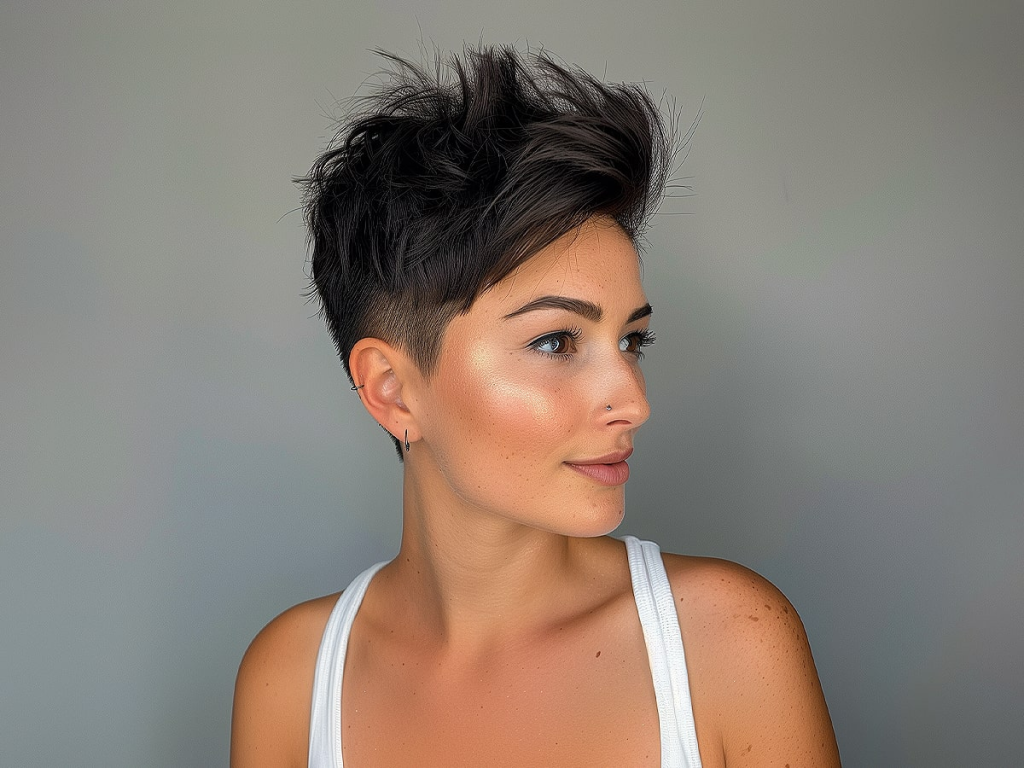
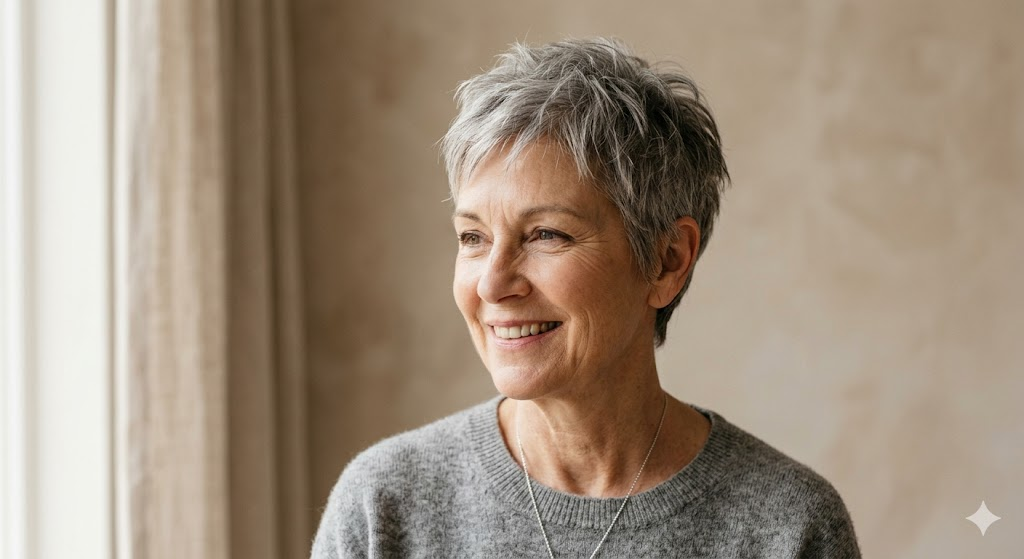
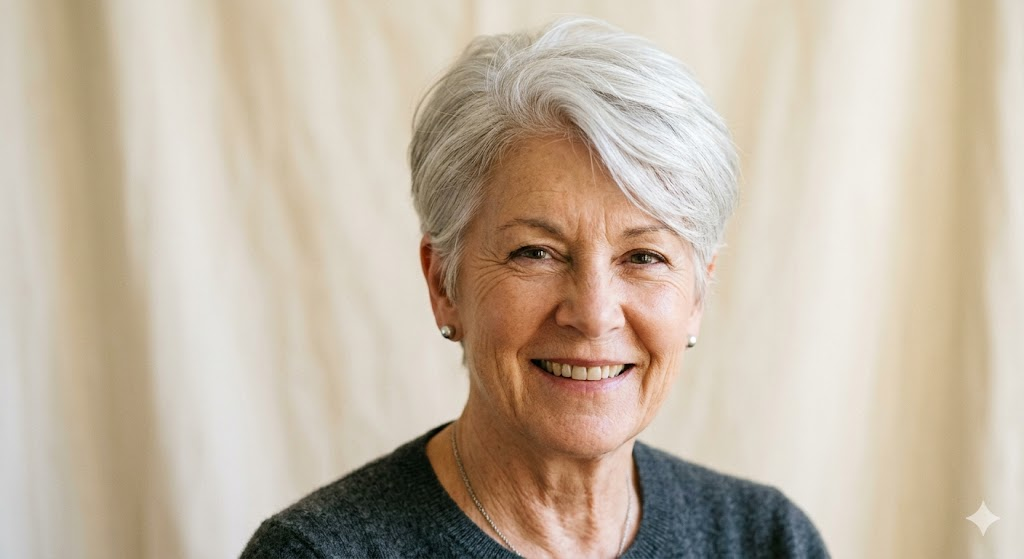
1. Classic Wash and Wear Pixie

The classic pixie is short on the sides and back with slightly longer layers on top. When cut correctly, it air-dries into a soft, textured shape.
Why it works: The short length means no tangles, no knots, and almost no drying time. The top layers naturally fall into place without brushing or product.
How to style it: Wash and condition. Towel-dry gently. Apply a pea-sized amount of lightweight mousse if desired. Use your fingers to push the top pieces in the direction you want them to dry. Air-dry completely. That is it.
Best face shapes: Oval, heart, oblong. The height on top balances rounder faces.
Maintenance needs: Trim every 4–6 weeks.
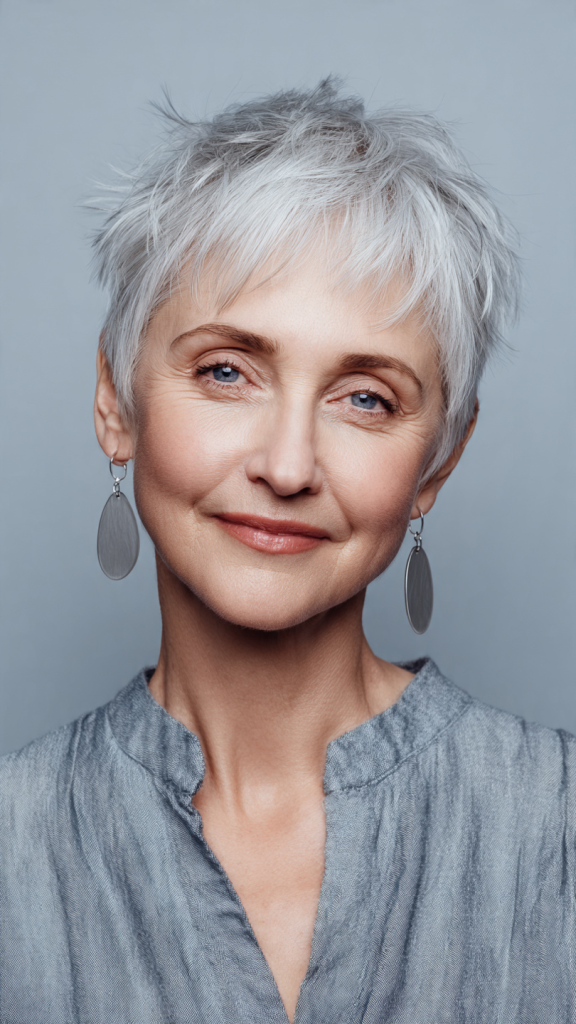
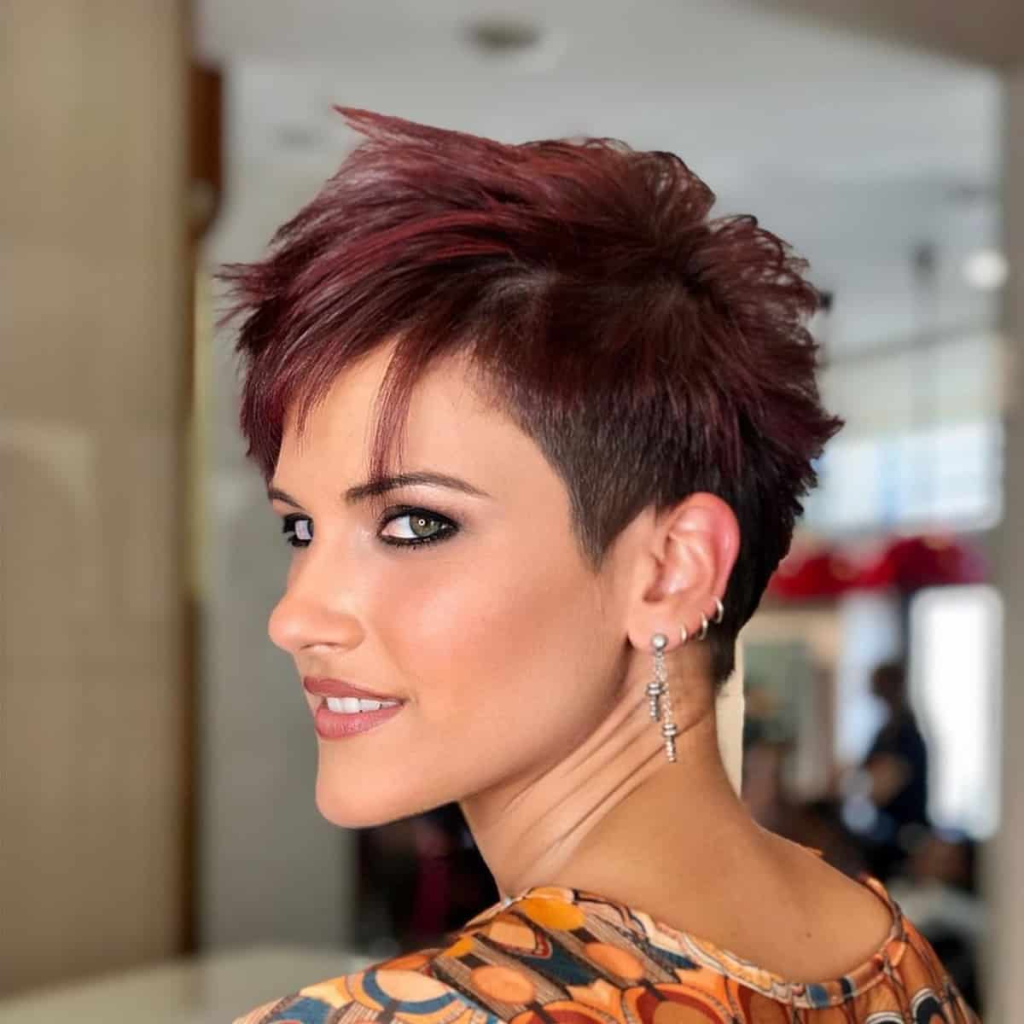
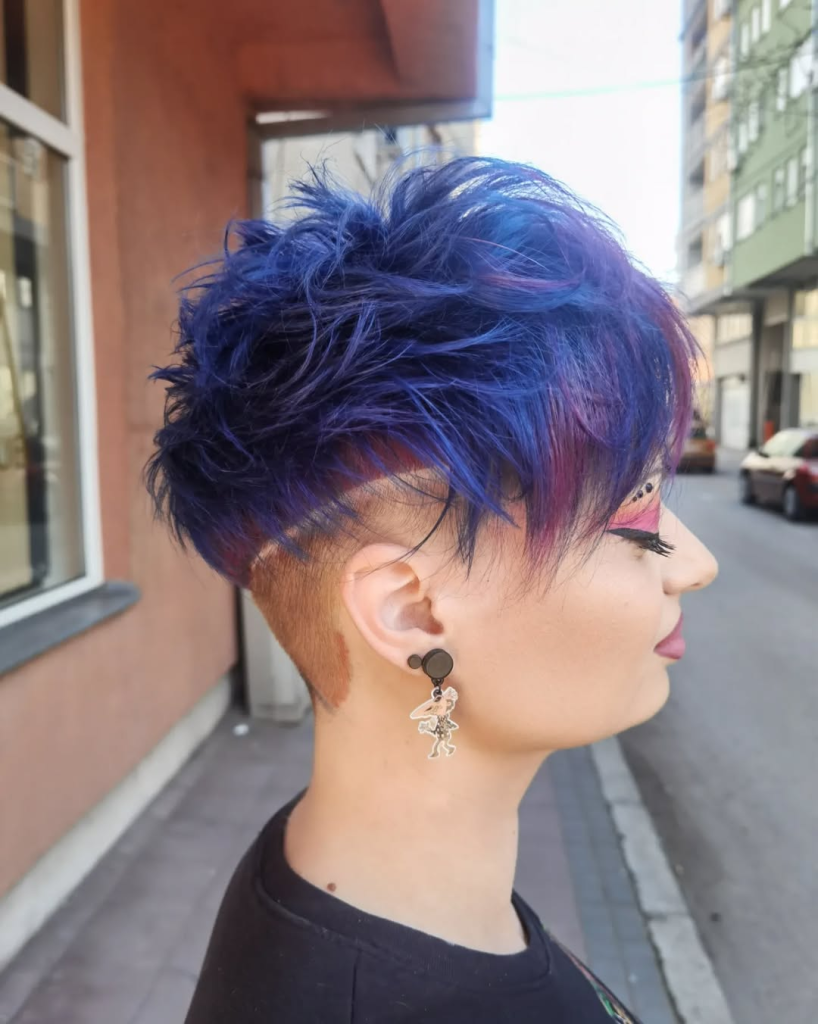
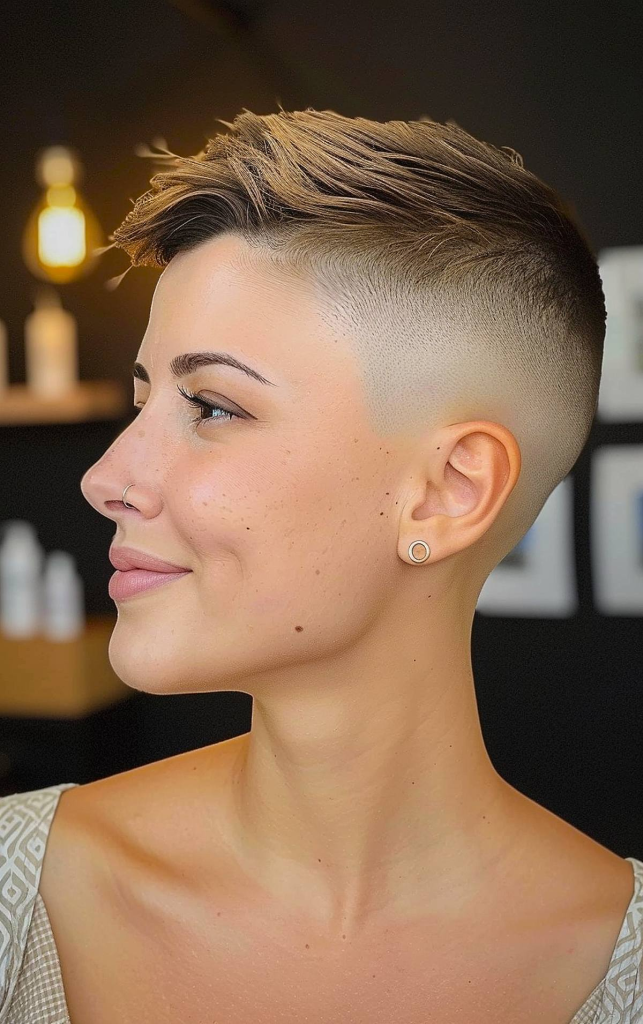
2. Textured Crop
The textured crop keeps hair very short—usually 1–2 inches—but adds choppy, piece-y ends throughout.
Why it works: The texture hides any unevenness from air-drying. The choppiness creates the illusion of density, which is especially helpful for women with fine or thinning hair.
How to style it: Wash and condition. Towel-dry gently. Apply a texturizing spray to damp hair. Use your fingers to tousle and lift. Air-dry. Do not use a brush. The messier, the better.
Best face shapes: Oval, round, heart. The texture softens all face shapes.
Maintenance needs: Trim every 5–6 weeks.
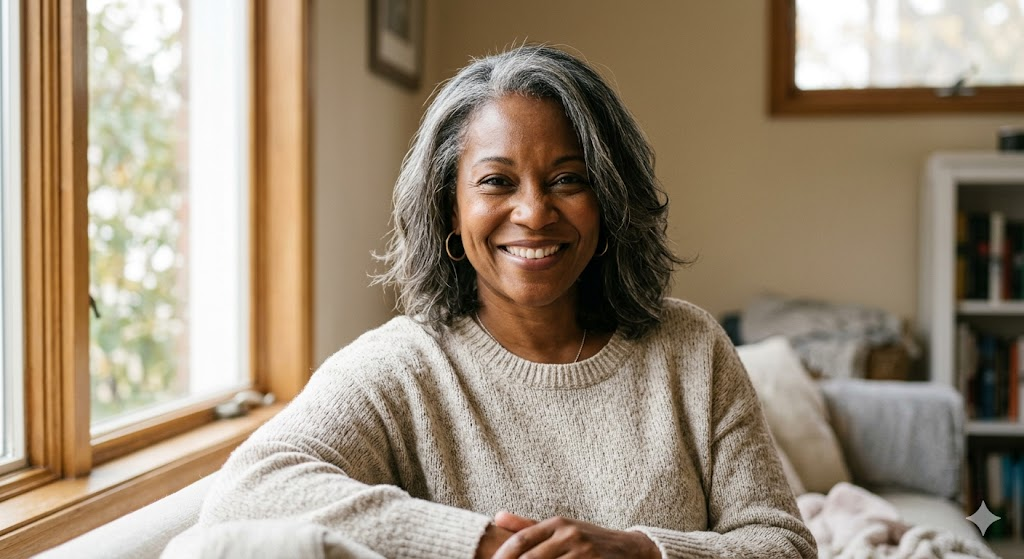
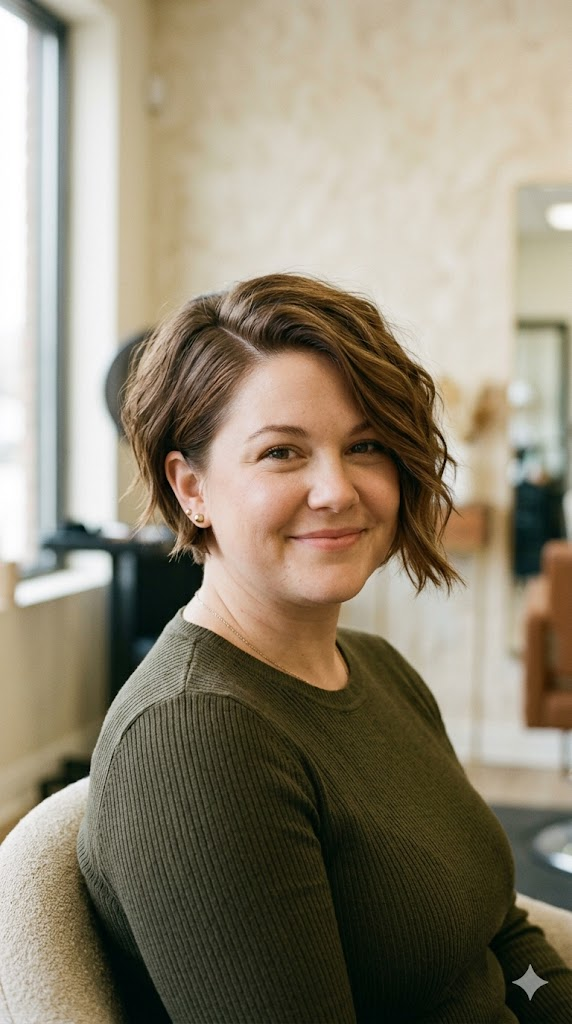
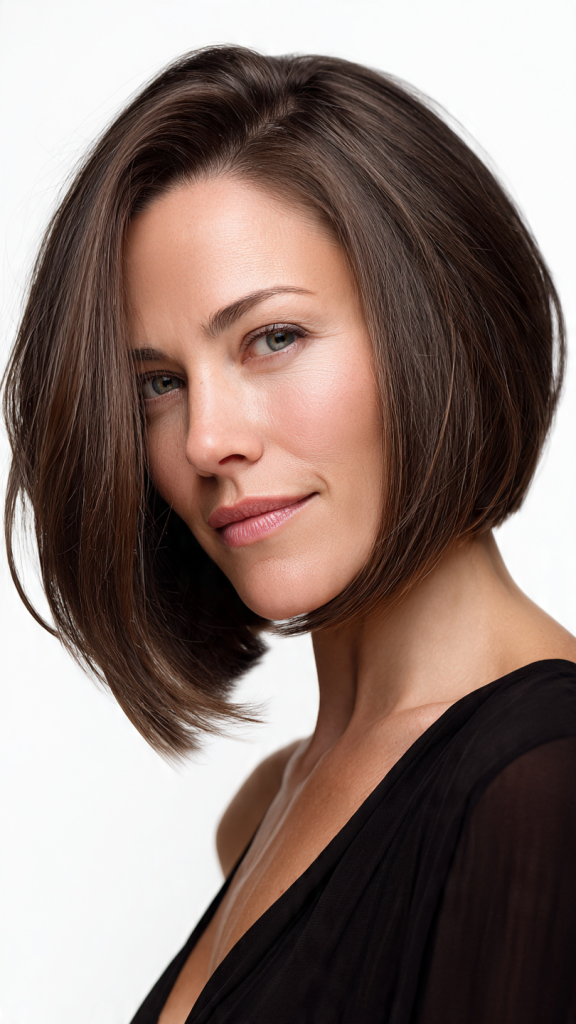
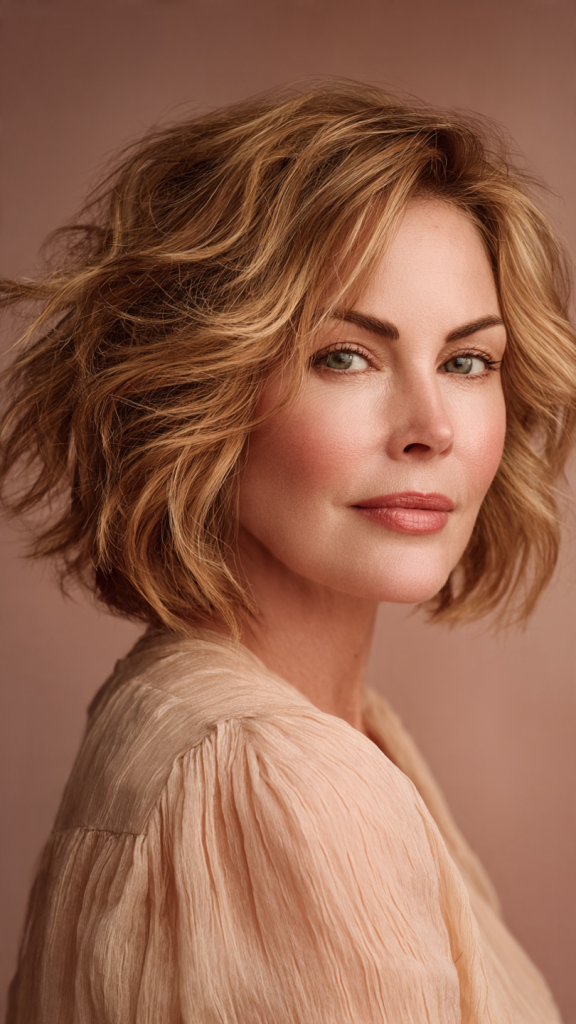
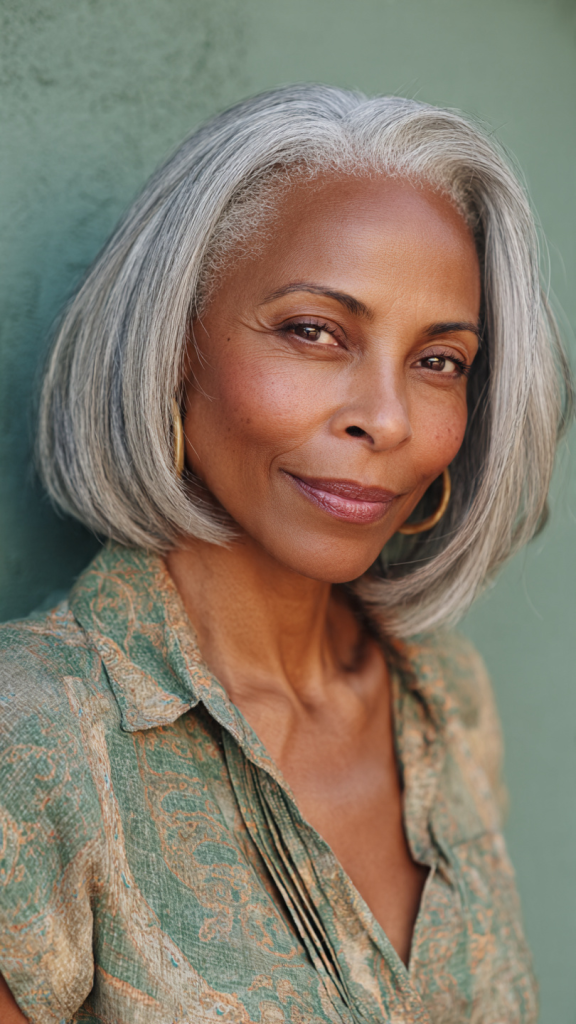
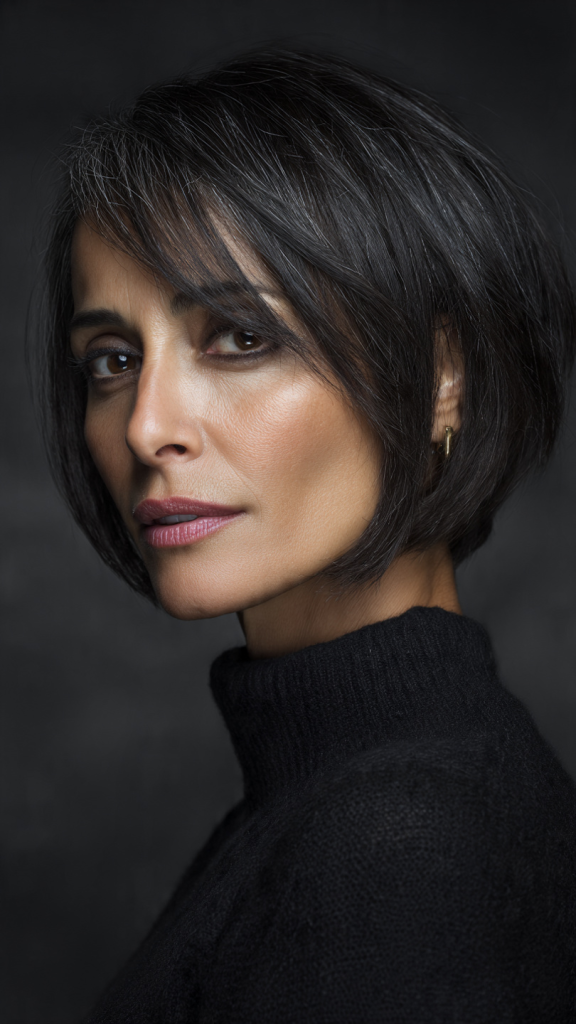
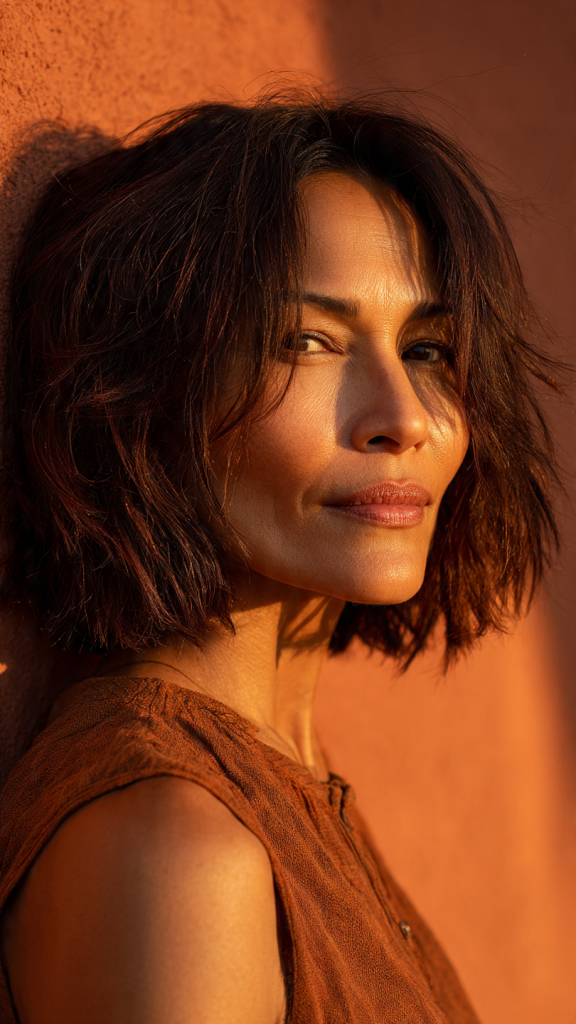
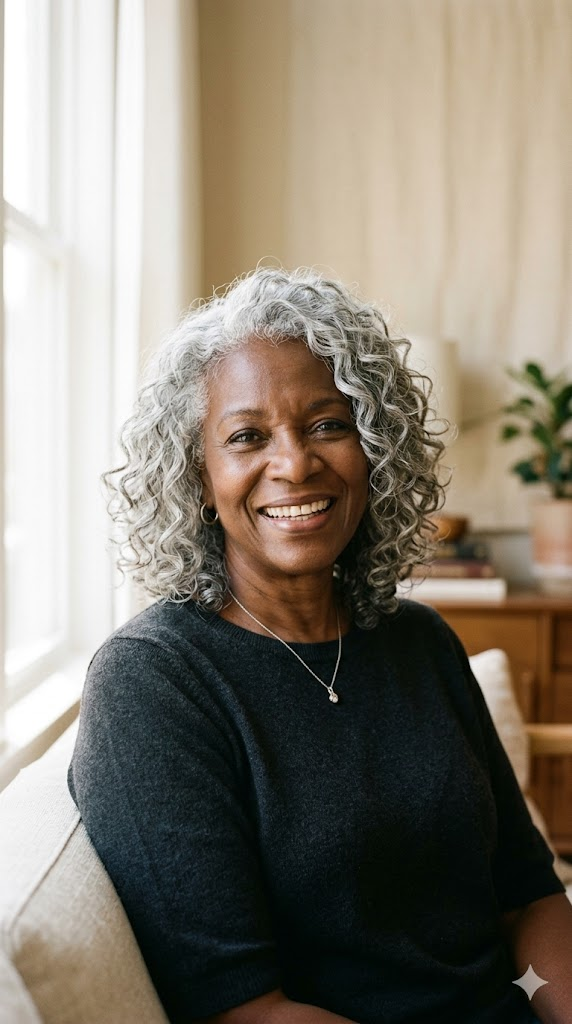
3. Short Layered Bob

The short layered bob falls between the ear and the chin, with soft layers throughout to create movement.
Why it works: The layers prevent the hair from looking flat or lifeless when air-dried. The shorter length keeps the cut lightweight and fast-drying.
How to style it: Wash and condition. Towel-dry gently. Apply a leave-in conditioner and a light mousse. Use your fingers to push the hair into place. Air-dry. The layers will naturally create soft bends and waves.
Best face shapes: Oval, round, square. The length at the chin softens jawlines.
Maintenance needs: Trim every 6–8 weeks.
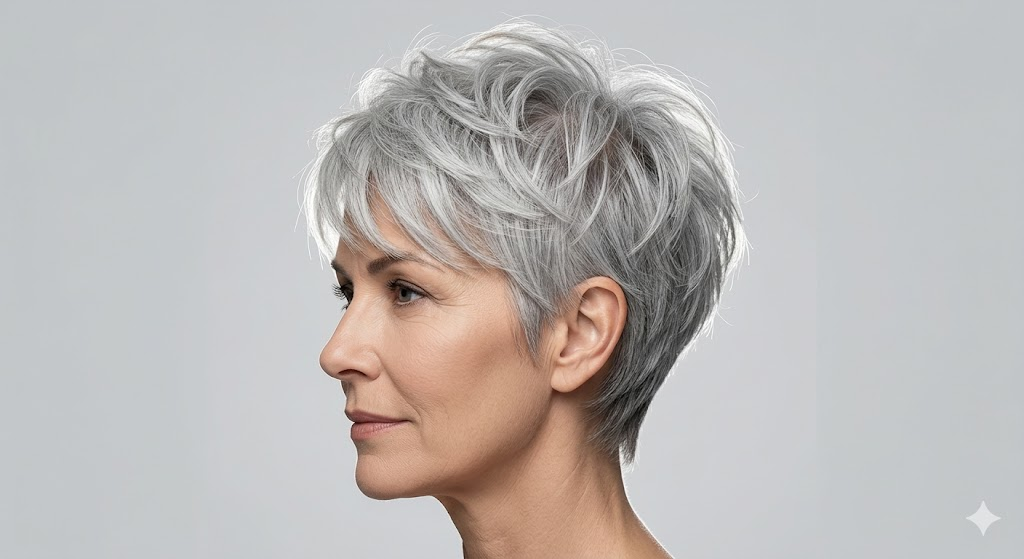
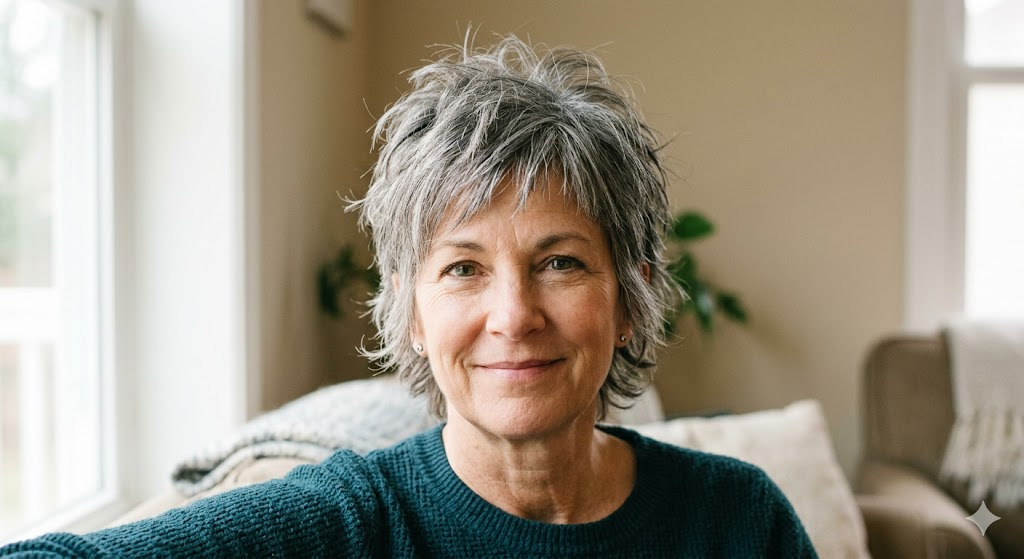
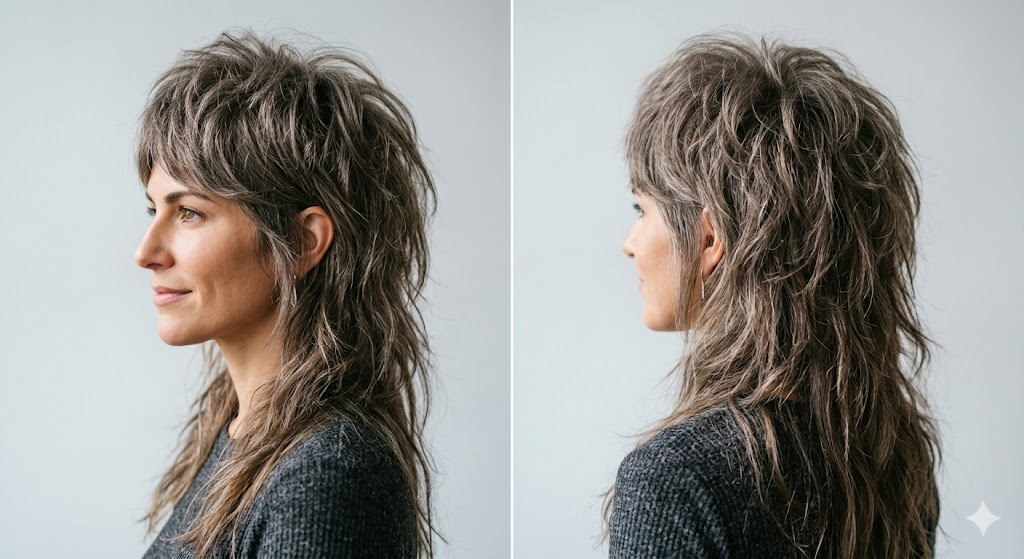
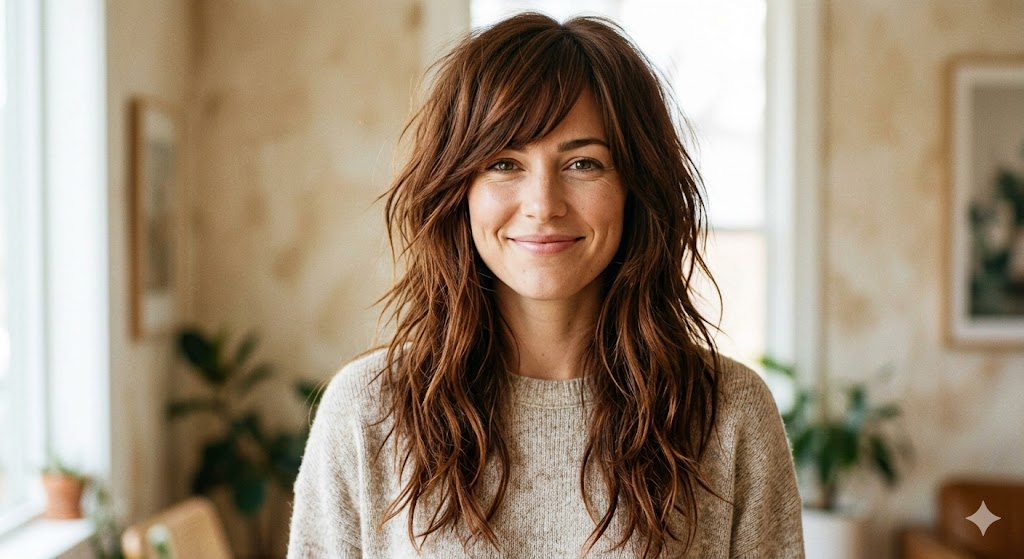
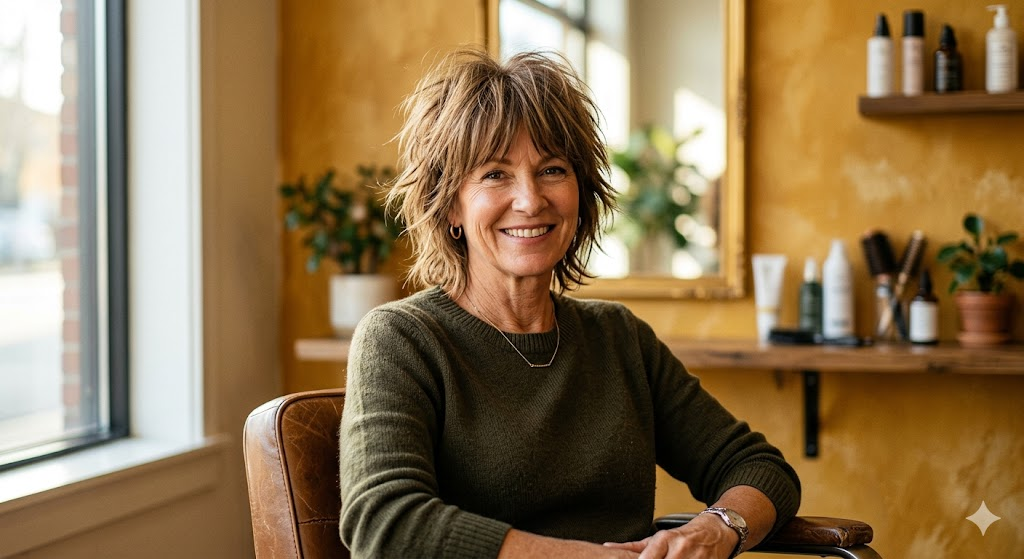
4. Wash and Wear Shag
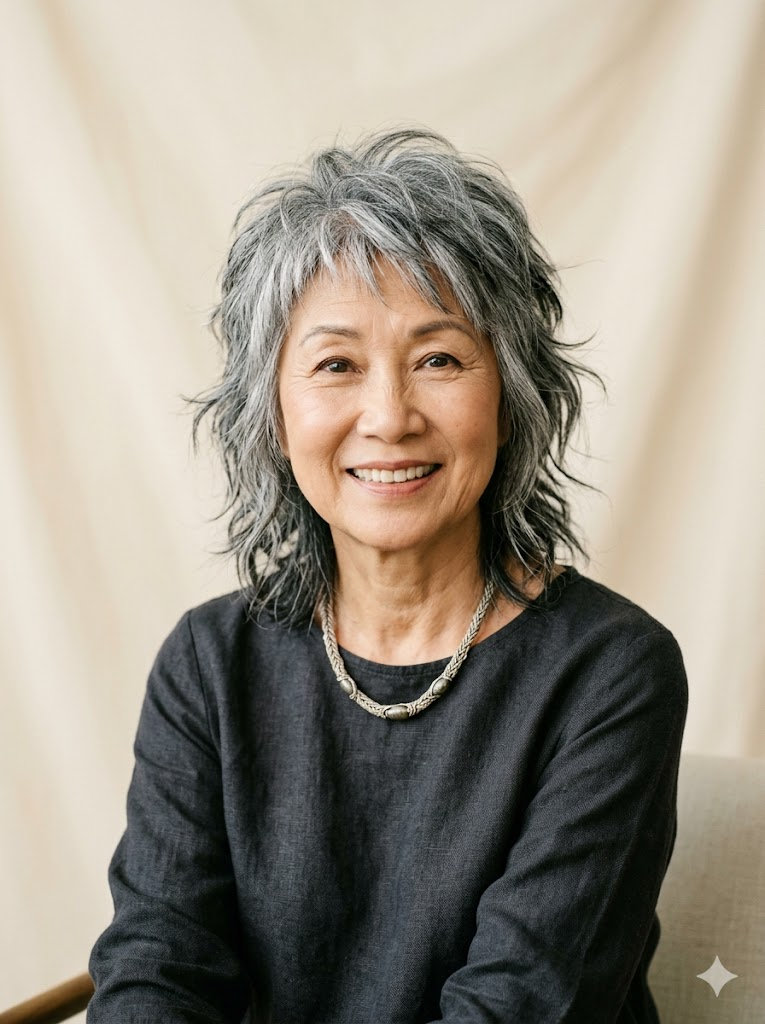
The shag cut features choppy layers throughout, with the shortest layers at the crown and longer pieces around the face.
Why it works: The choppiness hides any air-dry imperfections. The crown volume creates lift exactly where thinning hair needs it most—without any effort.
How to style it: Wash and condition. Towel-dry gently. Apply a texturizing spray or sea salt spray to damp hair. Use your fingers to lift at the roots. Air-dry. Do not over-brush. The choppy ends should look piece-y and intentional.
Best face shapes: Oval, square, heart. The choppiness softens strong jawlines.
Maintenance needs: Trim every 6–8 weeks. The lived-in look means it grows out gracefully.
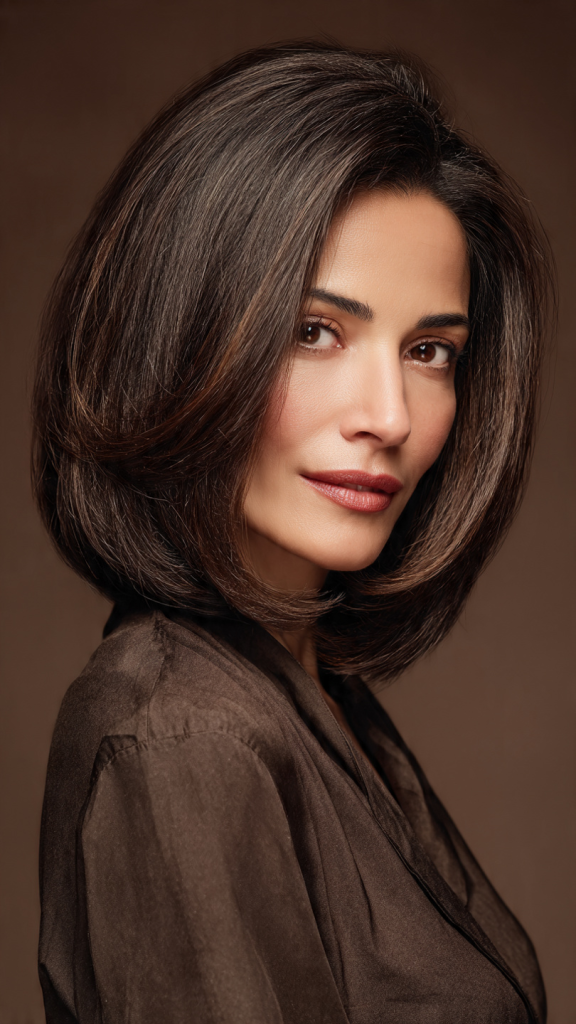
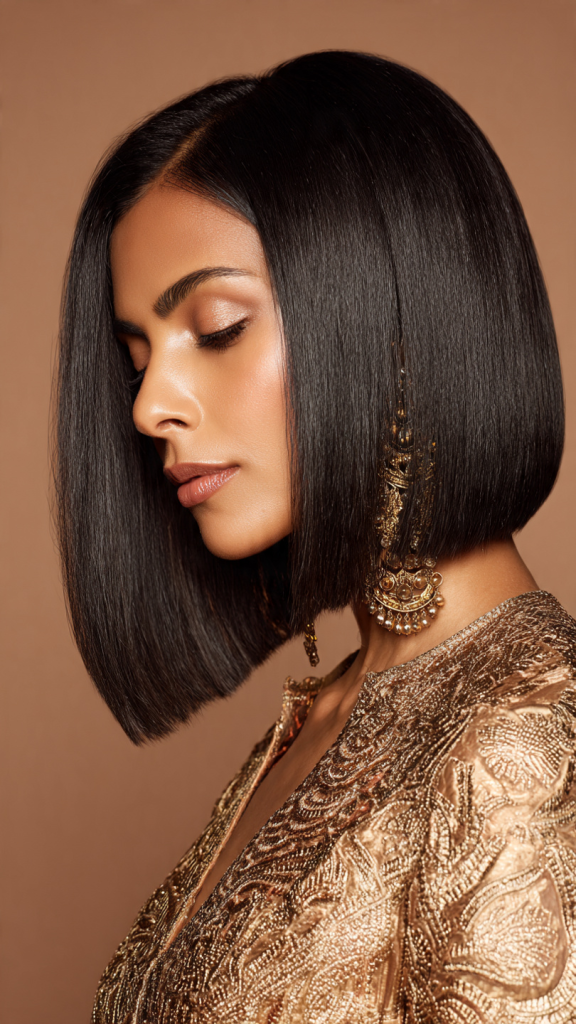
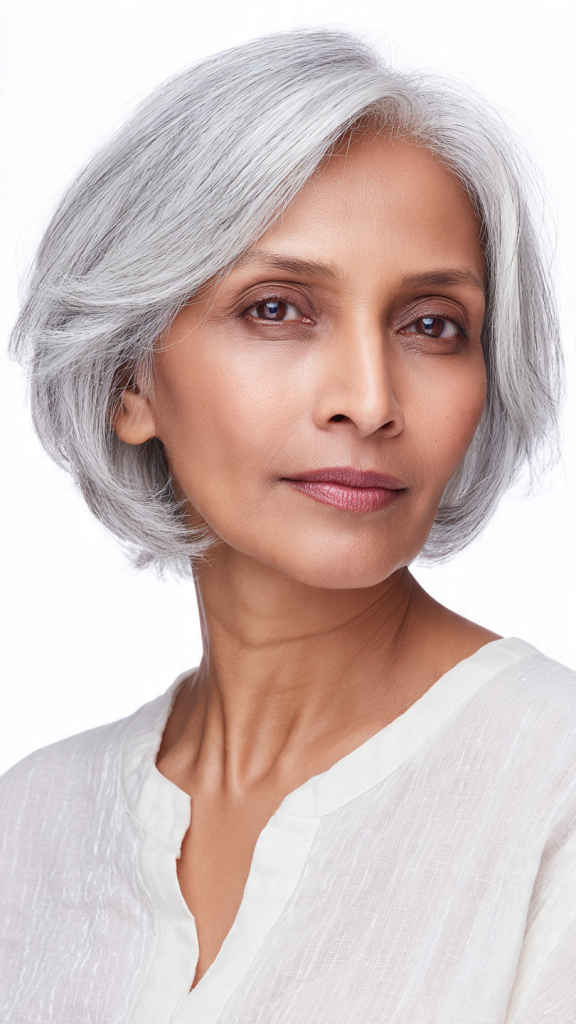
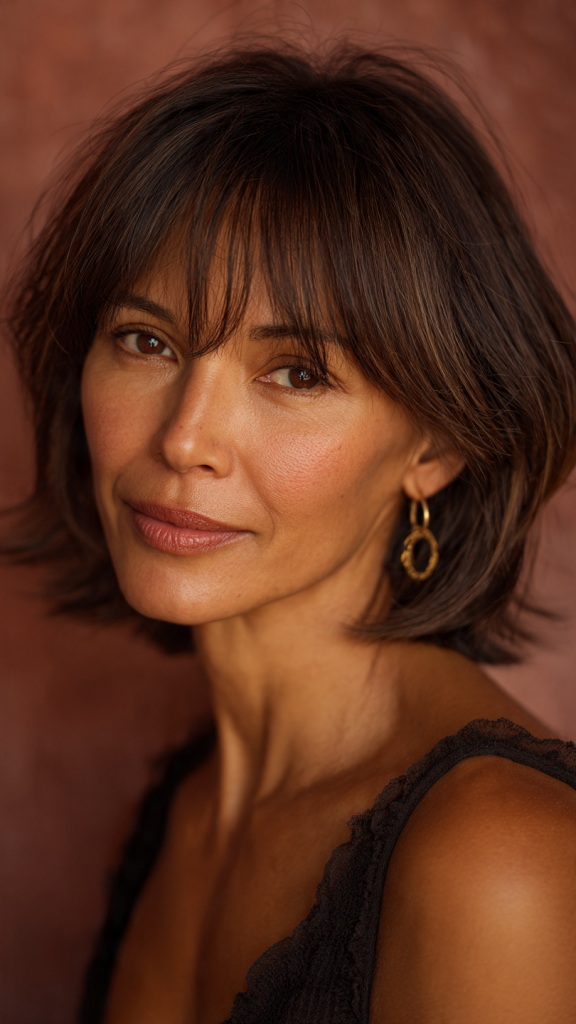
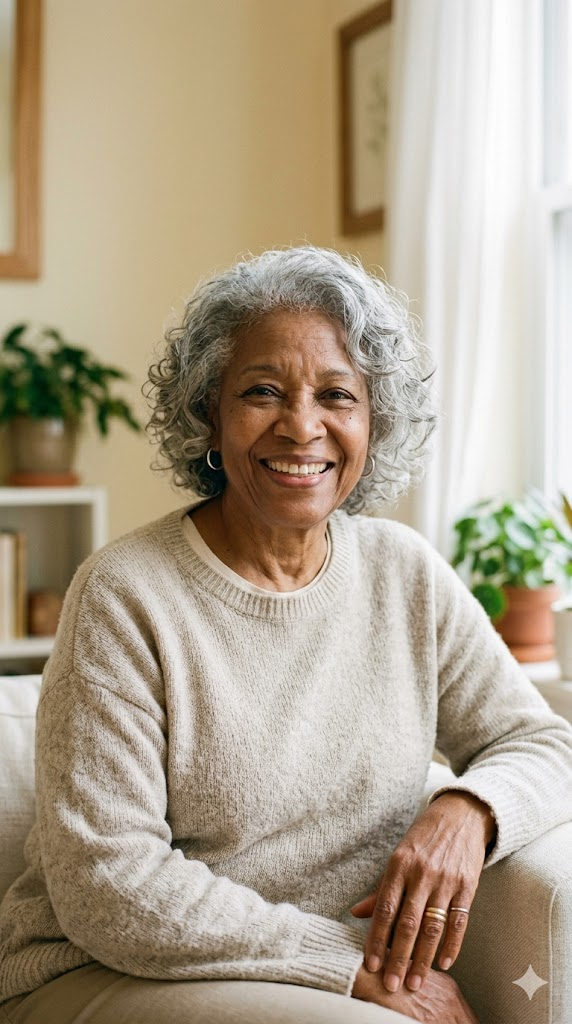
5. Chin-Length Bob with Soft Layers
This chin-length bob has soft, blended layers throughout. The ends are not blunt—they are slightly texturized for movement.
Why it works: The soft layers prevent the dreaded triangle shape that can happen with blunt cuts. The chin length is flattering and easy to manage.
How to style it: Wash and condition. Towel-dry gently. Apply a smoothing cream or light gel. Use your fingers to tuck the ends under slightly as they dry. Air-dry. For extra volume, flip your head upside down for 30 seconds before it fully dries.
Best face shapes: Oval, round, square. The chin length balances wider faces.
Maintenance needs: Trim every 6–8 weeks.
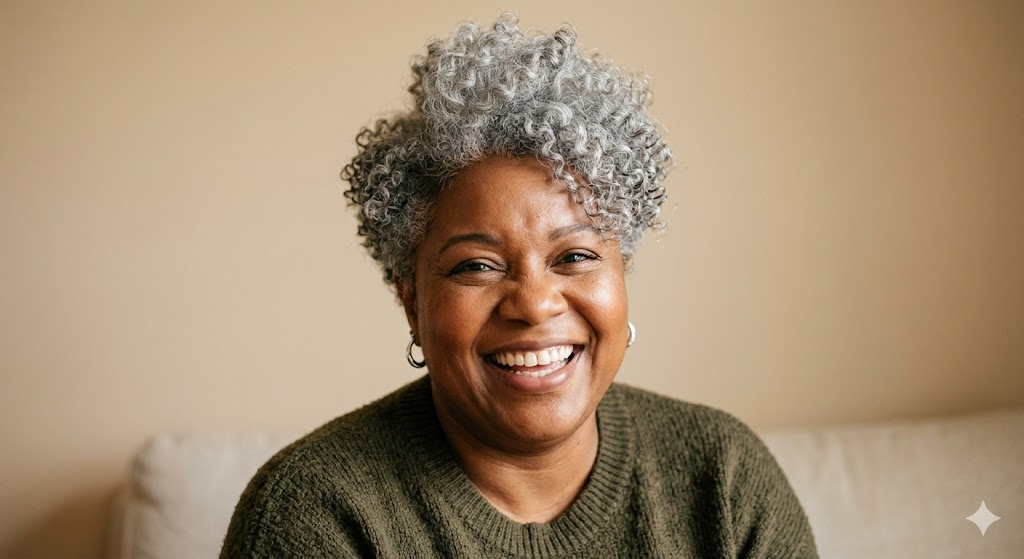
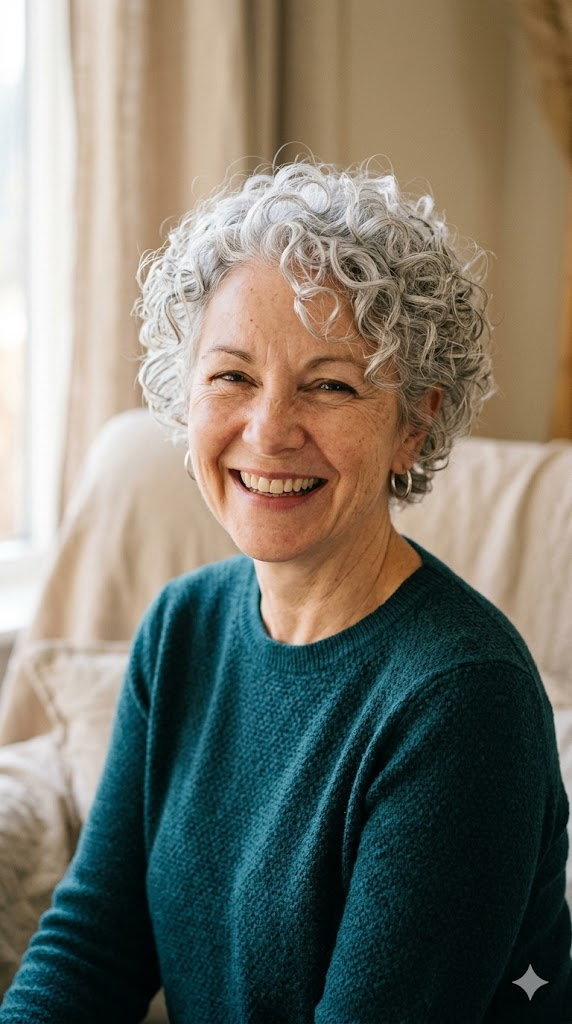
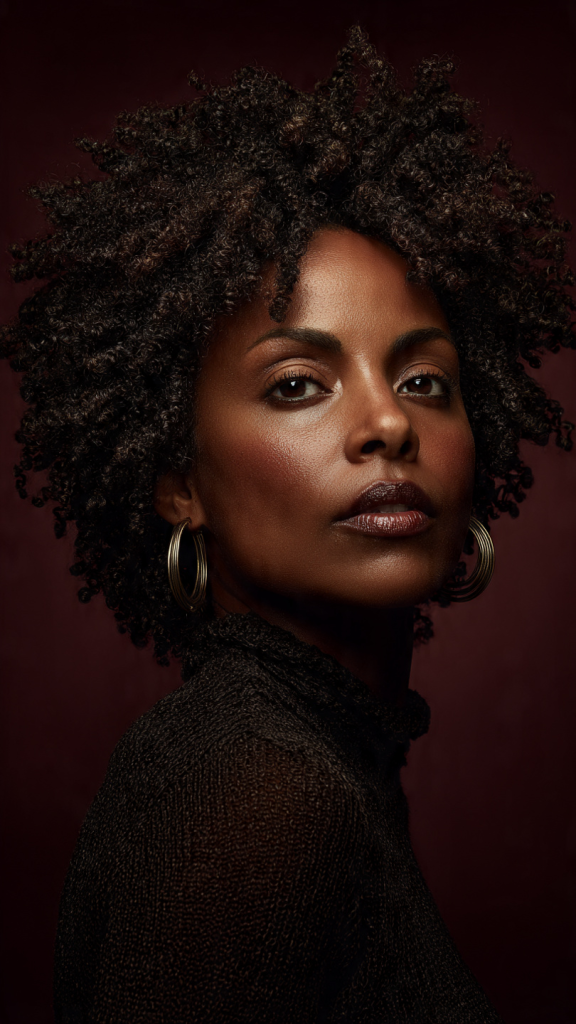
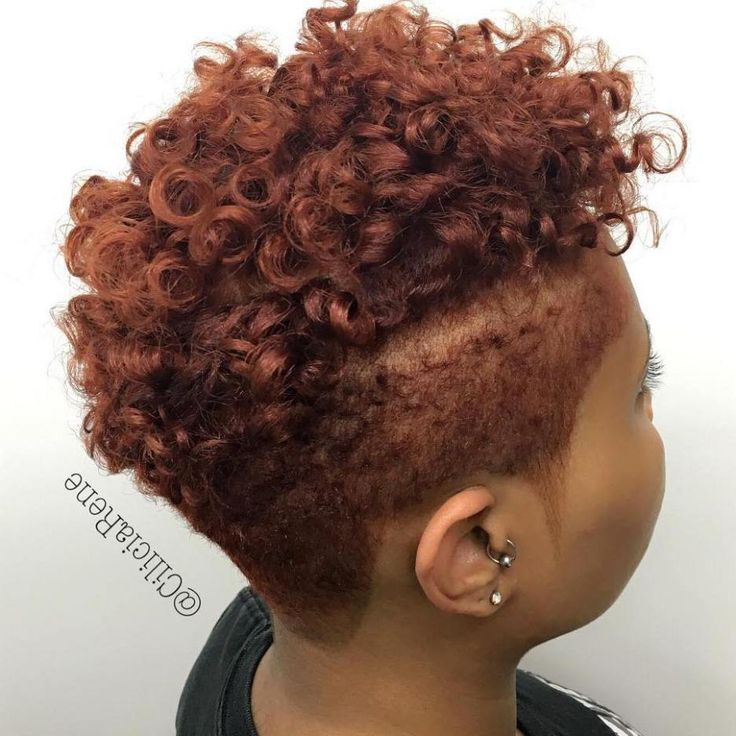
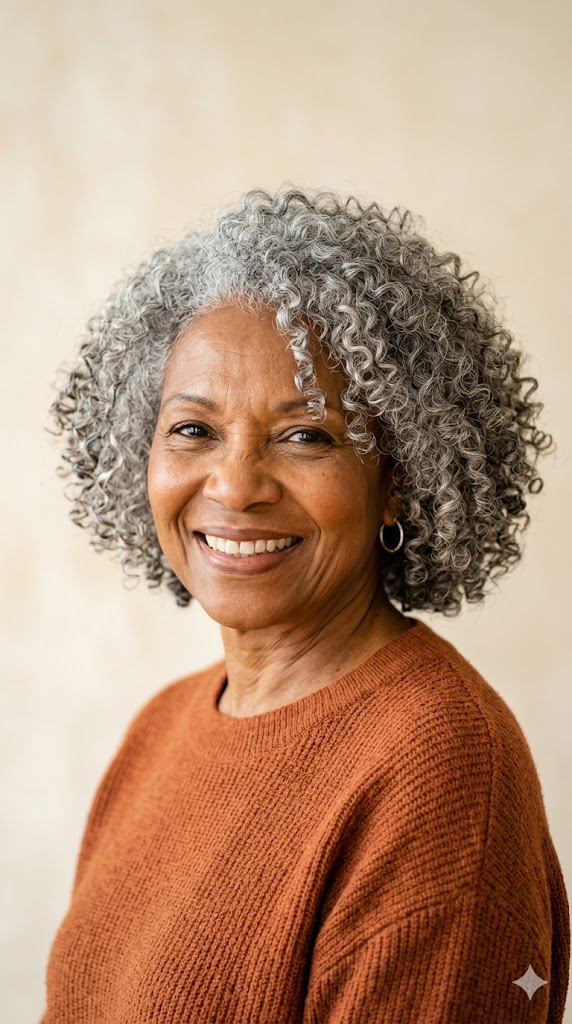
6. Curly Wash and Wear Crop
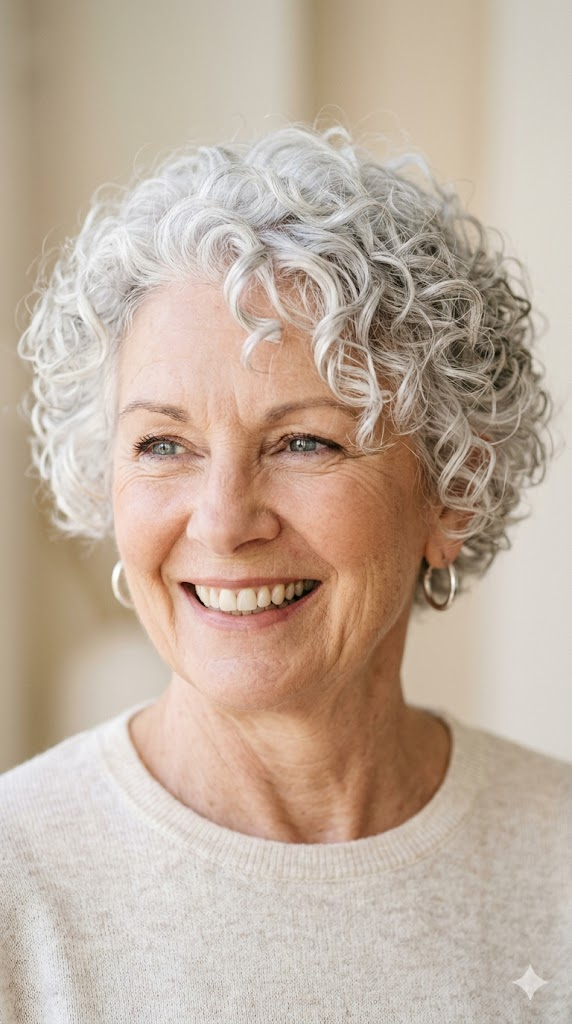
For women with natural curls or waves, a short crop removes weight and allows curls to spring up with definition.
Why it works: Curly hair is naturally wash and wear. The curls create their own shape and volume. A short crop removes weight so your curls can bounce without effort.
How to style it: Wash with a sulfate-free shampoo. Apply a leave-in conditioner and a light curl cream to soaking wet hair. Use your fingers to scrunch upward. Air-dry. Do not brush. Do not comb. Do not diffuse unless you have extra time.
Best face shapes: Oval, heart, round. The softness of curls flatters all.
Maintenance needs: Trim every 8–10 weeks. Deep condition weekly.
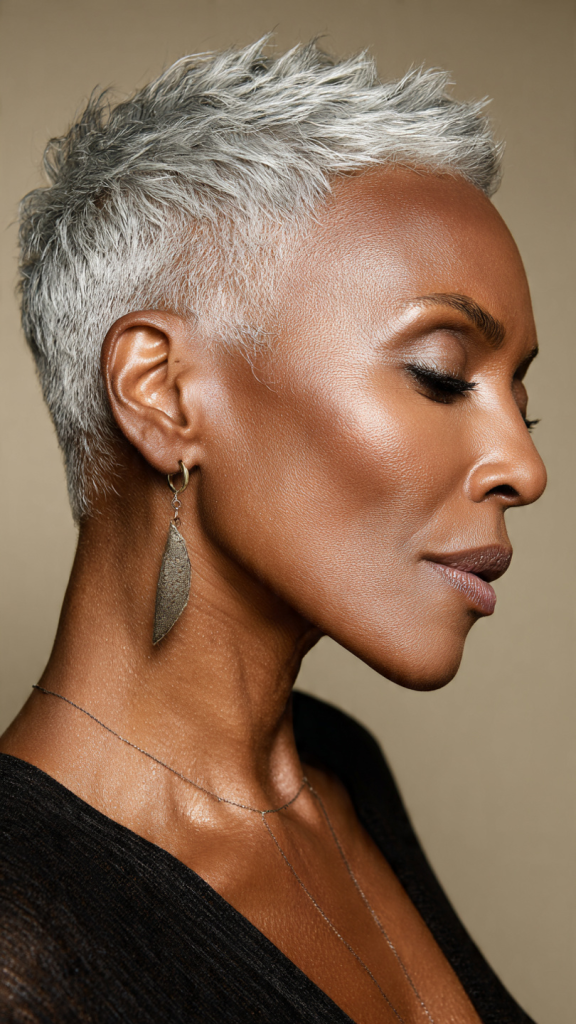
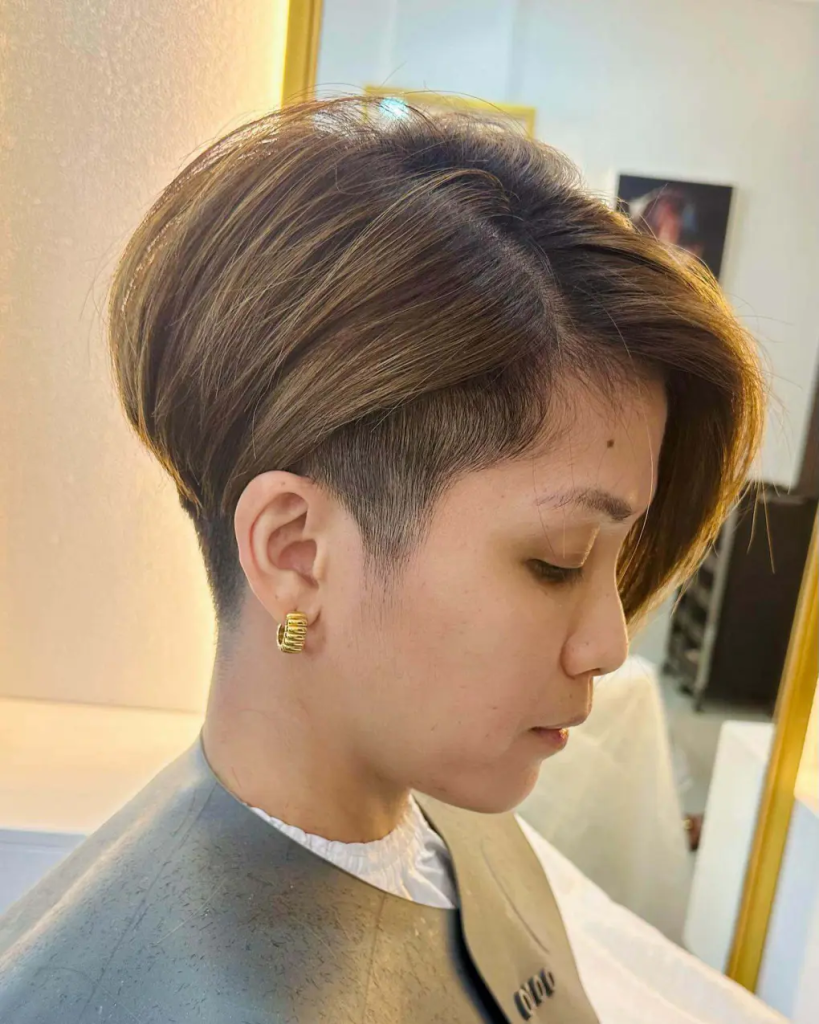
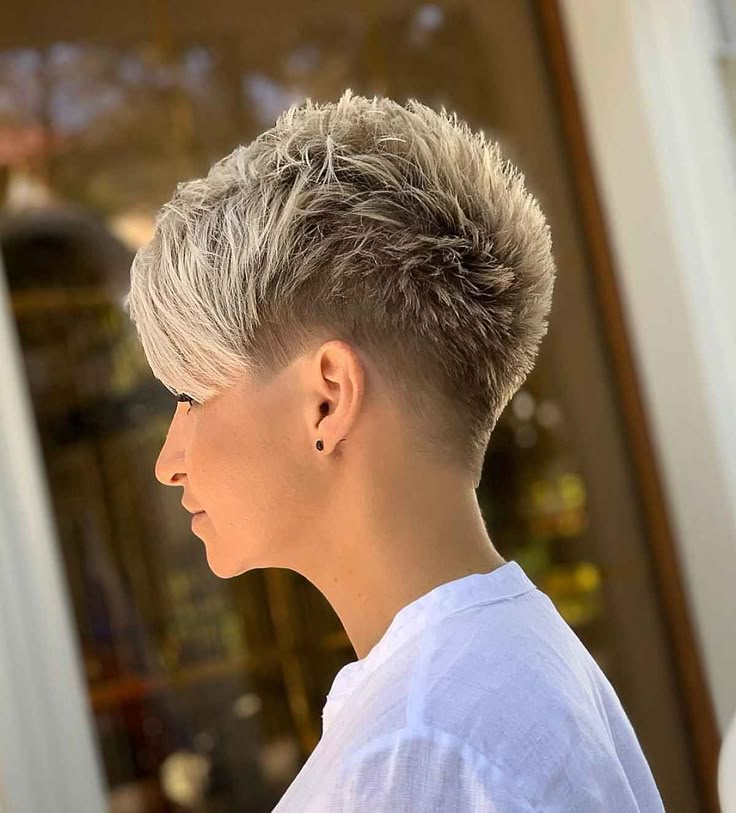
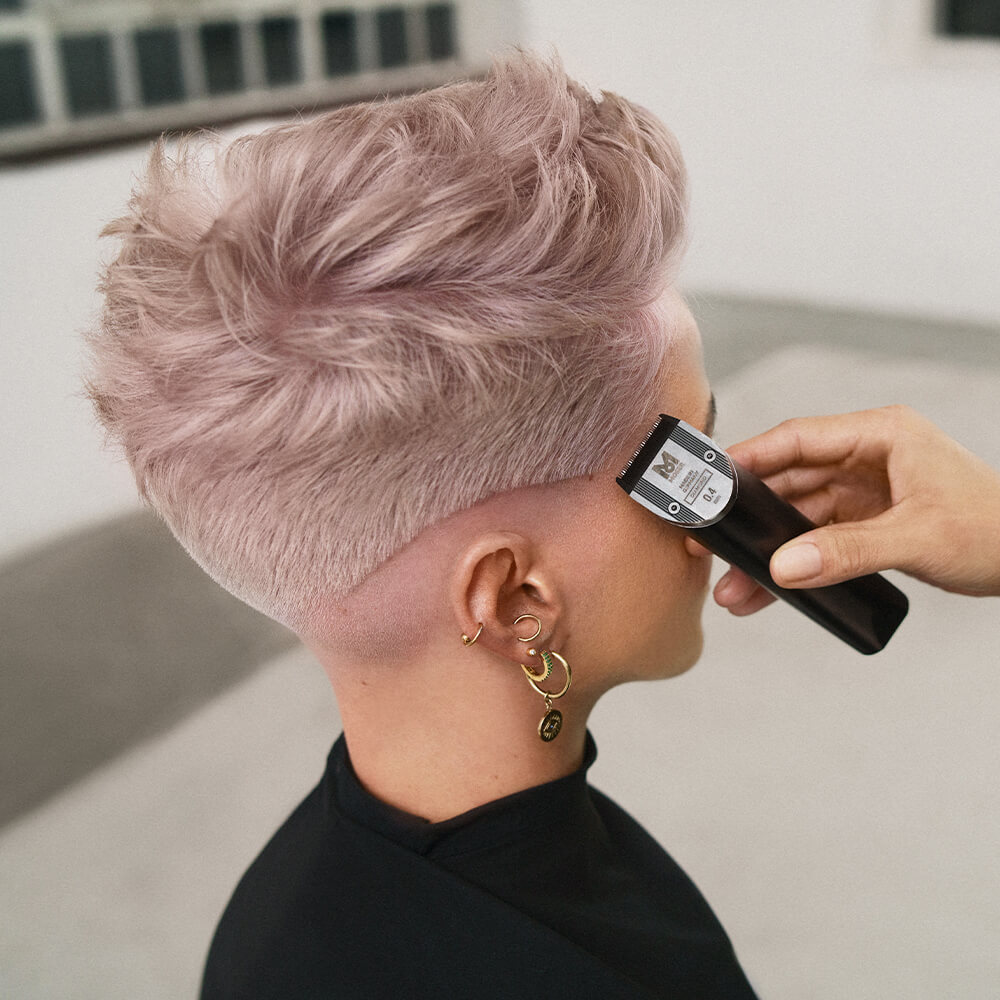
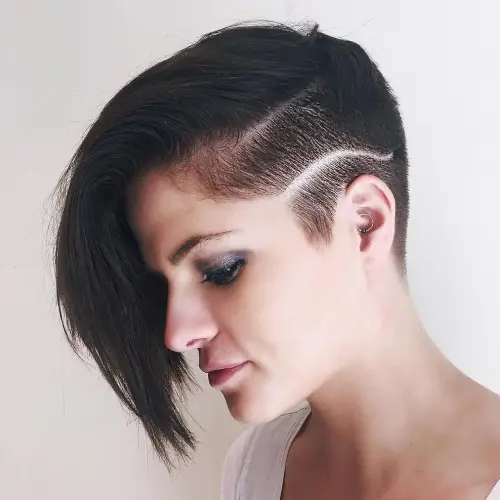
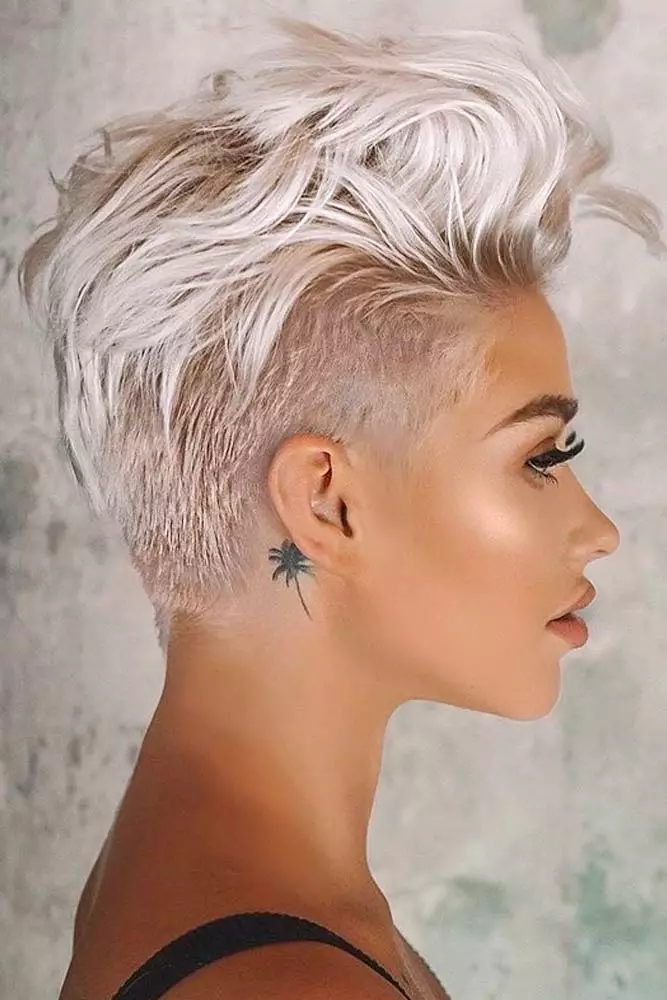
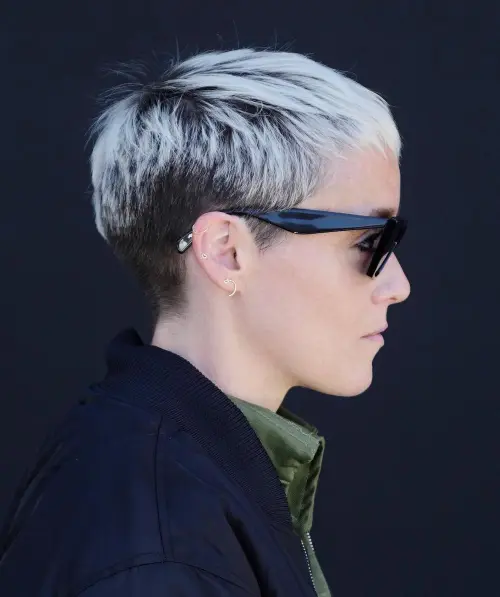
7. Tapered Cut with Natural Volume
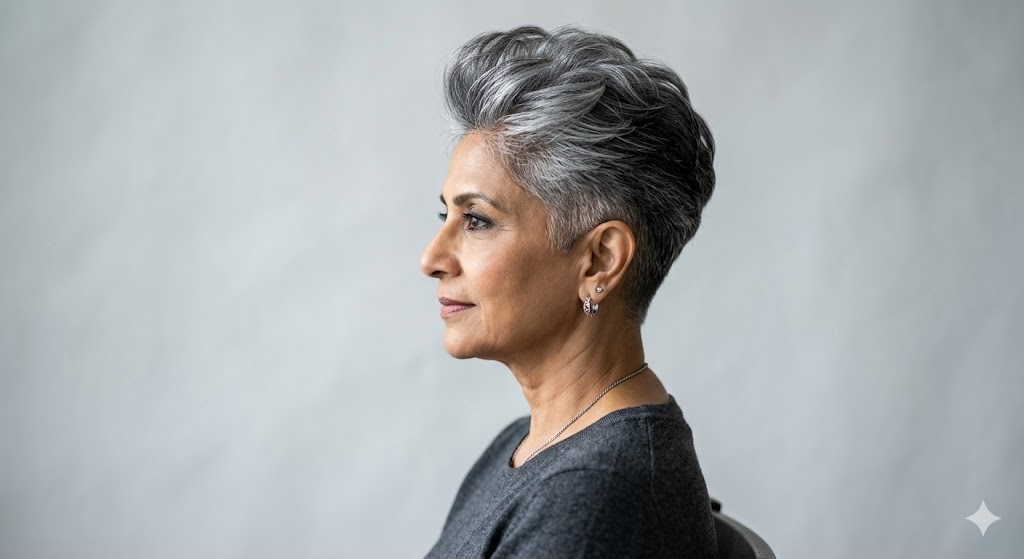
This cut keeps the sides and back very short while concentrating length and volume at the crown.
Why it works: The short sides require no styling. The crown air-dries with natural lift. This cut is ideal for women with fine or thinning hair who want effortless volume.
How to style it: Wash and condition. Towel-dry gently. Apply a root-lifting spray to the crown area if desired. Use your fingers to lift the crown as it dries. The sides need nothing. Air-dry completely.
Best face shapes: Oval, round, heart. The height elongates round faces.
Maintenance needs: Sides every 3–4 weeks. Crown every 5–6 weeks.
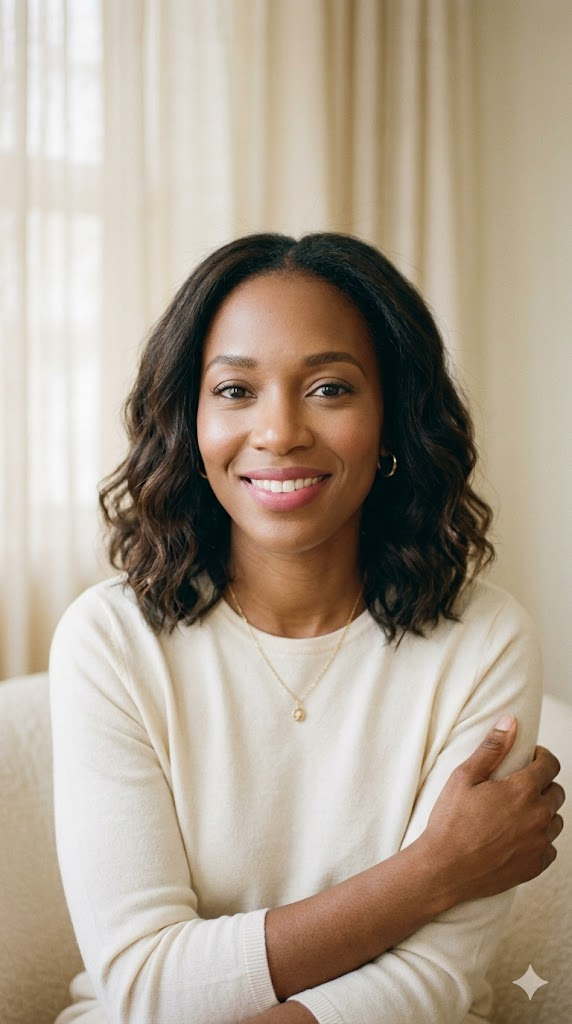
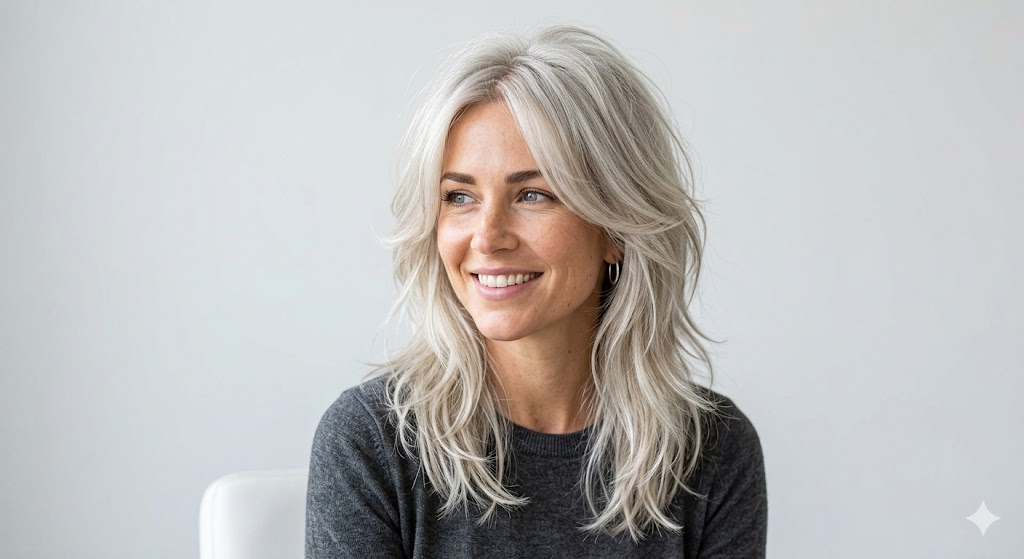
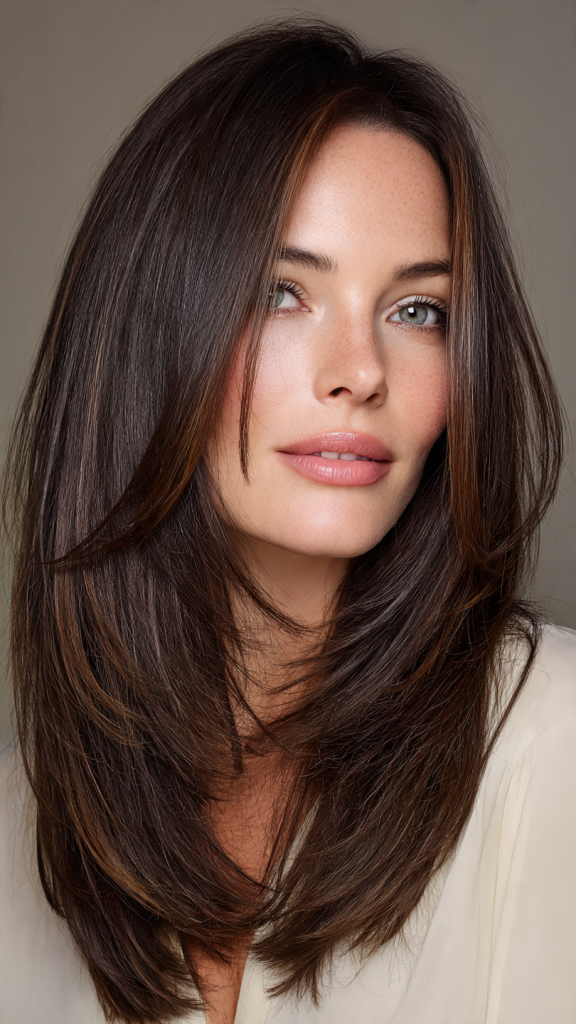
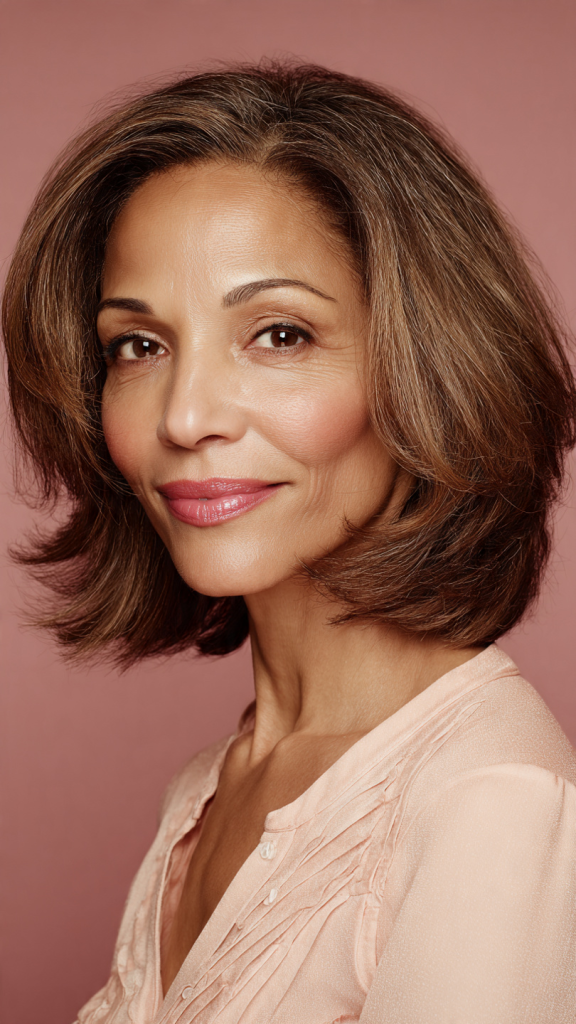
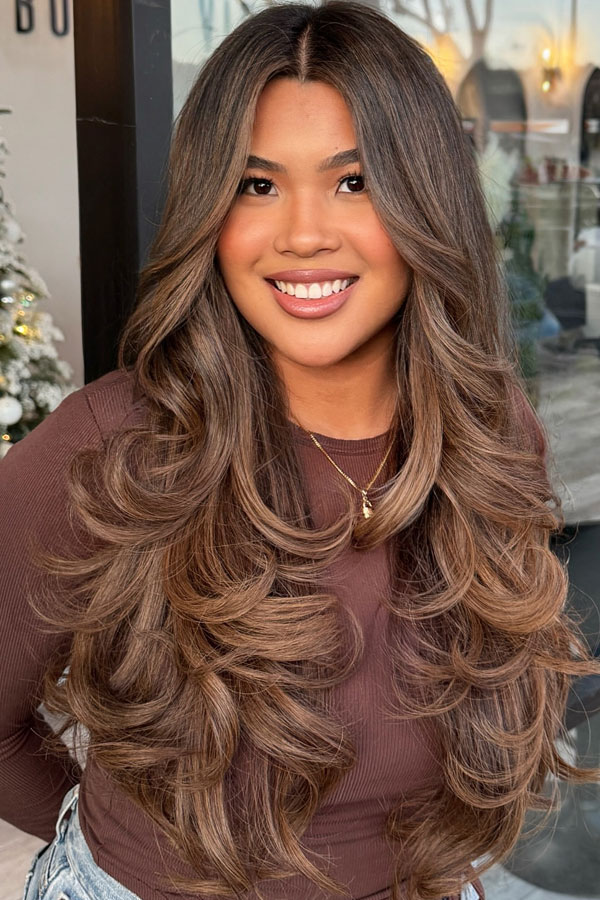
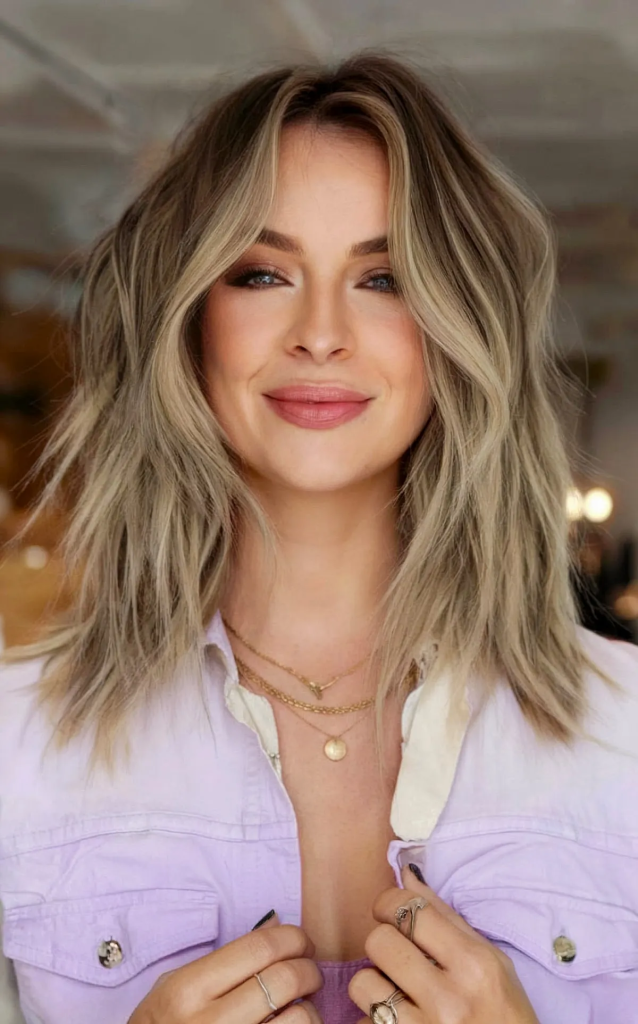
8. Wash and Wear Lob (Long Bob)
The lob hits between the chin and the collarbone. This length is long enough to pull back but short enough to air-dry in under an hour.
Why it works: Adding subtle layers prevents the ends from looking flat when air-dried. The lob offers versatility with minimal effort.
How to style it: Wash and condition. Towel-dry gently. Apply a leave-in conditioner and a light gel. Use your fingers to arrange the hair. Air-dry. For beachy waves, twist sections of damp hair and let them dry before separating with your fingers.
Best face shapes: Oval, round, square. The length elongates the face.
Maintenance needs: Trim every 6–8 weeks.
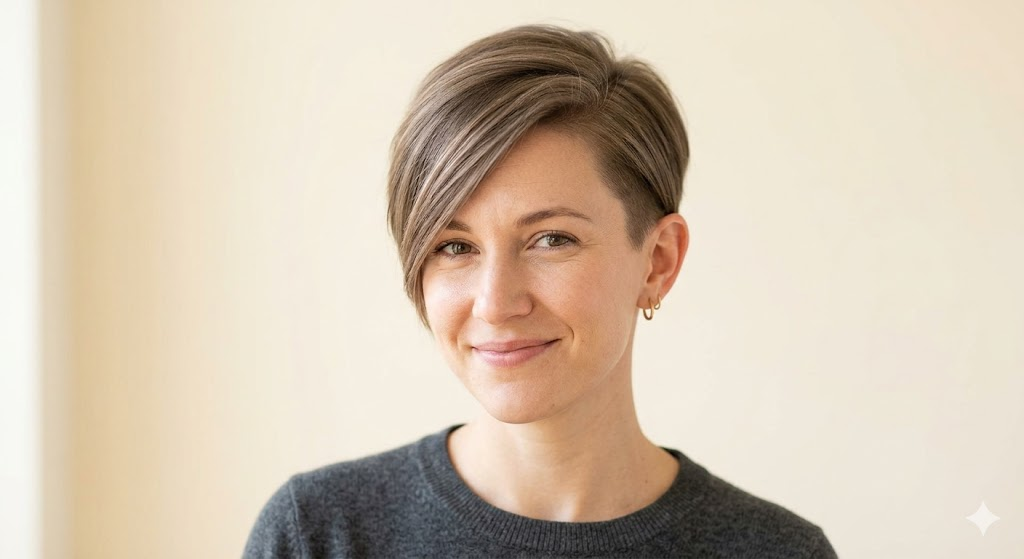
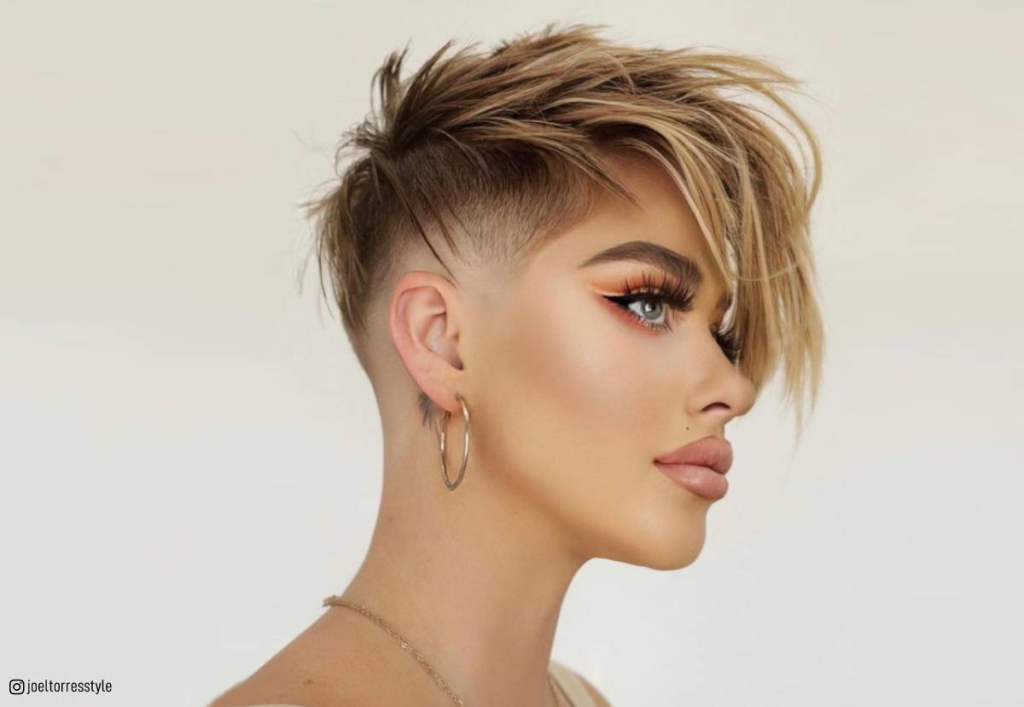
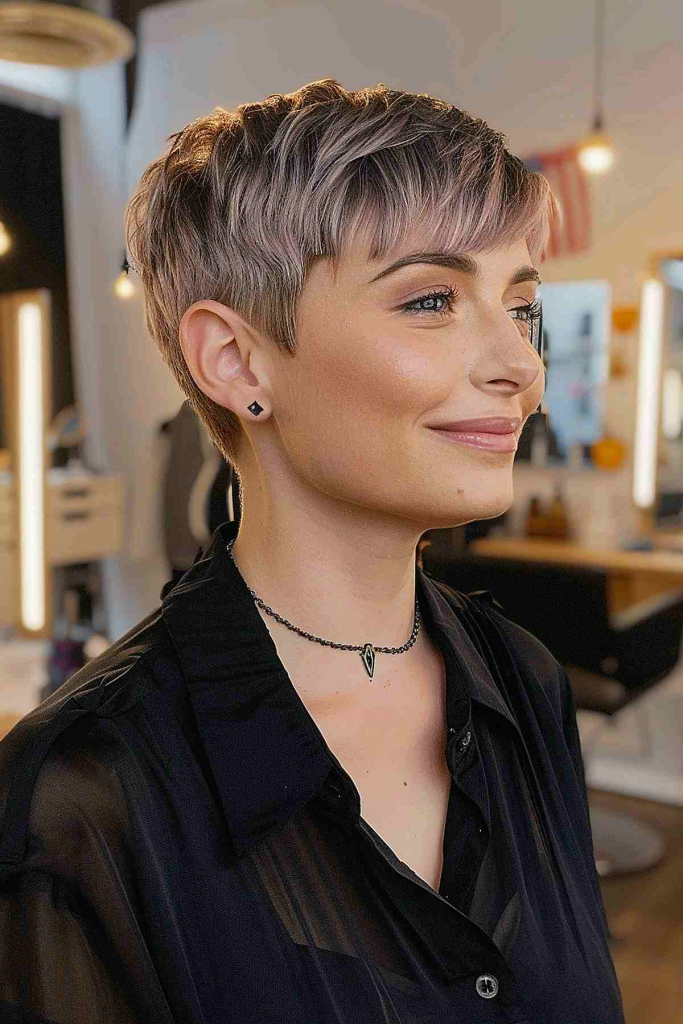
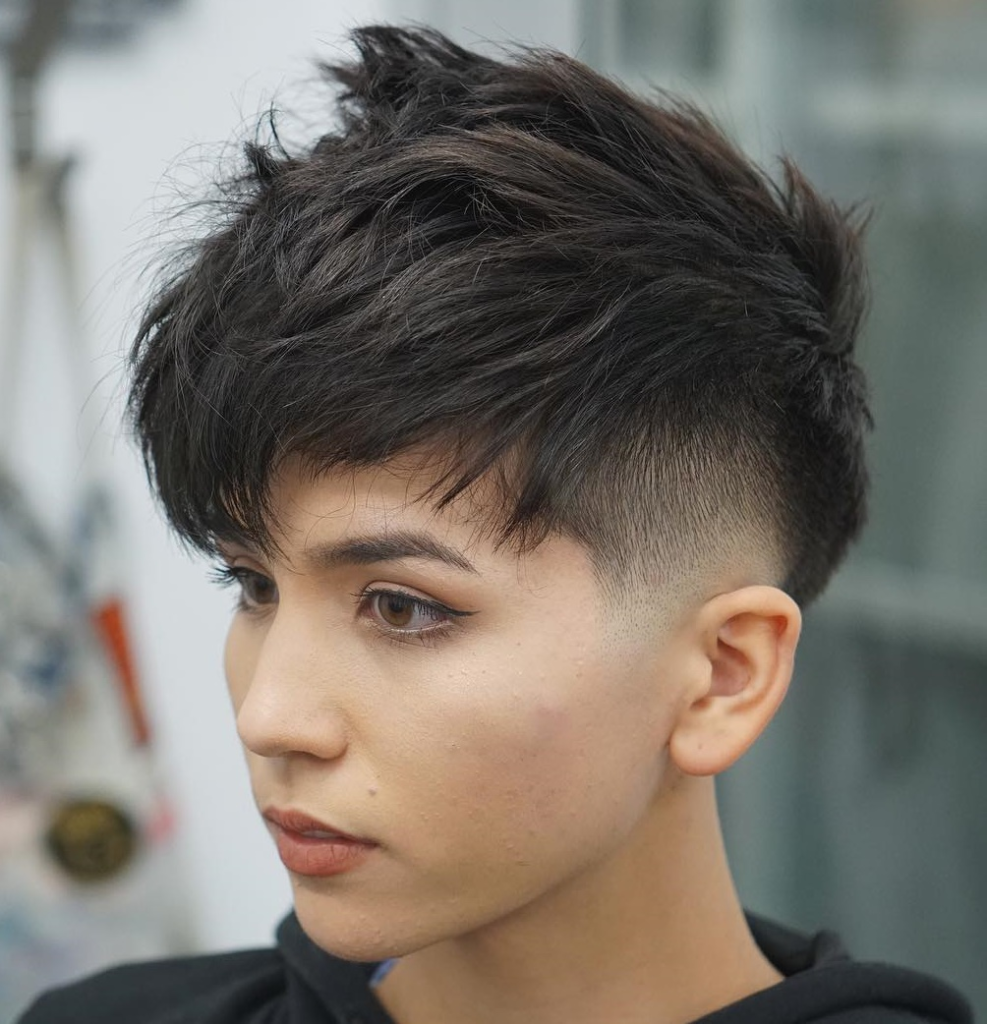
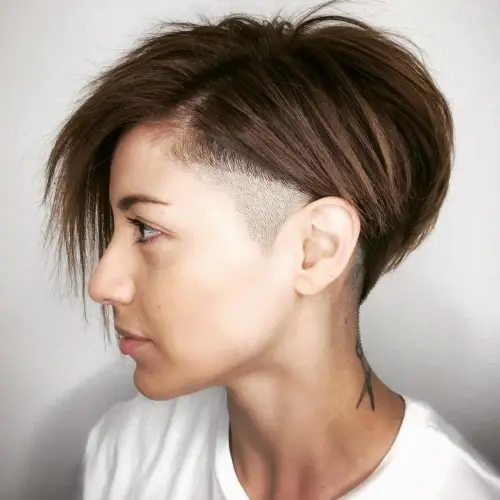
9. Pixie with Longer Top
This pixie keeps the back and sides short but leaves the top longer—usually 1–2 inches.
Why it works: The longer top gives you a little more styling flexibility without adding much time. It also creates more volume at the crown when air-dried.
How to style it: Wash and condition. Towel-dry gently. Apply a lightweight mousse or styling cream. Use your fingers to sweep the longer top to one side or push it forward. Air-dry. A tiny amount of dry shampoo at the roots adds volume.
Best face shapes: Oval, round, heart. The longer top balances rounder faces.
Maintenance needs: Trim every 5–6 weeks.
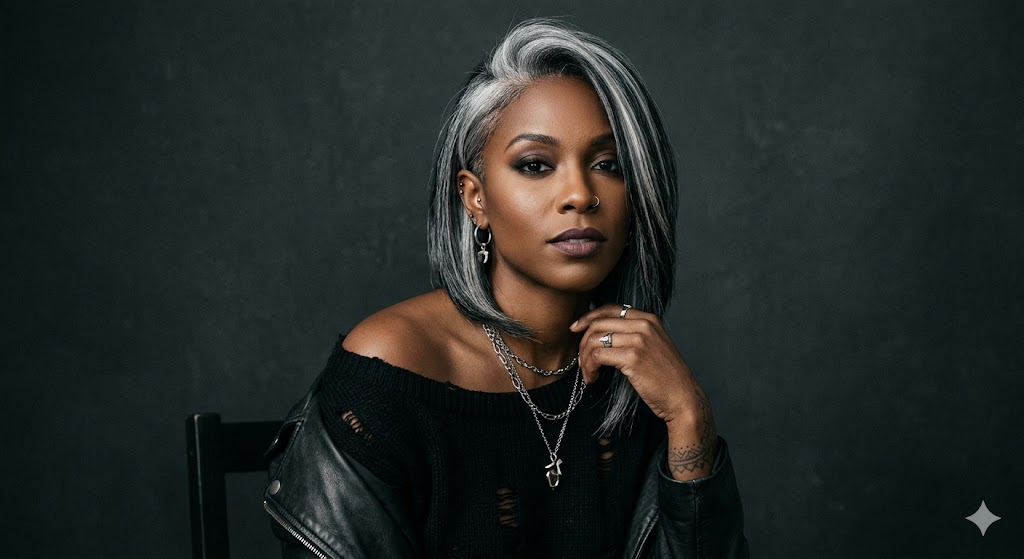
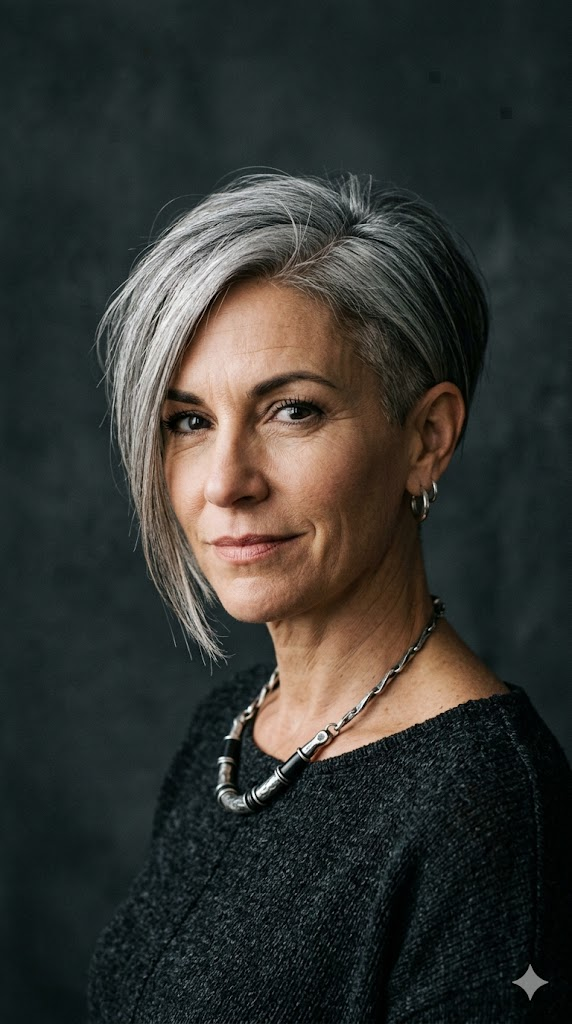
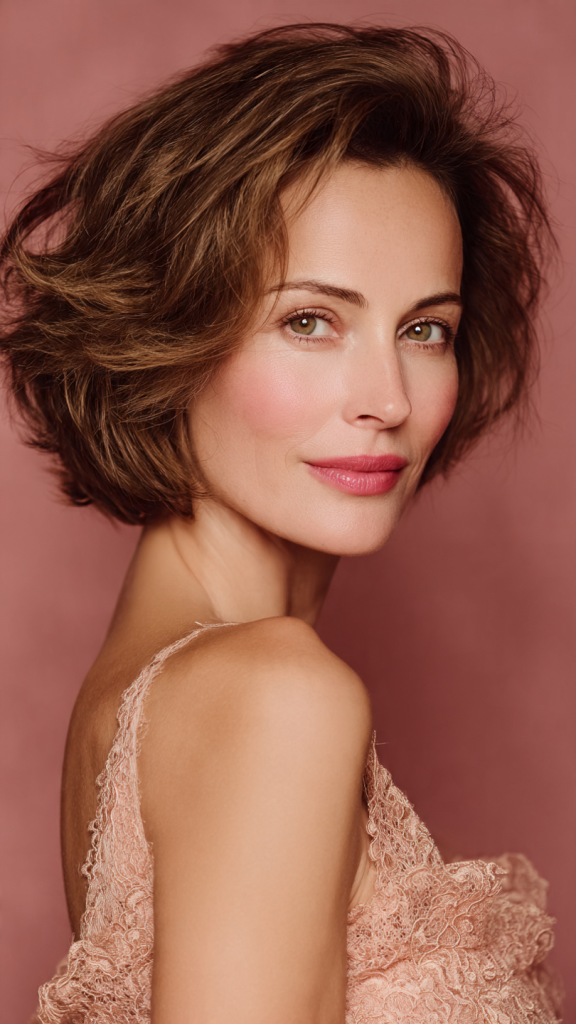
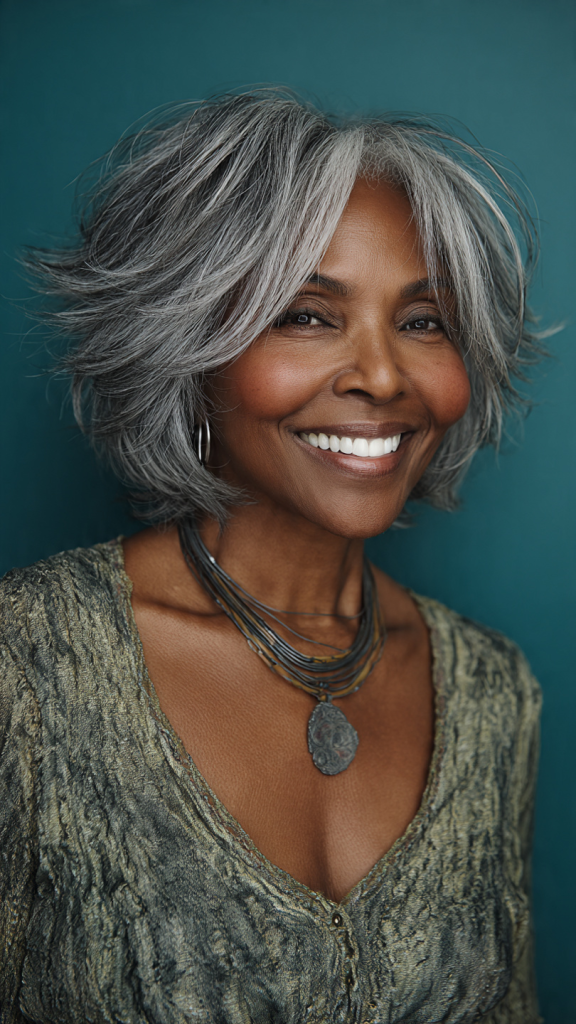
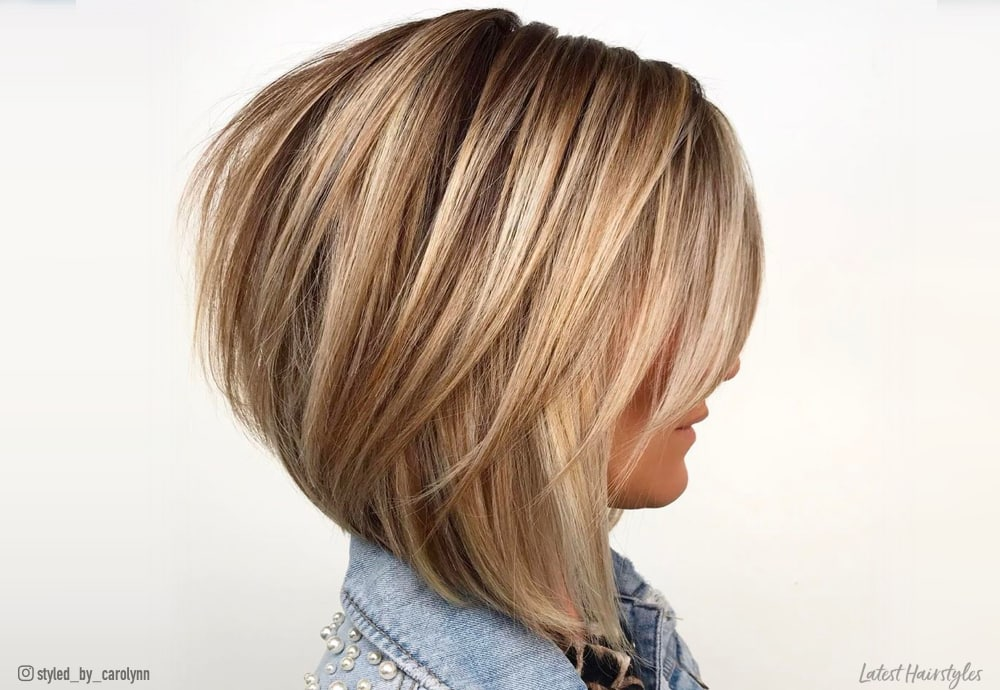
10. Short Shaggy Bob

The shaggy bob (shob) is a hybrid between a short shag and a bob. It has the choppy layers of a shag with the perimeter shape of a bob.
Why it works: This cut gives you the volume of a shag with slightly more length than a traditional short shag. The choppy layers air-dry beautifully.
How to style it: Wash and condition. Towel-dry gently. Apply a texturizing spray to damp hair. Use your fingers to scrunch and lift. Air-dry. The shaggier, the better.
Best face shapes: Oval, heart, round. Crown volume balances round faces.
Maintenance needs: Trim every 6–8 weeks.
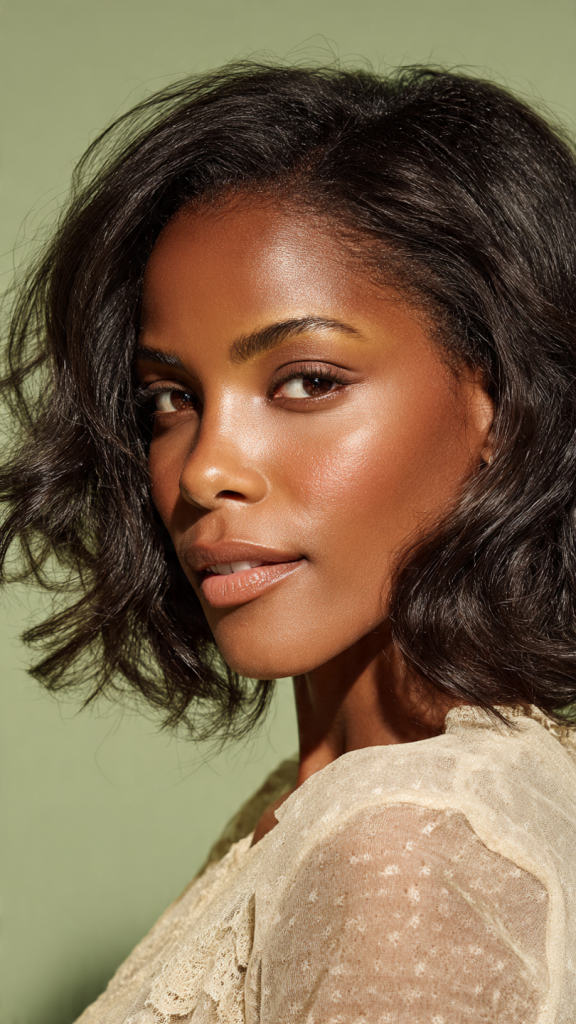
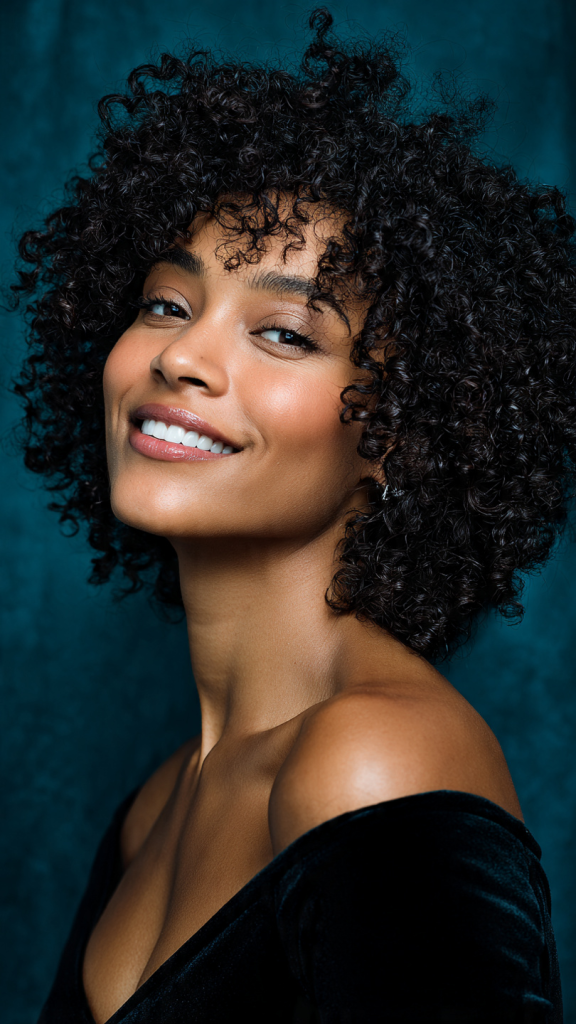
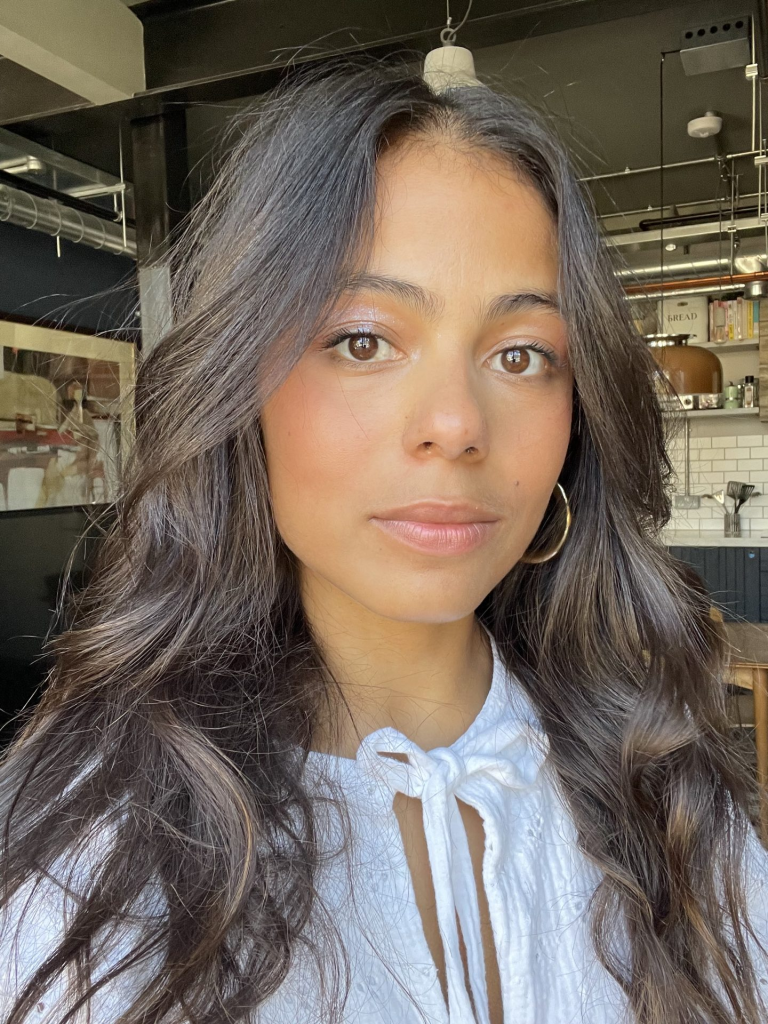
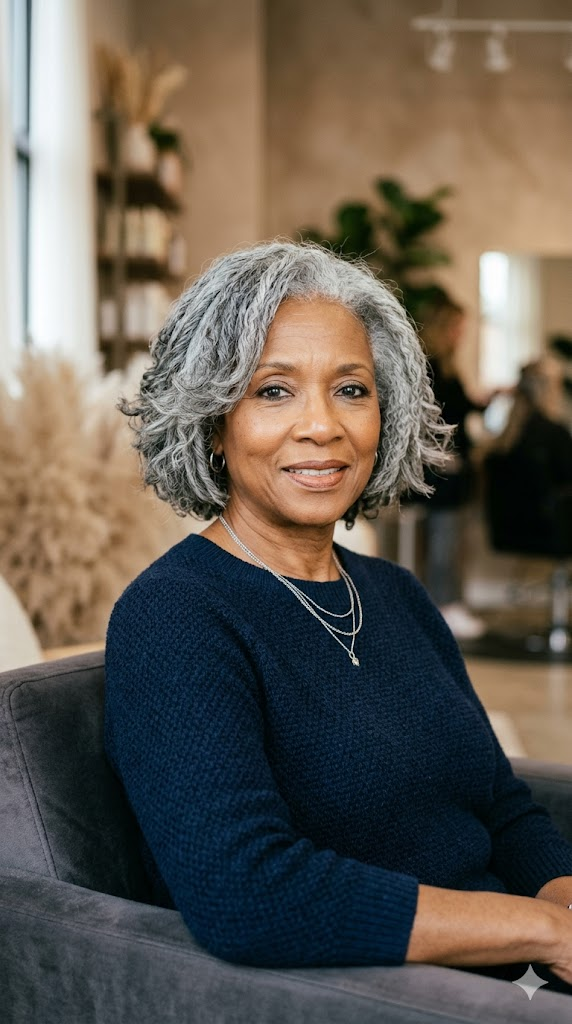
11. Curly Wash and Wear Bob
A curly bob hits at the chin or shoulders. The weight of the bob pulls curls down just enough to prevent frizz.
Why it works: This cut is perfect for women with natural curls who want definition without effort. The length keeps curls from getting too big while allowing them to air-dry beautifully.
How to style it: Wash with a sulfate-free shampoo. Apply a leave-in conditioner and a curl cream to soaking wet hair. Use your fingers to define individual curls. Air-dry. Do not touch until completely dry. Then scrunch gently to break the cast.
Best face shapes: Oval, heart, round. The volume at the sides balances the face.
Maintenance needs: Trim every 8–10 weeks.
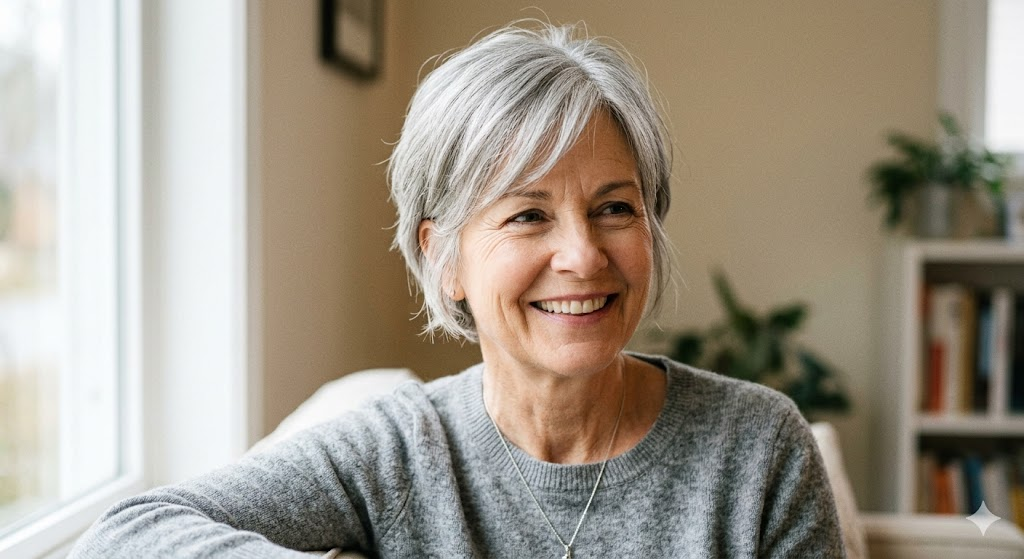
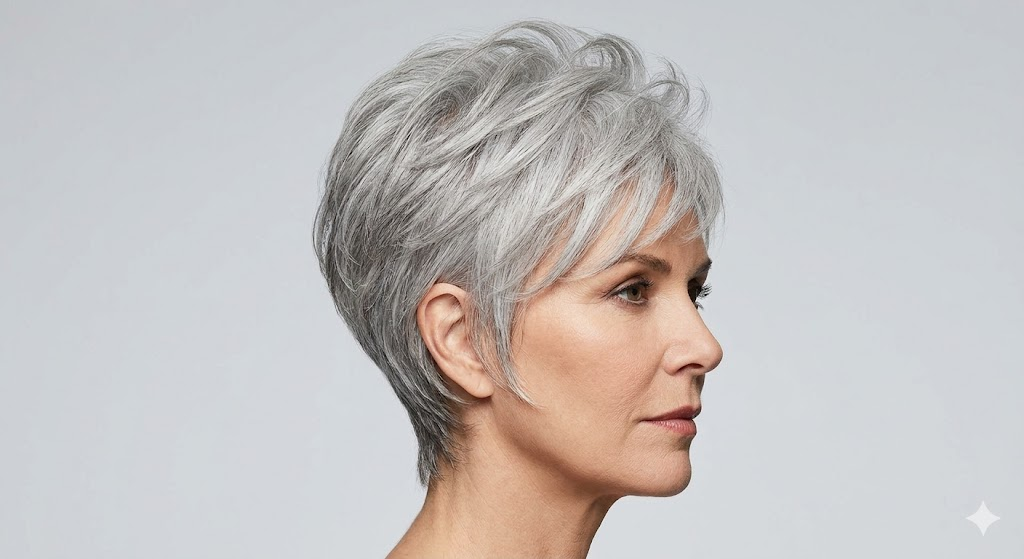
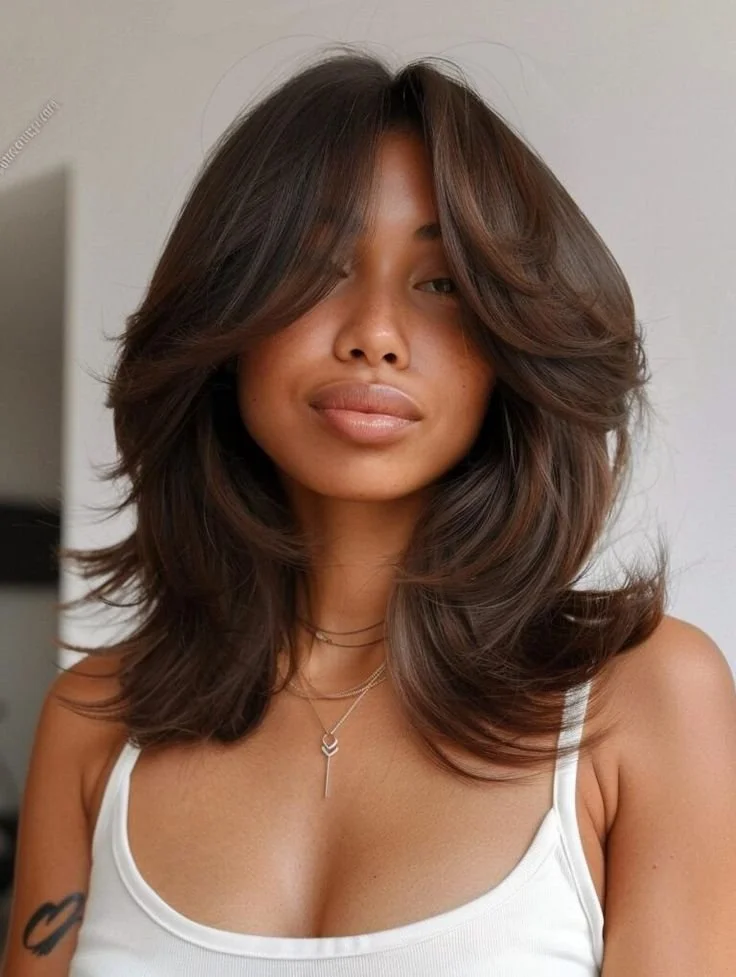
12. Feathered Crop

The feathered crop is a short, airy cut with soft, feather-like layers that sweep away from the face.
Why it works: The feathered layers add movement and volume without bulk. The cut air-dries into a soft, feminine shape.
How to style it: Wash and condition. Towel-dry gently. Apply a light mousse to damp hair. Use your fingers to direct the layers upward and back from your face. Air-dry. A touch of styling cream defines the feathered ends if desired.
Best face shapes: Oval, heart, diamond. The softness around the face flatters almost everyone.
Maintenance needs: Trim every 6–8 weeks.
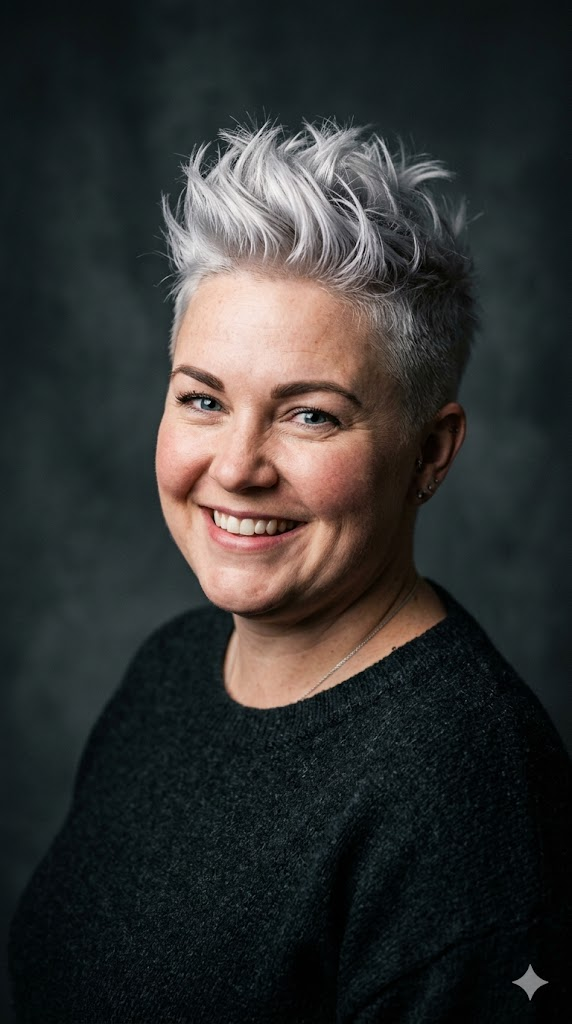
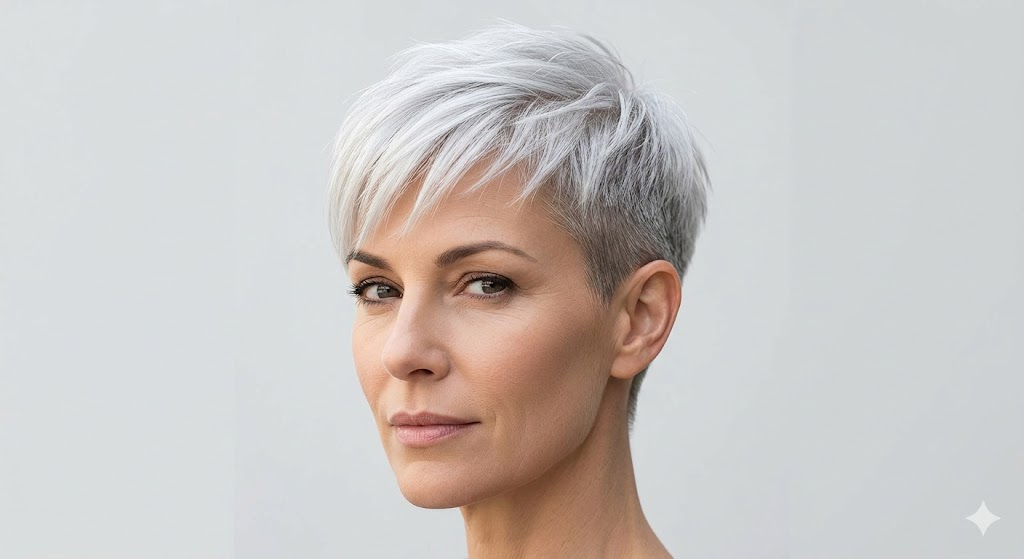
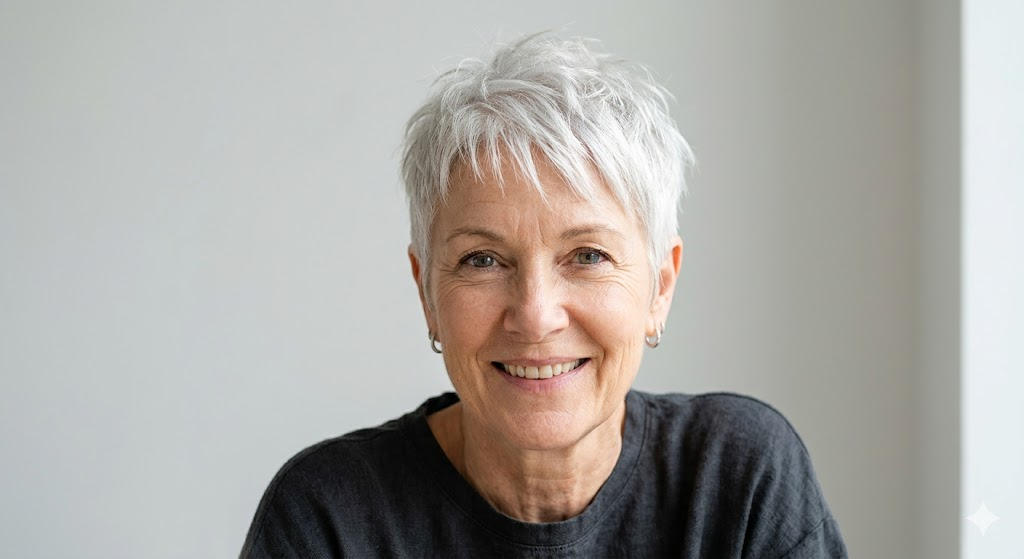
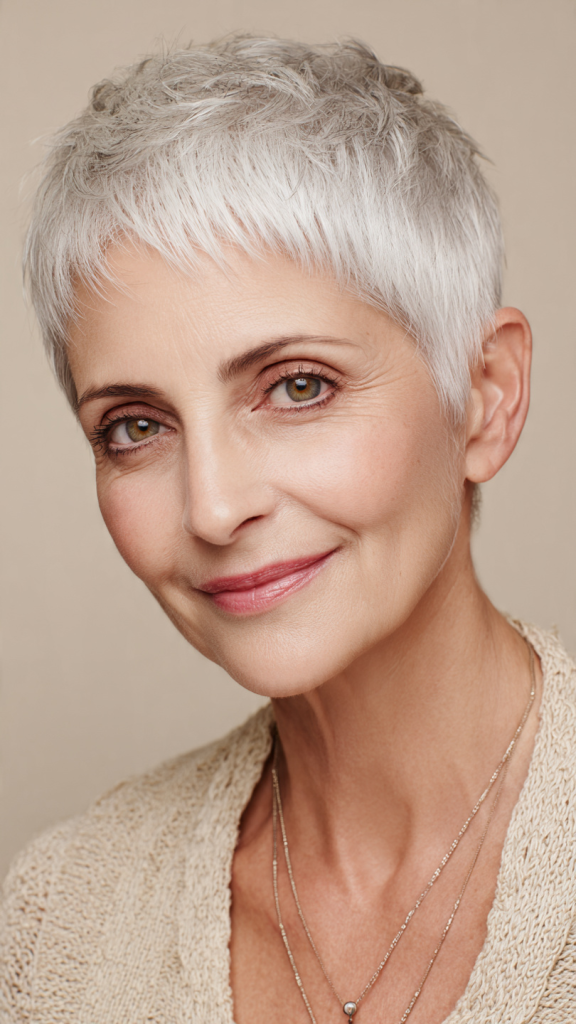
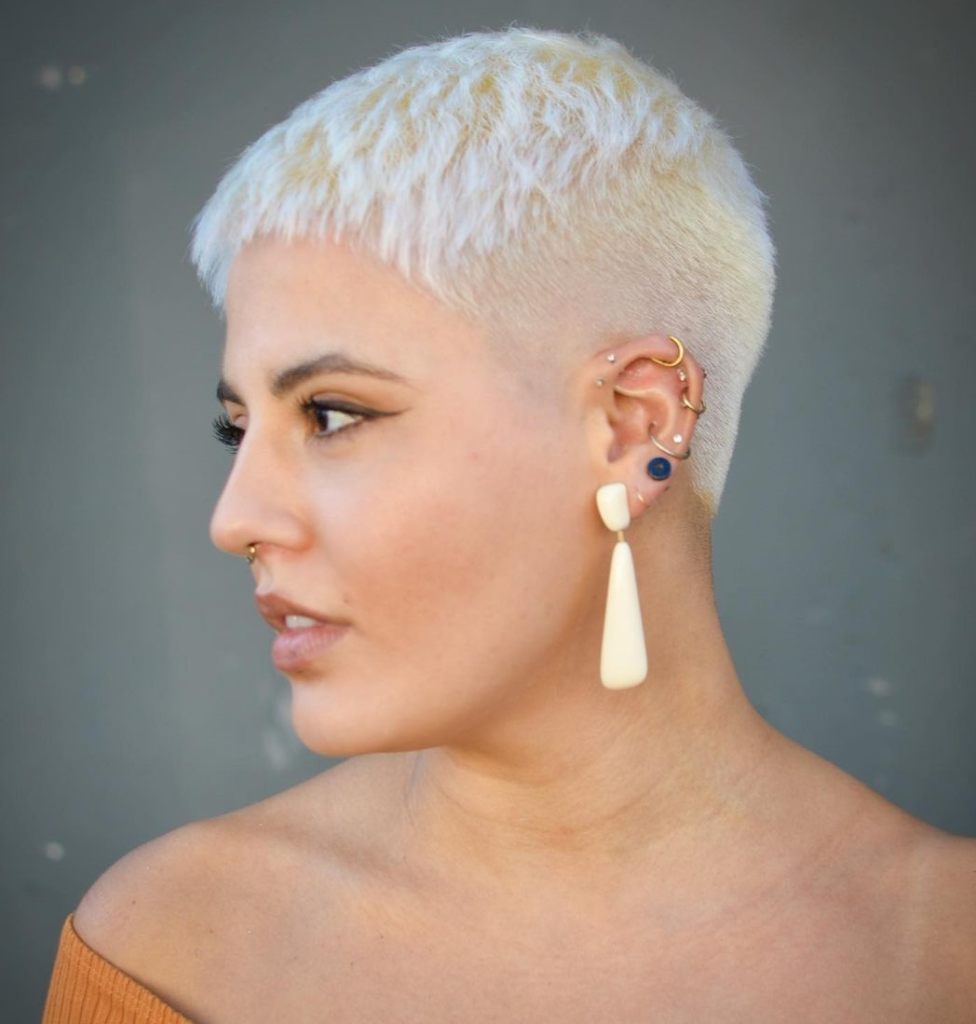
13. Textured Pixie for Fine Hair

This pixie is specifically designed for very fine or thinning hair. The layers are short and dense, creating maximum volume at the crown.
Why it works: Fine hair needs volume, not length. The short, dense layers lift at the root and stay lifted, even when air-dried.
How to style it: Wash and condition. Towel-dry gently. Use a root-lifting spray on damp roots. Blow-dry upside down for one minute (optional, for extra volume) or simply flip your head and shake. Air-dry. Avoid heavy creams or oils.
Best face shapes: Oval, oblong, heart. The crown volume balances longer face shapes.
Maintenance needs: Trim every 5–7 weeks. Fine hair shows growth quickly.
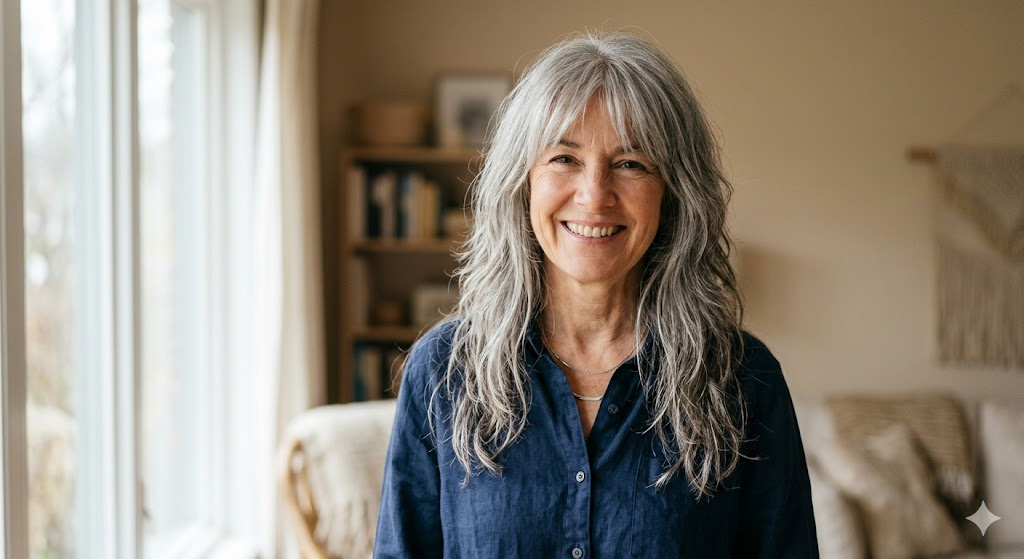
14. Low-Maintenance Wash and Wear Cut
This is the ultimate no-fuss cut. The hair is shaped so that it falls perfectly on its own. No products required. No tools needed.
Why it works: This cut is for women who want to think about their hair as little as possible. The layers are subtle. The ends are textured. Air-drying looks intentional.
How to style it: Wash and condition. Towel-dry gently. Shake out your hair with your fingers. Air-dry. That is it. No products. No brushes. No tricks.
Best face shapes: Oval, round, heart. The simplicity works on all.
Maintenance needs: Trim every 8–10 weeks.
How to Make Any Wash and Wear Haircut Work Better
The products that help:
- Lightweight mousse or foam
- Texturizing spray
- Dry shampoo (apply to dry roots for instant lift)
- Leave-in conditioner (for curly hair only)
- Sea salt spray
The products to avoid:
- Heavy gels and creams
- Oils and serums (they weigh air-dried hair down)
- Thick butters and pomades
The techniques that work:
- Towel-dry gently—do not rub vigorously
- Use your fingers, not a brush
- Flip your head upside down and shake at the roots before it fully dries
- Do not touch your hair while it is drying (touching creates frizz)
Quick Maintenance Cheat Sheet
| Cut Type | Trim Frequency | Special Notes |
|---|---|---|
| Classic wash and wear pixie | 4–6 weeks | Needs frequent upkeep |
| Textured crop | 5–6 weeks | Texture hides growth |
| Short layered bob | 6–8 weeks | Easy to maintain |
| Wash and wear shag | 6–8 weeks | Looks better grown out |
| Chin-length bob with soft layers | 6–8 weeks | Grows out well |
| Curly wash and wear crop | 8–10 weeks | Deep condition weekly |
| Tapered cut with natural volume | Sides: 3–4 weeks / Crown: 5–6 weeks | Taper needs upkeep |
| Wash and wear lob | 6–8 weeks | Versatile length |
| Pixie with longer top | 5–6 weeks | Top can go longer |
| Short shaggy bob | 6–8 weeks | Grows out gracefully |
| Curly wash and wear bob | 8–10 weeks | Deep condition weekly |
| Feathered crop | 6–8 weeks | Feathering fades |
| Textured pixie for fine hair | 5–7 weeks | Volume fades |
| Low-maintenance wash and wear | 8–10 weeks | Looks better grown out |
Final Thoughts
Wash and wear haircuts for women over 60 prove that you do not have to choose between looking good and saving time. The right cut respects your morning routine while still delivering style, volume, and confidence. Whether you choose a classic pixie, a textured crop, a curly bob, or the ultimate low-maintenance cut, the goal is the same: wash, dry, go. Bring photos from this guide to your stylist. Be honest about how much time you want to spend on your hair. And enjoy the freedom of walking out the door with wet hair and zero stress.