The layered shoulder length haircut has become the most requested style in salons for women who want the perfect compromise between short and long hair. Falling somewhere between the chin and collarbone, this versatile length offers the ease of shorter hair with the styling options of longer locks. Adding layers transforms a basic shoulder-length cut into a dynamic, movement-filled style that works for every hair type—fine, thick, straight, curly, or wavy. In this guide, we’ll explore ten stunning layered shoulder-length haircuts, complete with why each works, how to style it, which face shapes it flatters, and maintenance needs. Whether you’re growing out a pixie or chopping off damaged ends, these cuts will give you fresh energy and modern volume.
Why Layers Are Essential for Shoulder Length Hair
Shoulder-length hair without layers can fall flat, look heavy, or feel shapeless. Layers solve all three problems by:
- Removing bulk from thick hair that tends to triangle out at the shoulders
- Adding volume to fine hair that struggles to hold any shape
- Creating movement that catches light and makes hair look healthier
- Framing the face with strategic pieces that soften your features
For women dealing with age-related thinning, layers are particularly powerful. If you want even more volume-focused options, check out our guide to 10 Hairstyles for Thin Fine Hair Over 50: Volume, Texture, and Youthful Fullness that pairs beautifully with layered cuts.
The 10 Layered Shoulder Length Haircuts
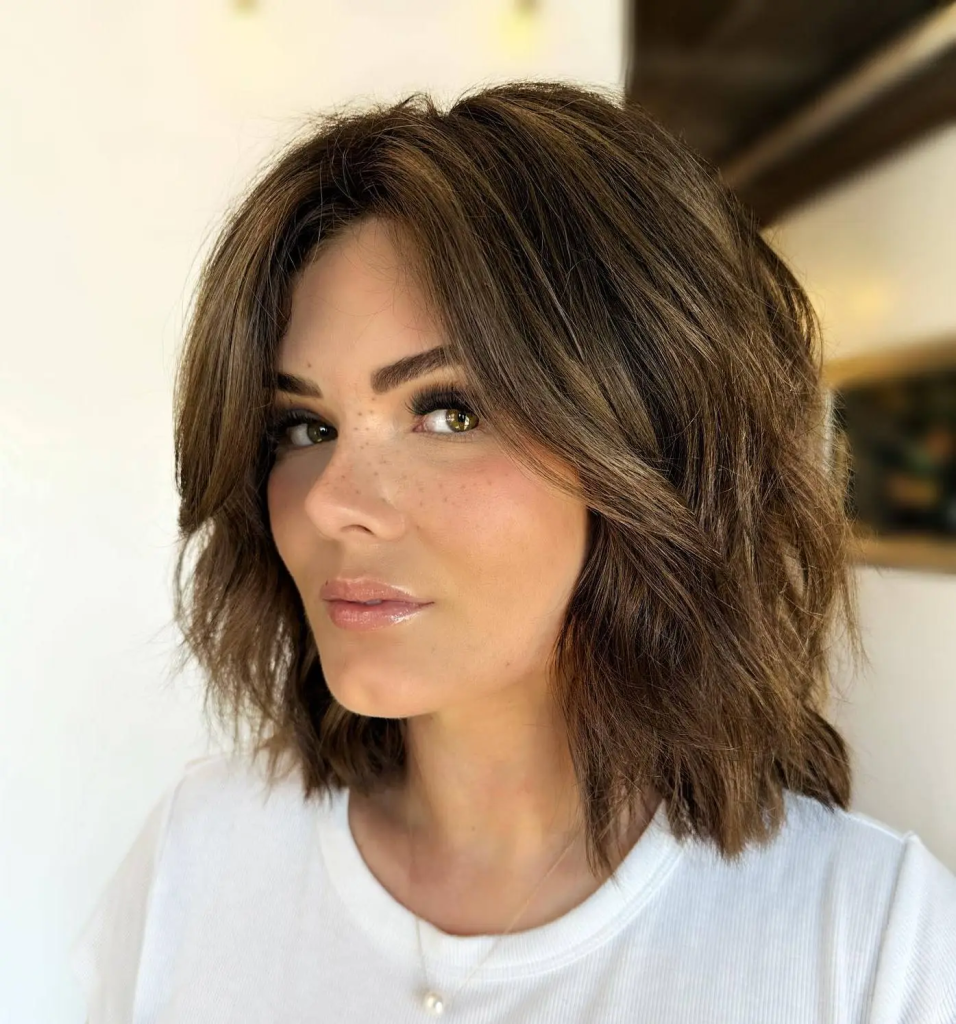
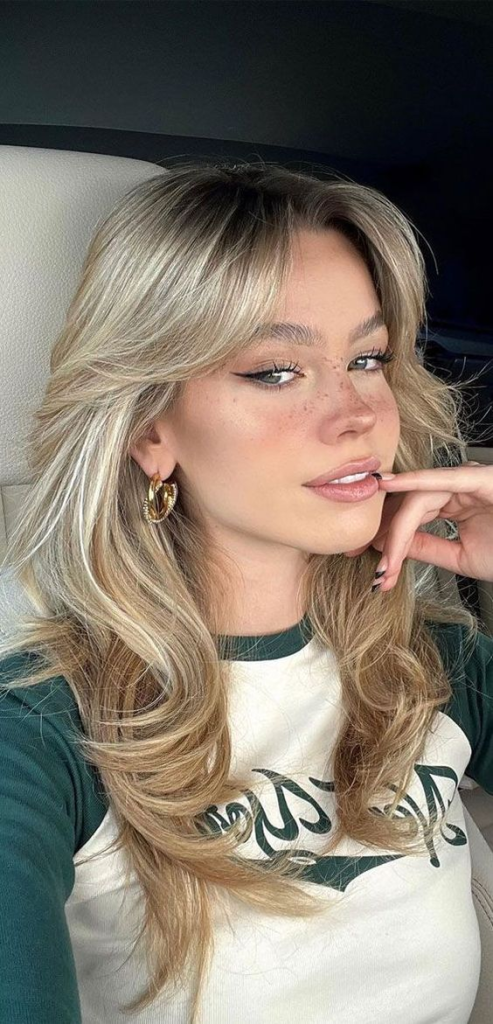
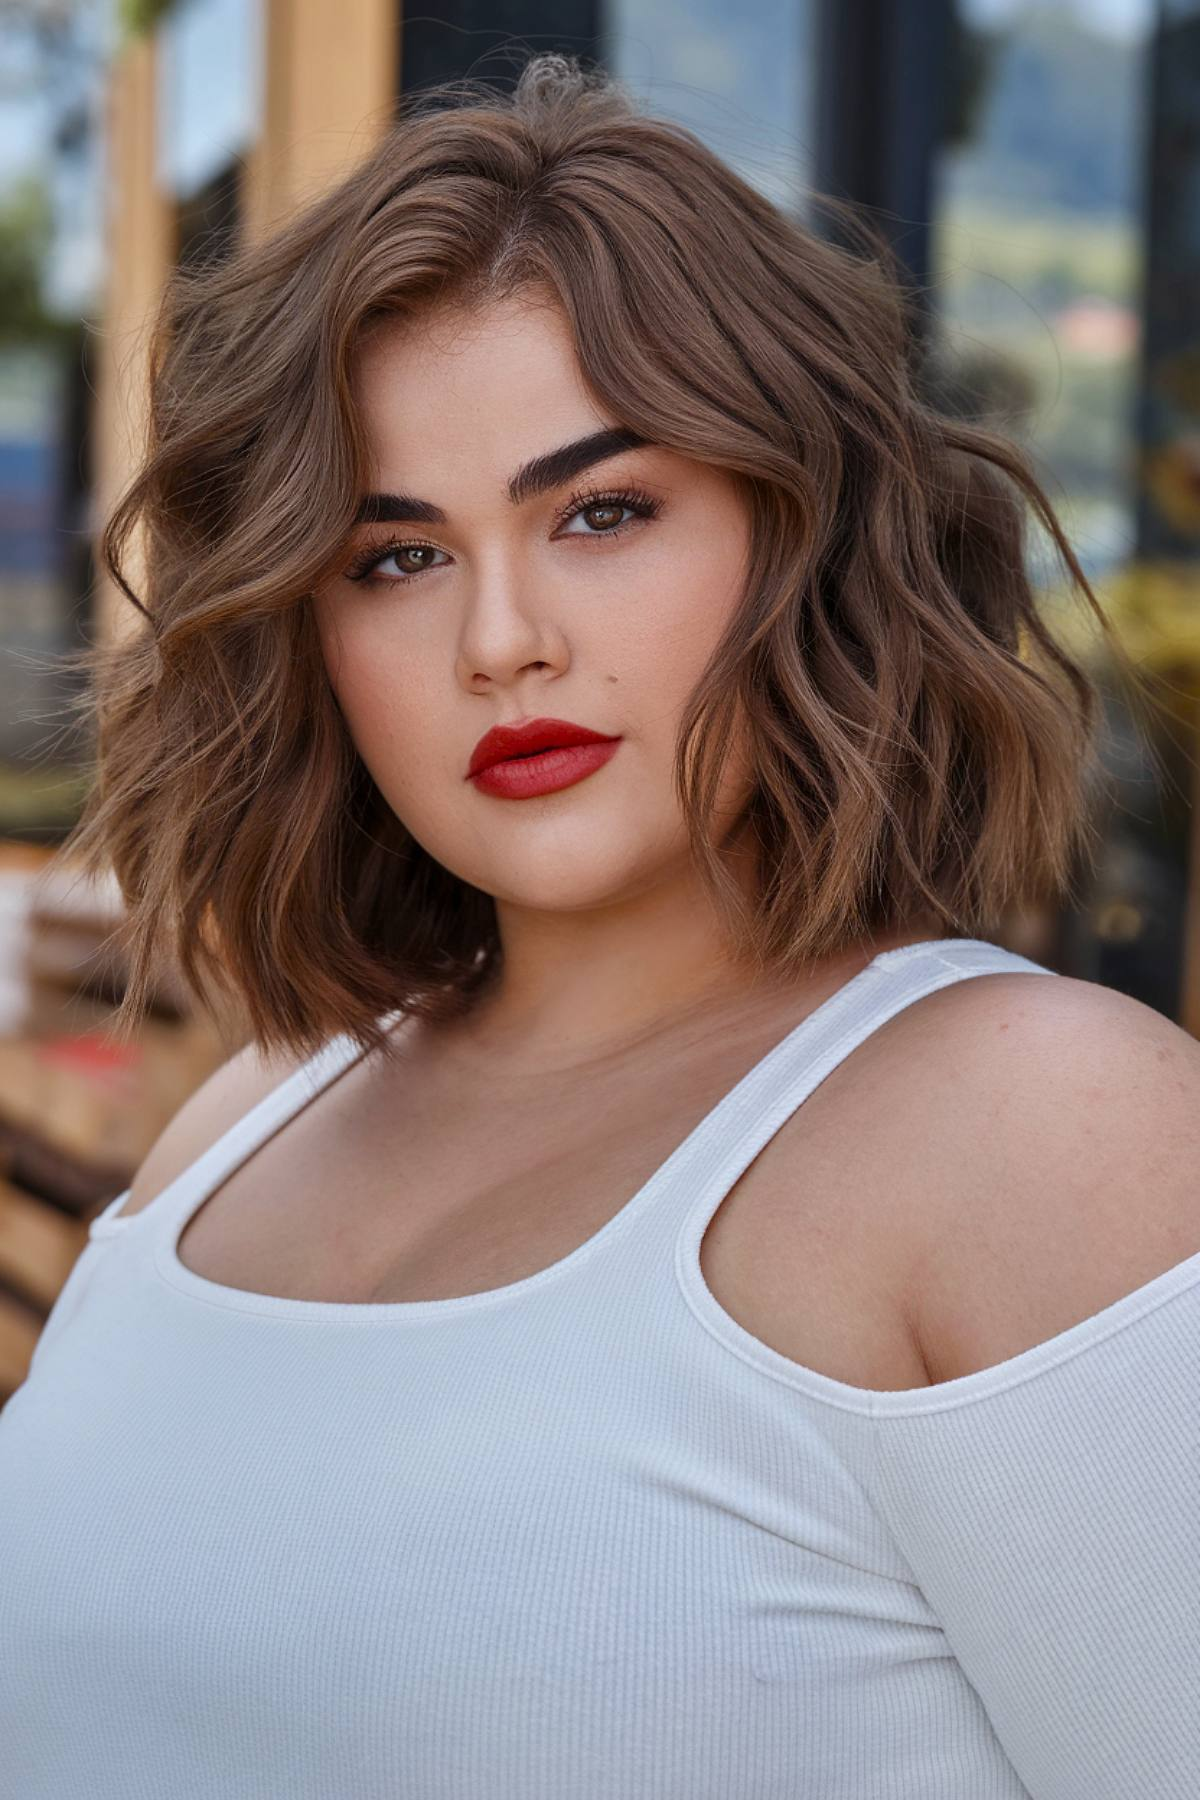
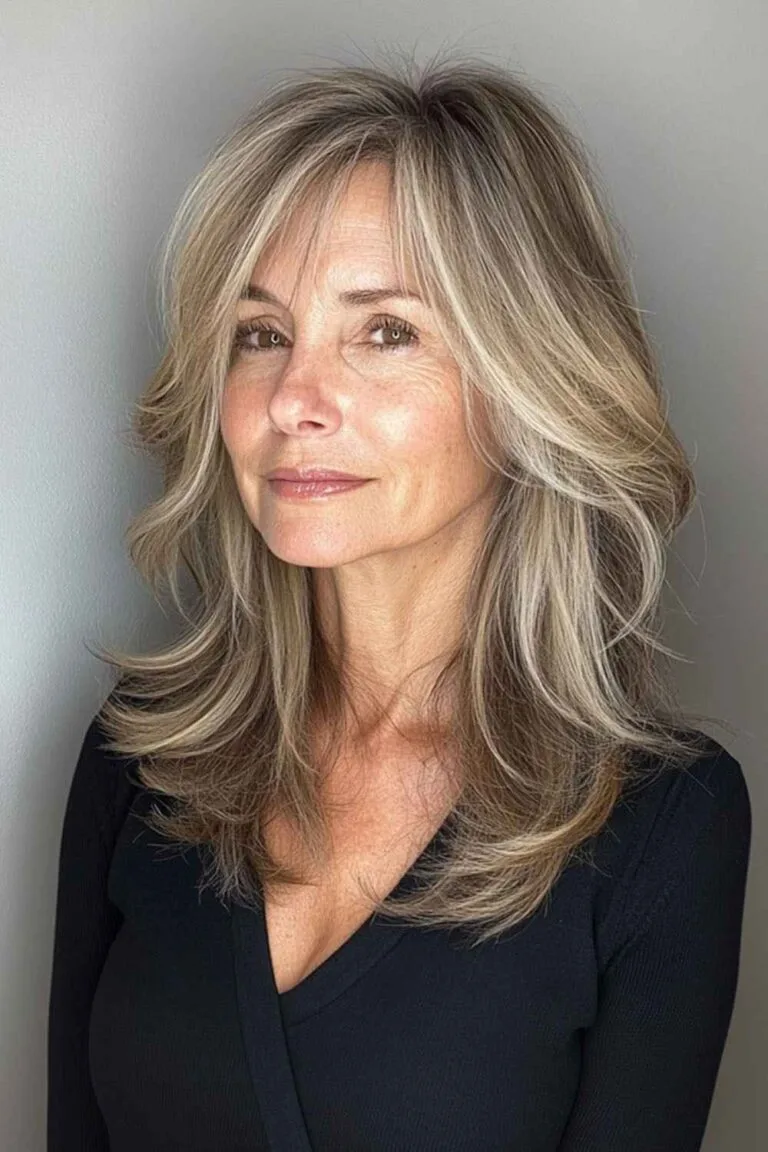
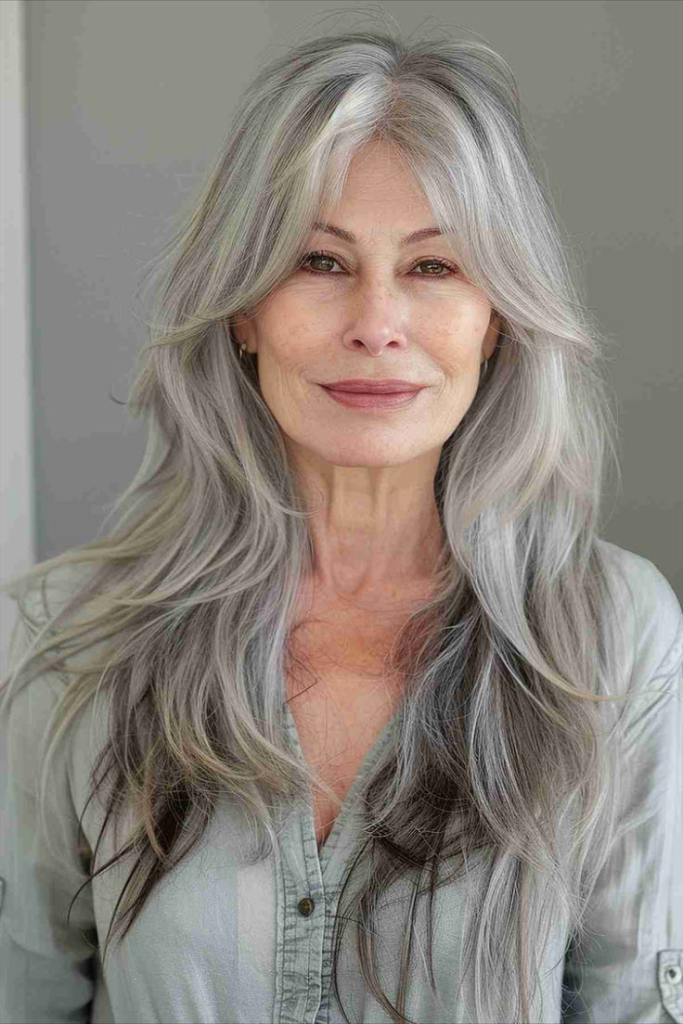
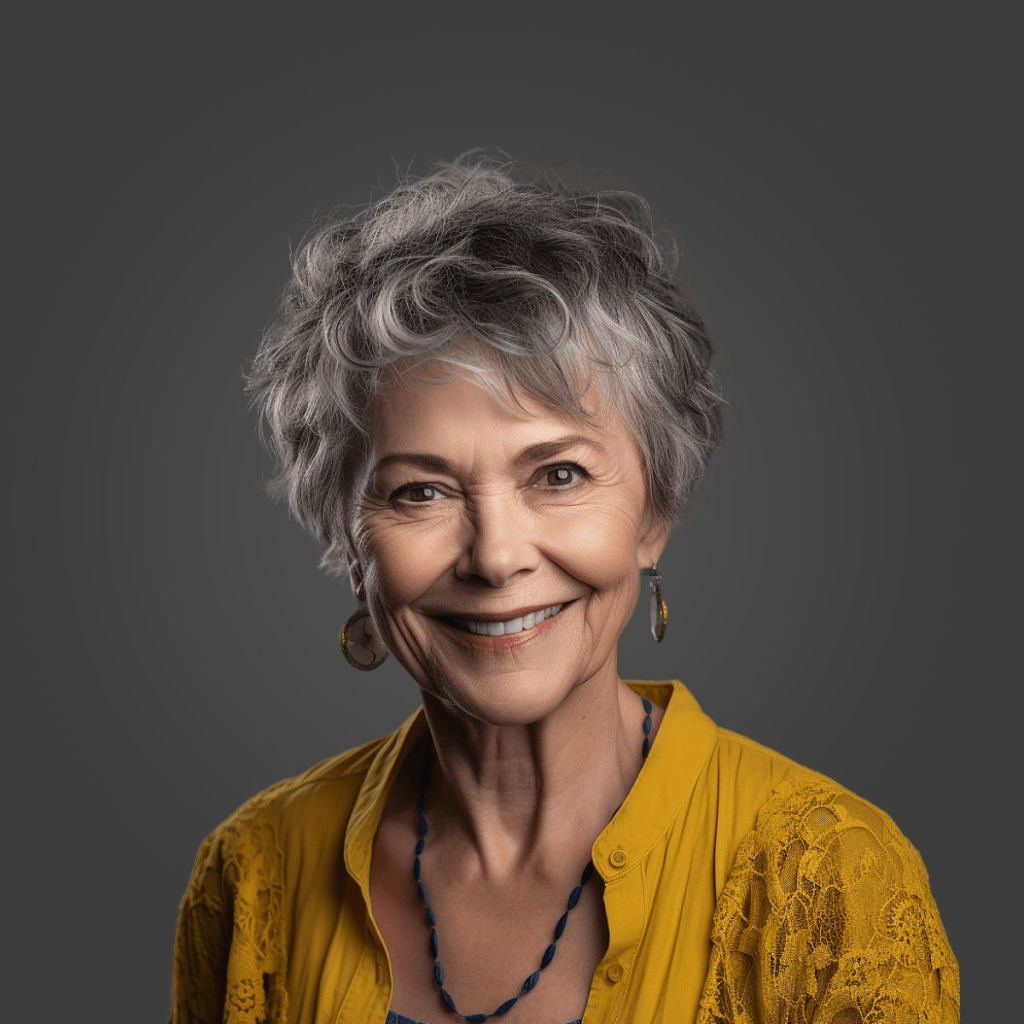
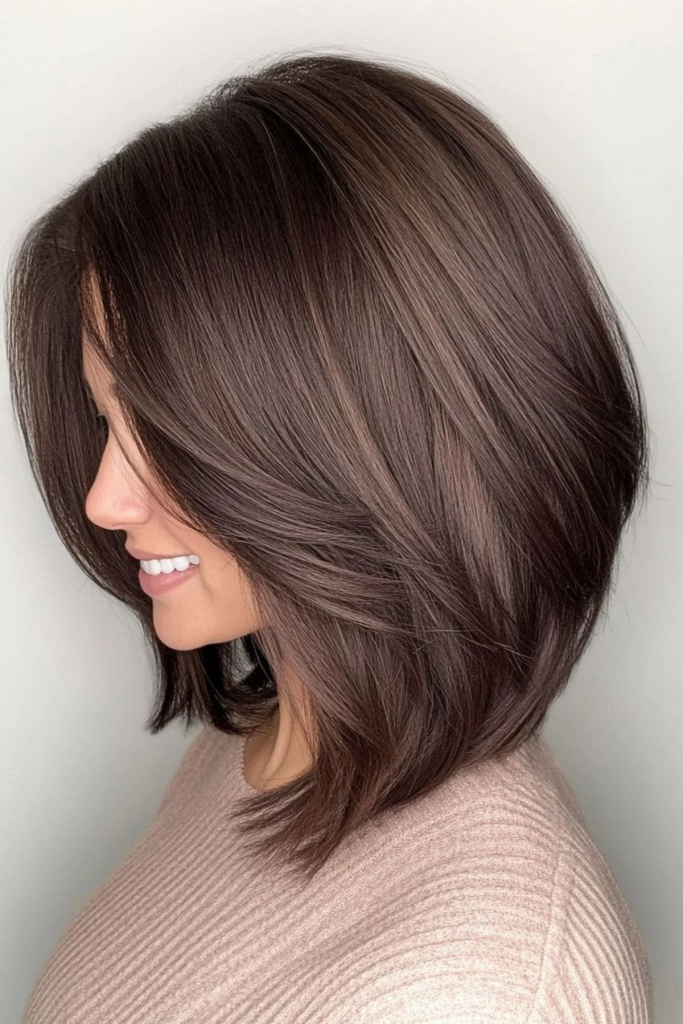
1. Classic Long Layers with Soft Face-Framing

This is the entry-level layered cut. Long, subtle layers start around the chin and continue to the ends, with slightly shorter pieces framing the face. The overall shape is soft and romantic.
Why it works: Long layers add movement without sacrificing length or density. The face-framing pieces soften strong jawlines and draw attention to your eyes.
How to style it: Apply a volumizing mousse to damp hair. Blow-dry using a round brush, curling the ends slightly under or away from your face. For a more casual look, air-dry and finish with a texturizing spray.
Best face shapes: Oval, heart, square, oblong. The softness around the face flatters almost everyone.
Maintenance needs: Trim every 8–10 weeks to prevent split ends and keep the layers blended.
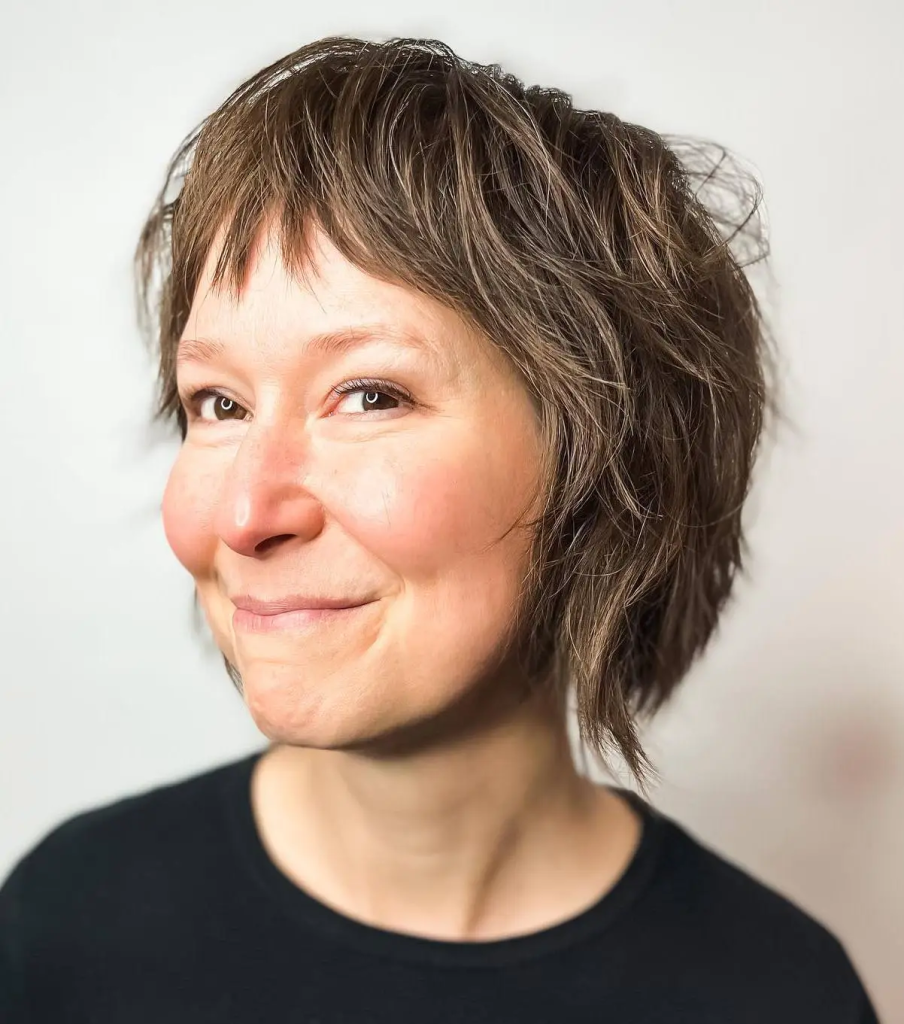
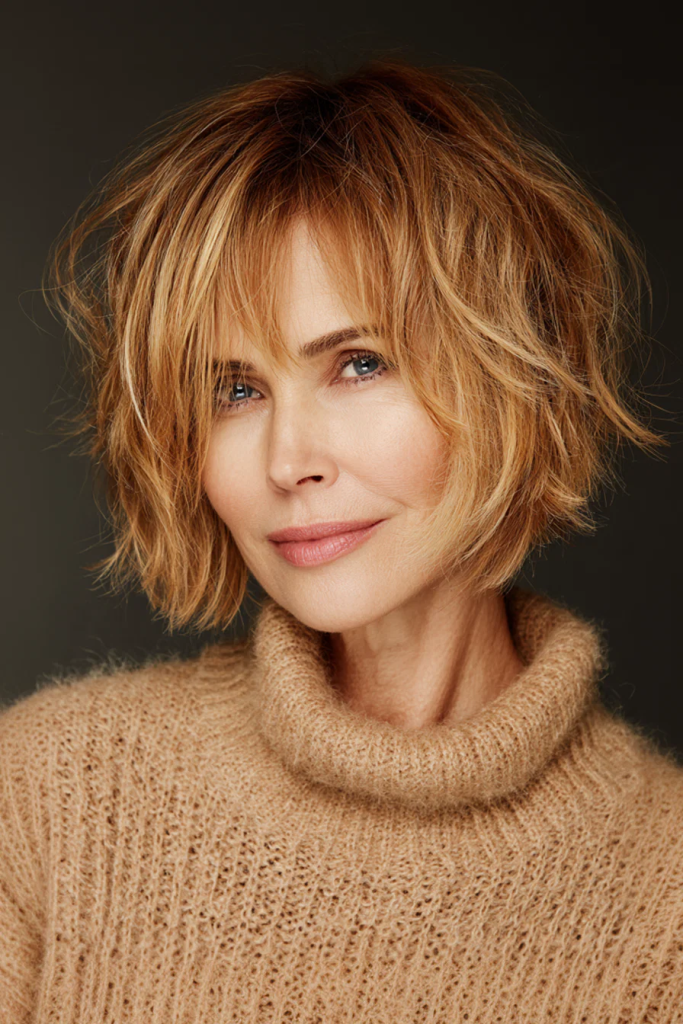
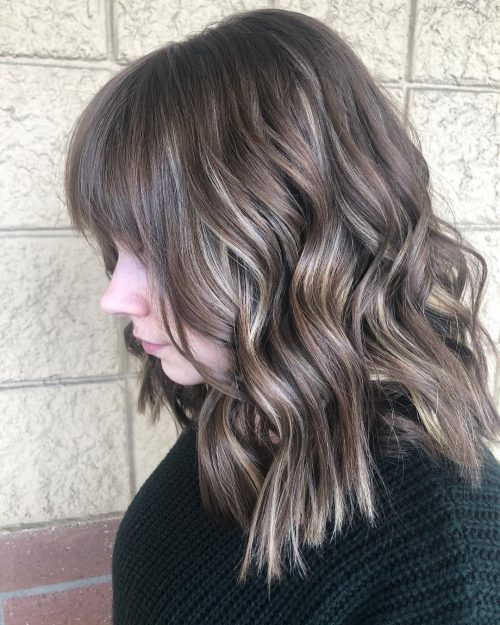
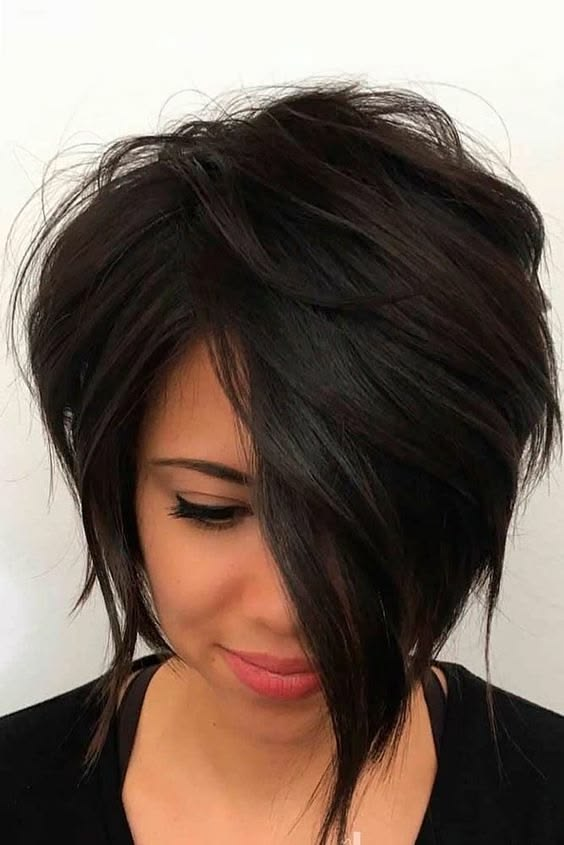
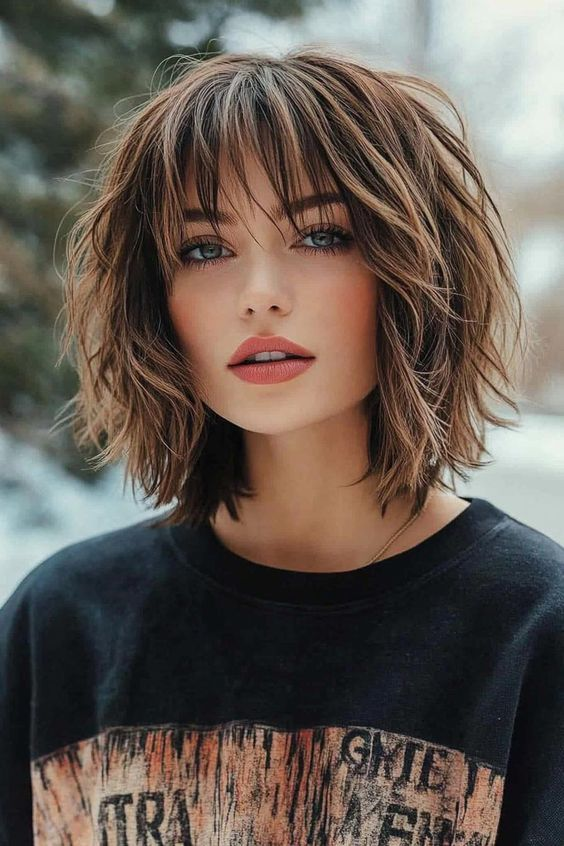
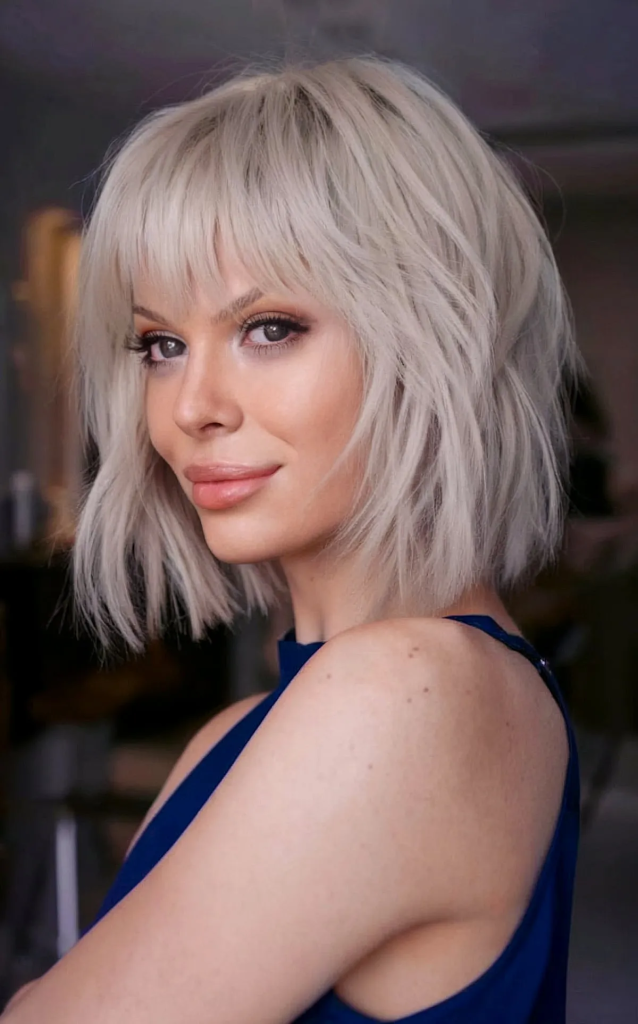
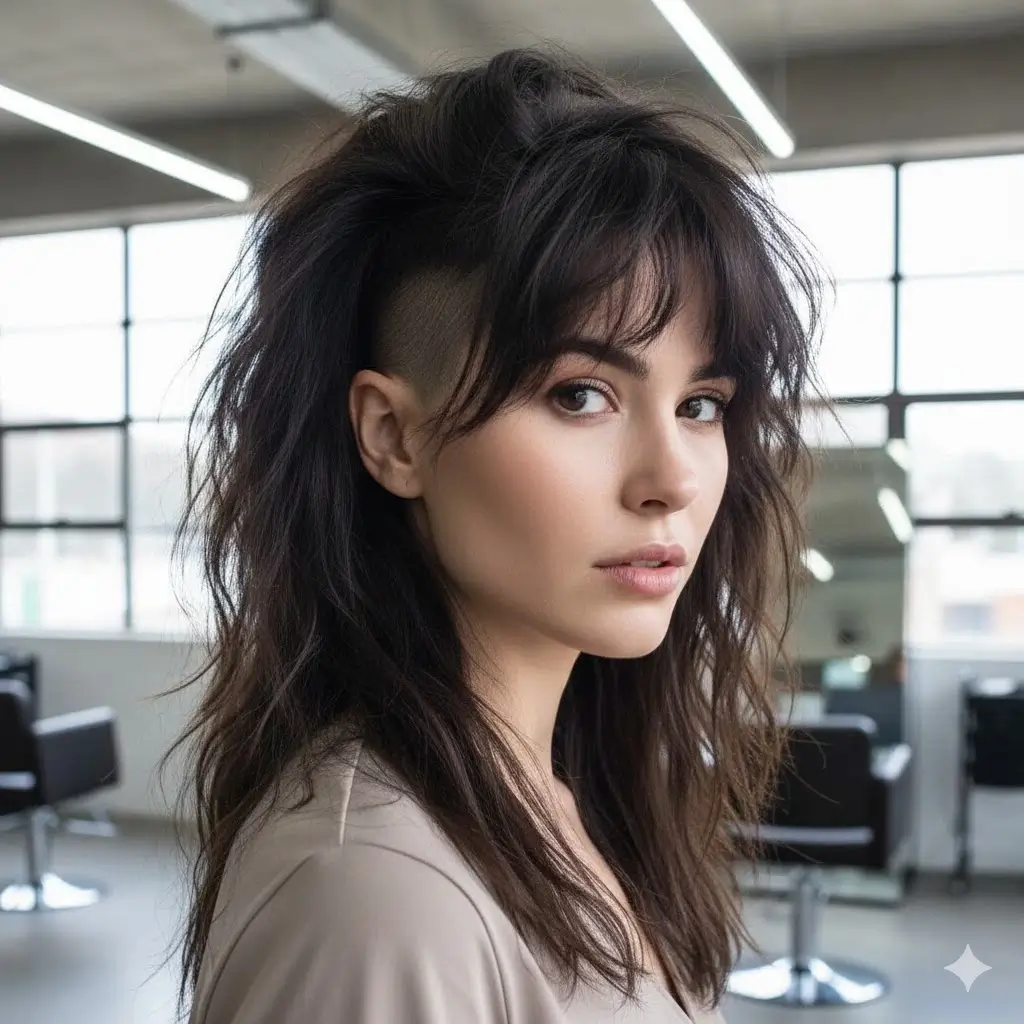
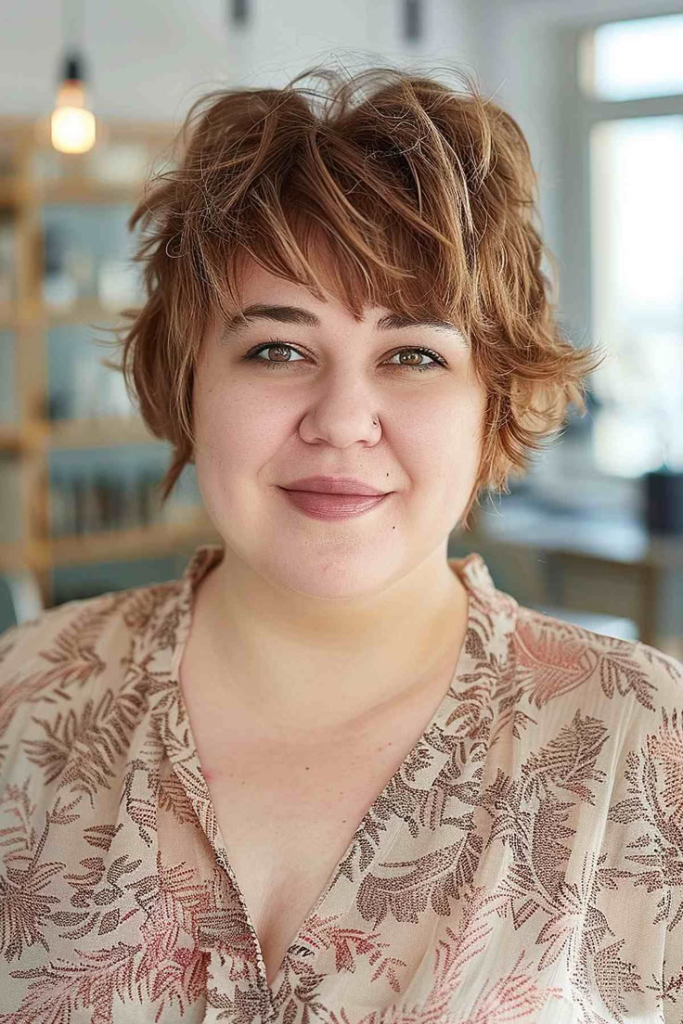
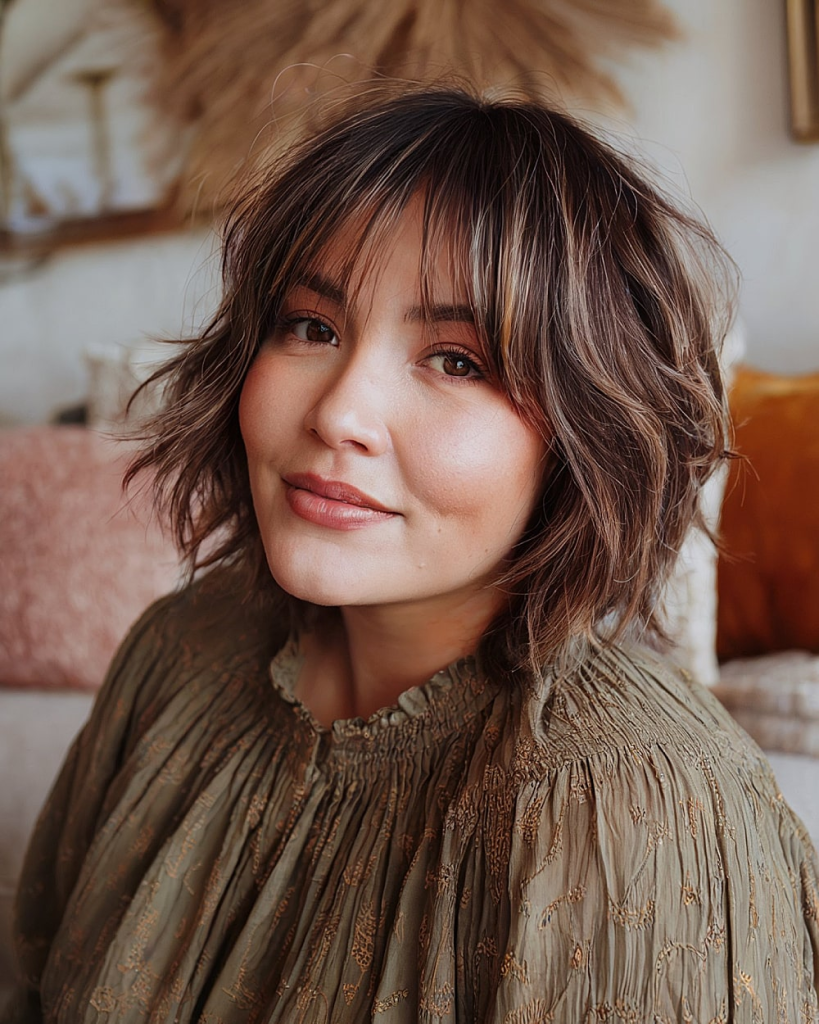
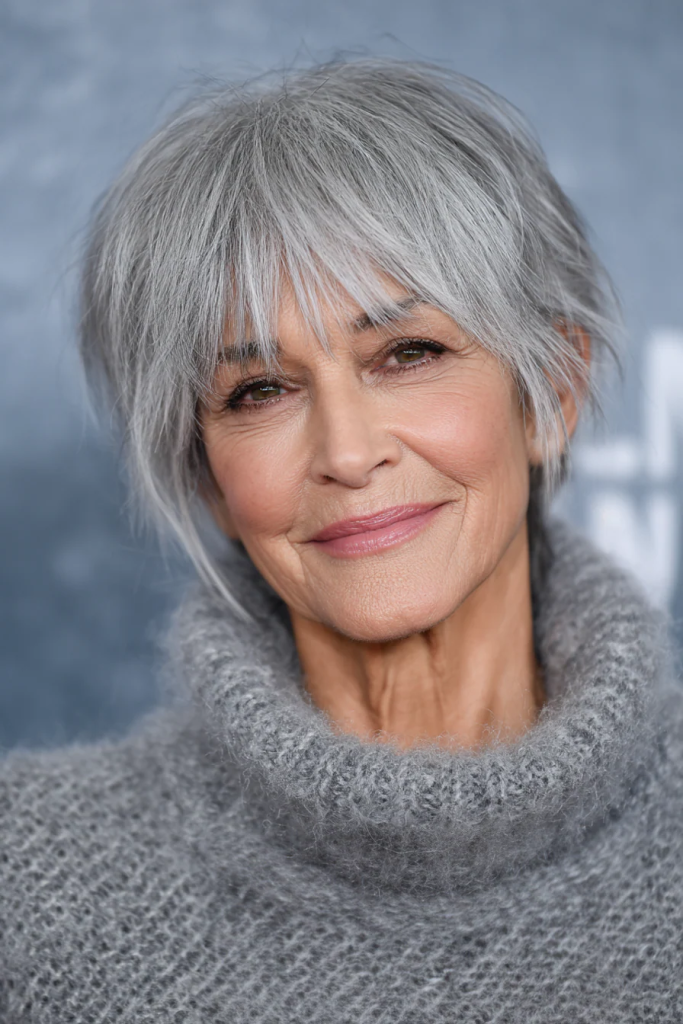
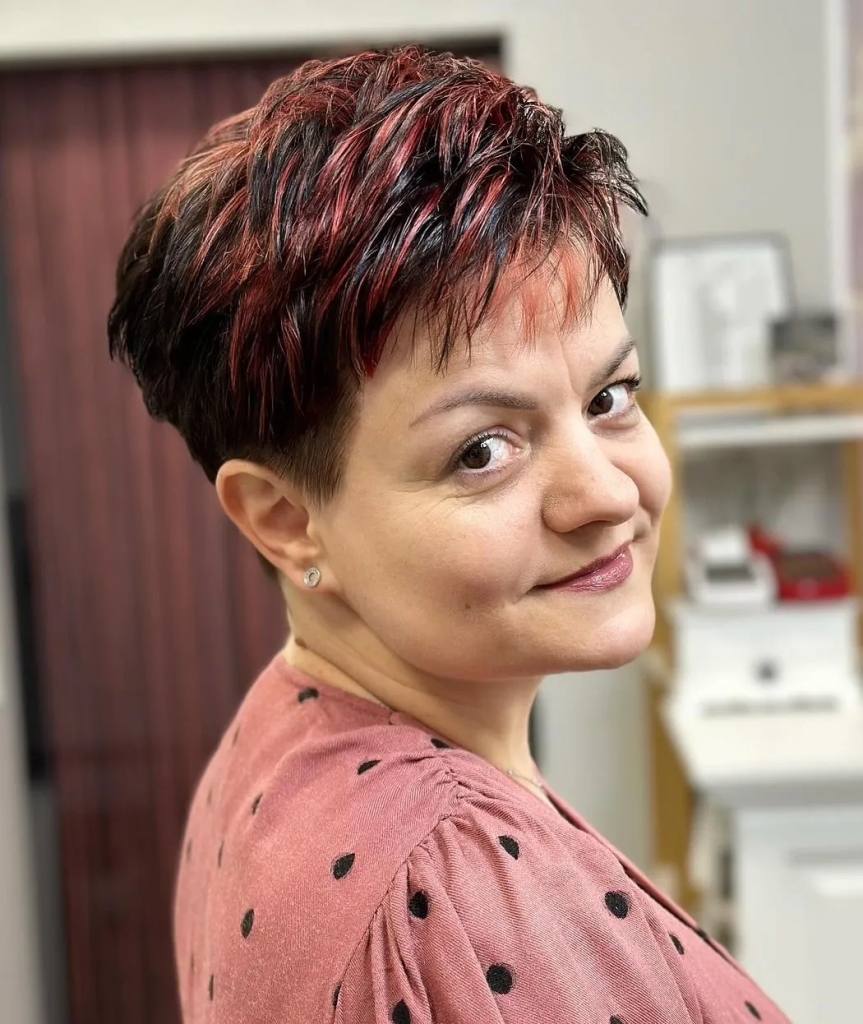
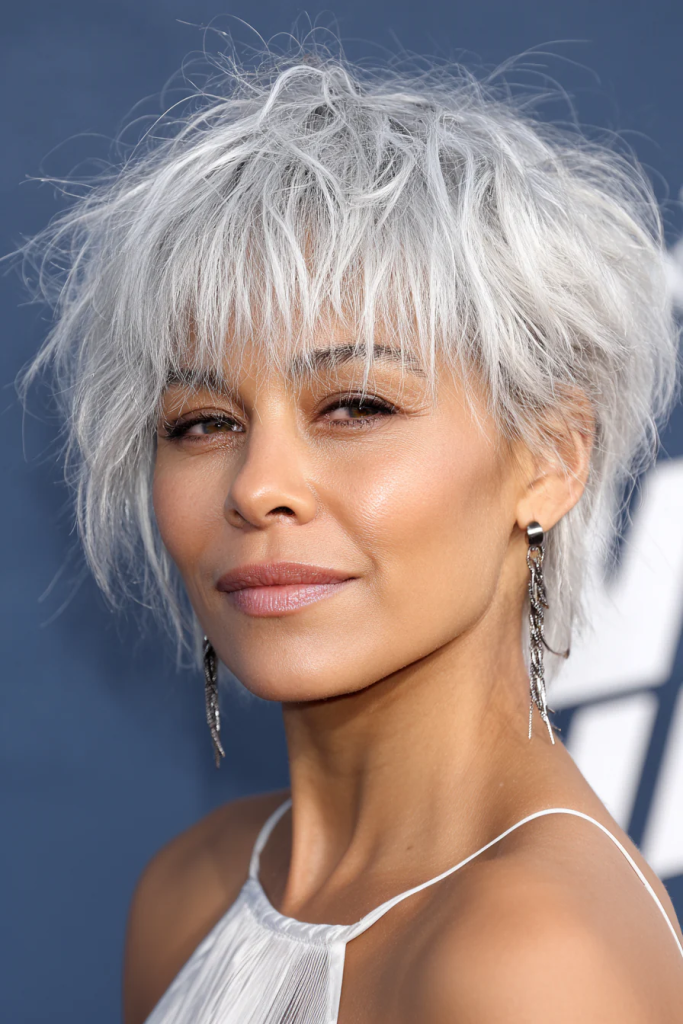
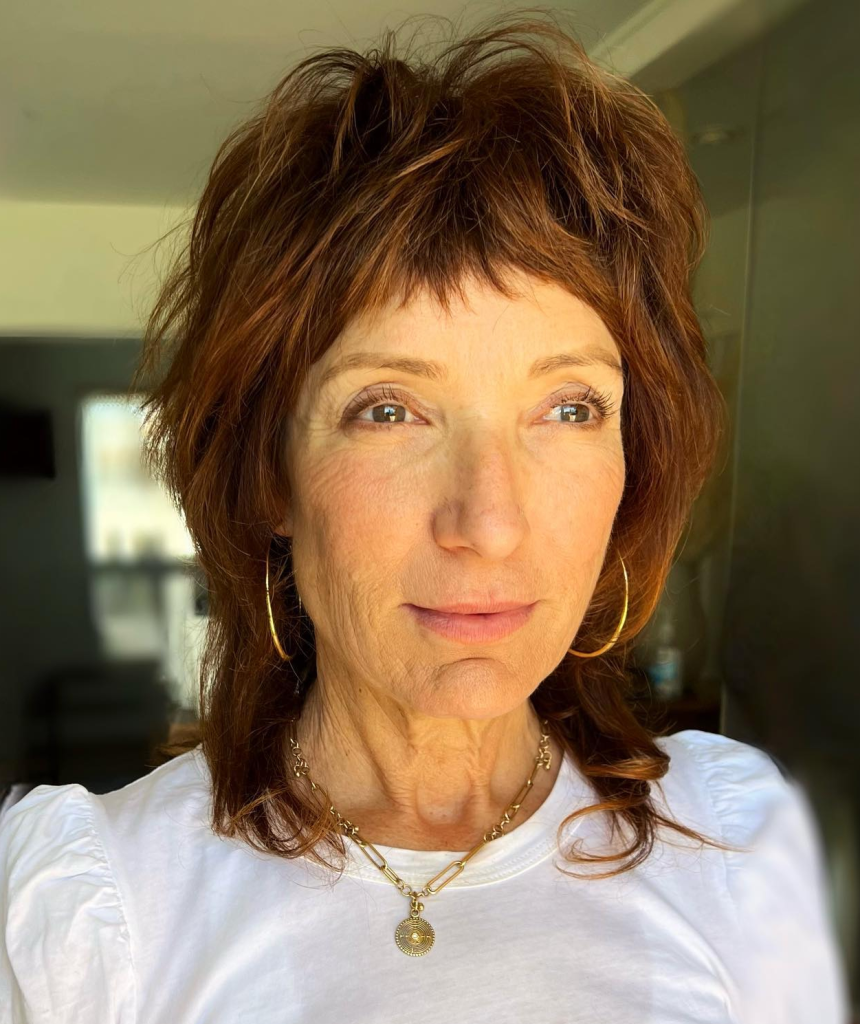
2. Choppy Layered Shag for Shoulder Length

This version brings the popular shag cut to shoulder length. Choppy, disconnected layers create a textured, slightly messy look that feels modern and edgy.
Why it works: The choppy layers add serious volume, making it ideal for fine or thinning hair. The texture also hides uneven growth between salon visits.
How to style it: Apply a texturizing spray to damp hair. Scrunch as you blow-dry with a diffuser, or let it air-dry completely. Finish with a small amount of styling paste on the ends for piece-y separation.
Best face shapes: Oval, heart, round. The height and texture balance rounder face shapes.
Maintenance needs: Every 6–8 weeks. The choppy layers lose their definition as they grow.
If you love this textured look, you’ll also adore our 7 short shag haircuts for older women that bring the same effortless vibe to shorter lengths.
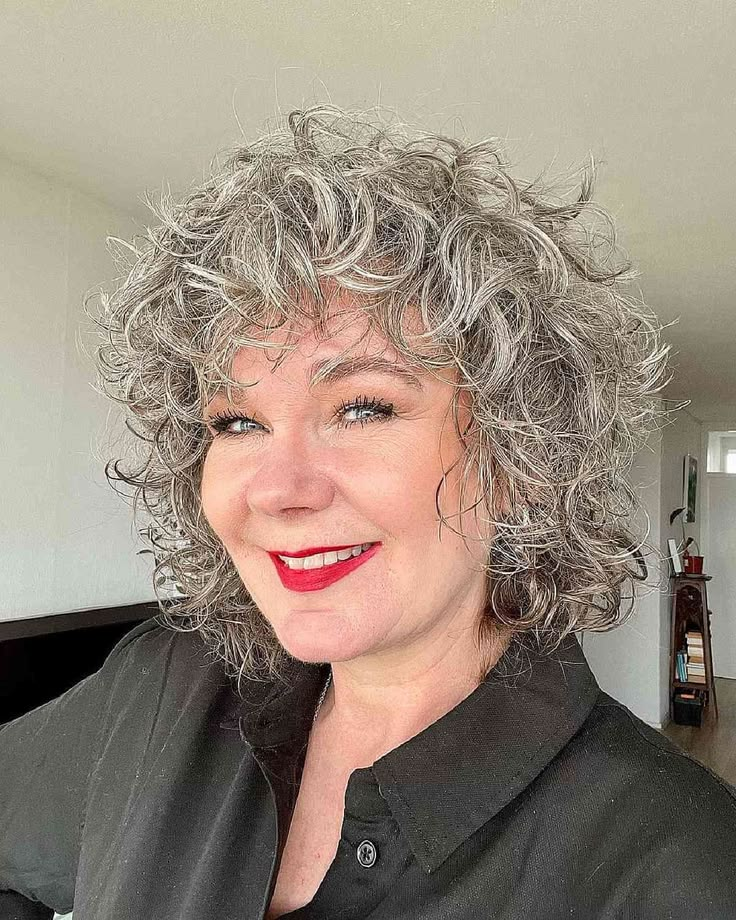
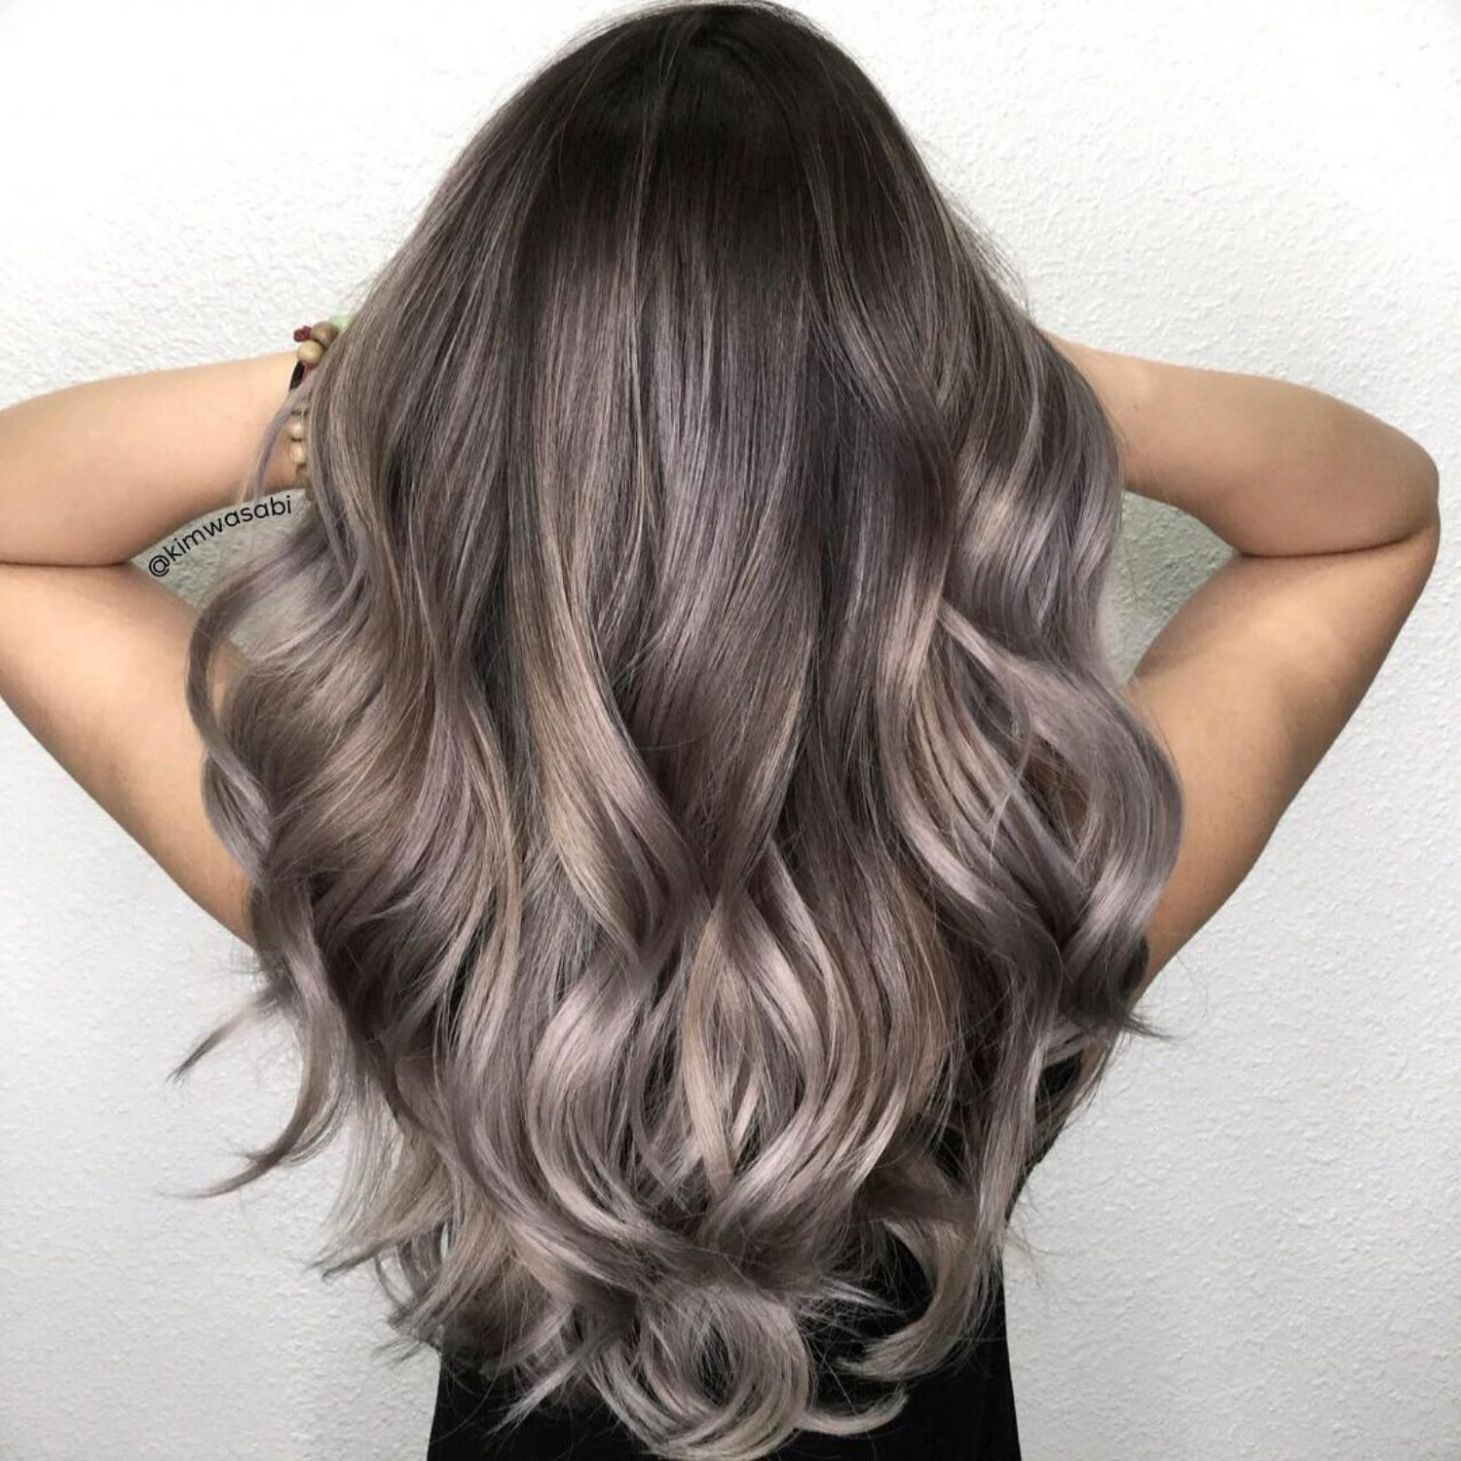
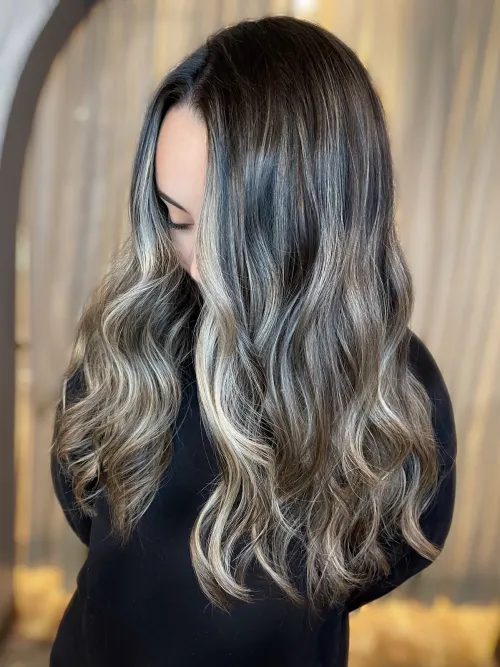
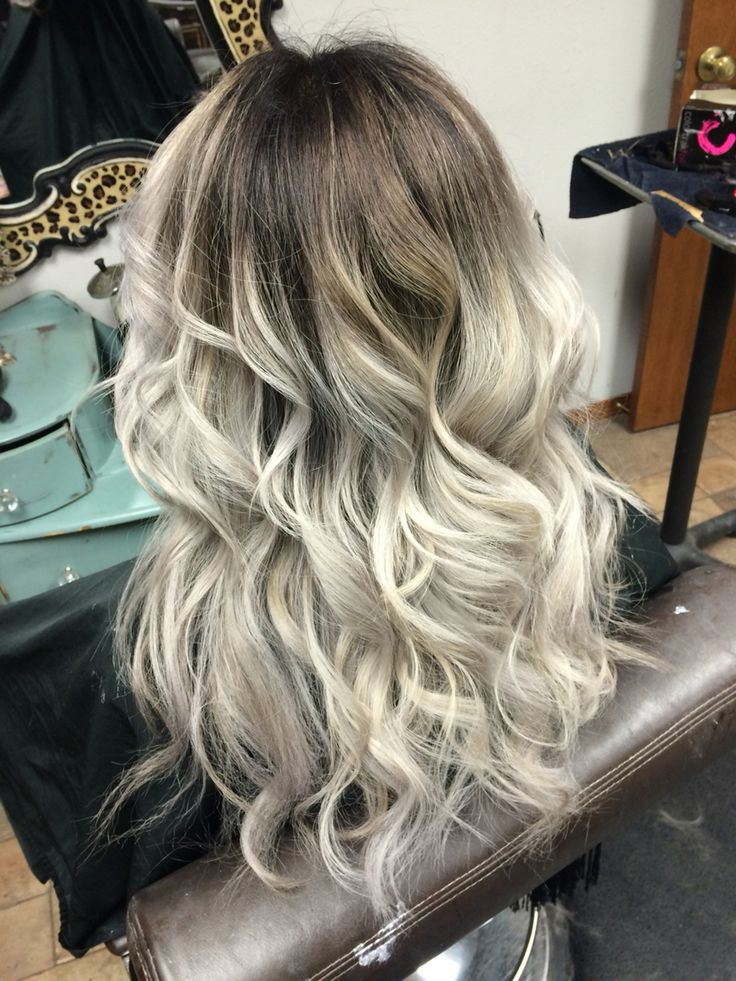
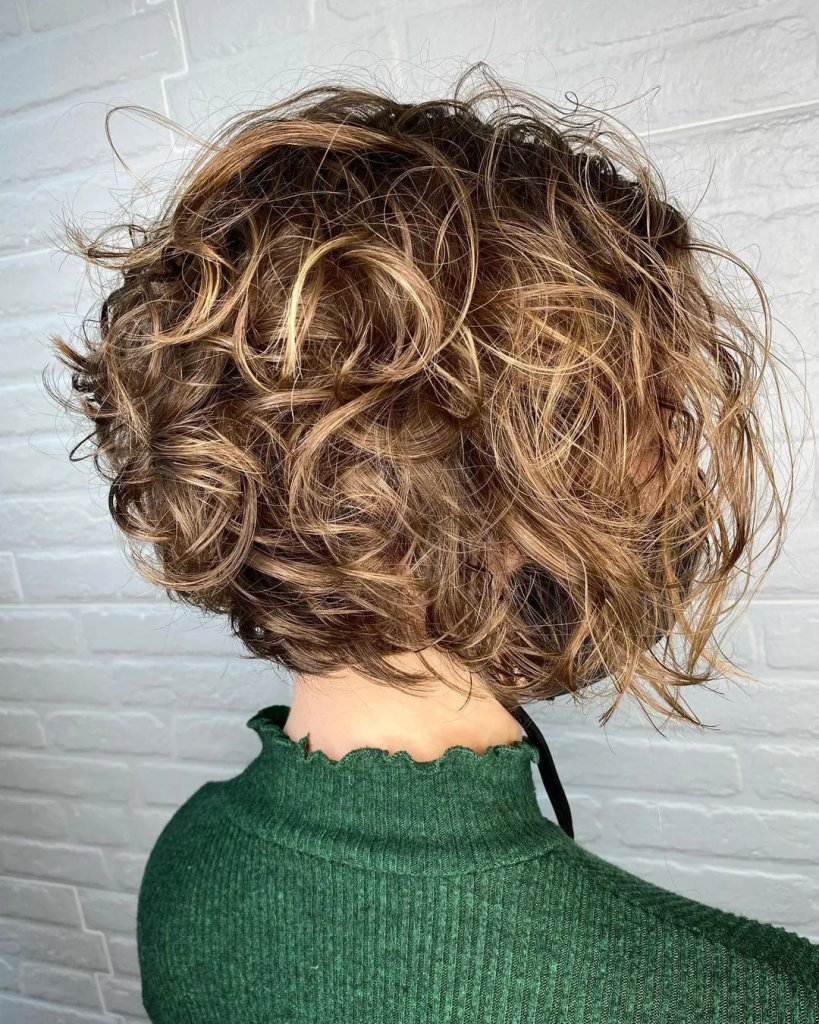
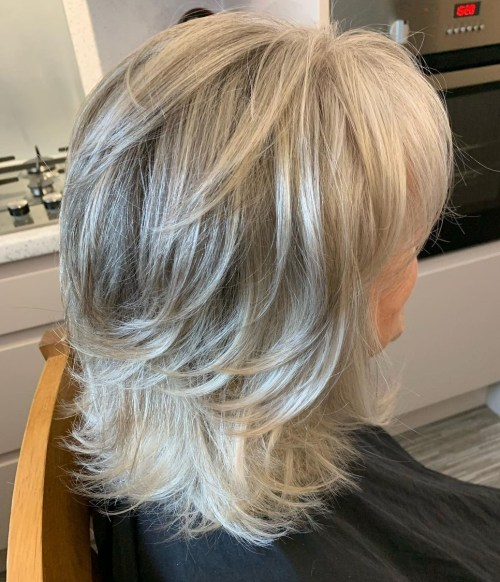
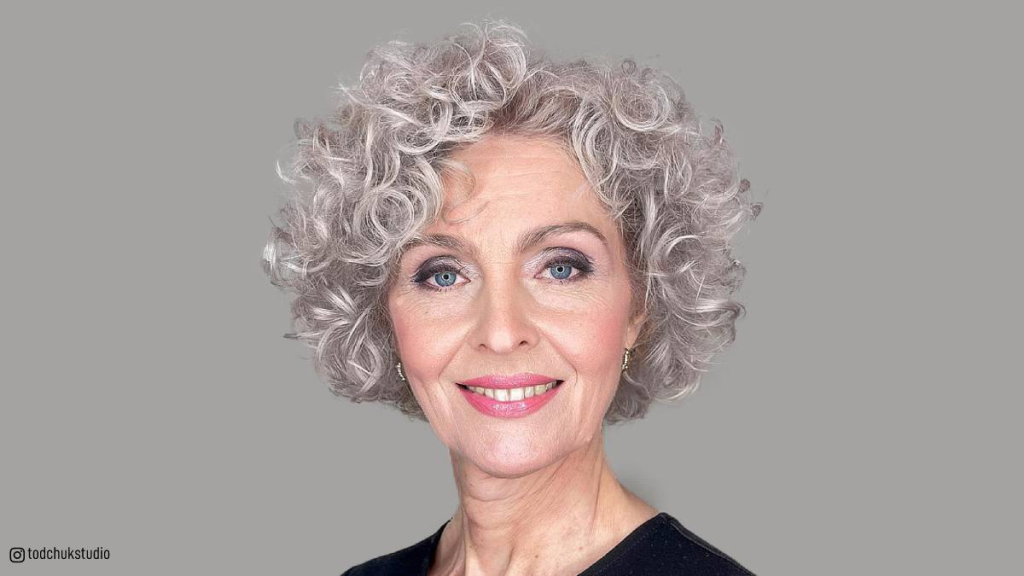
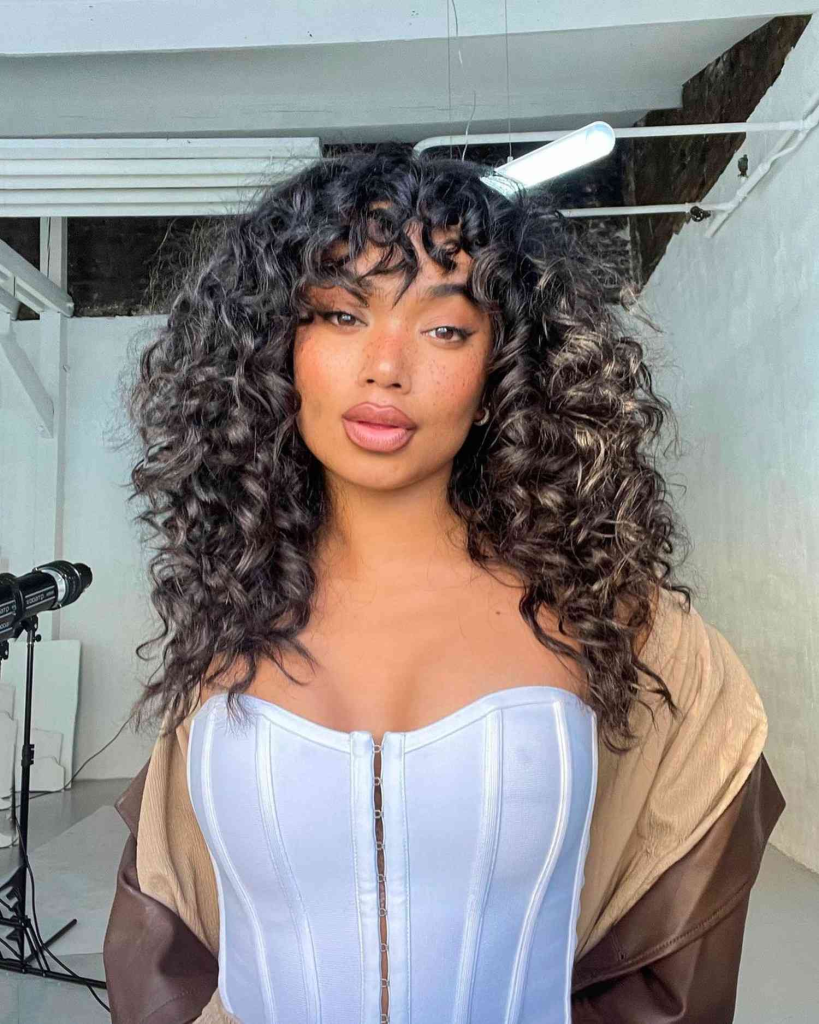
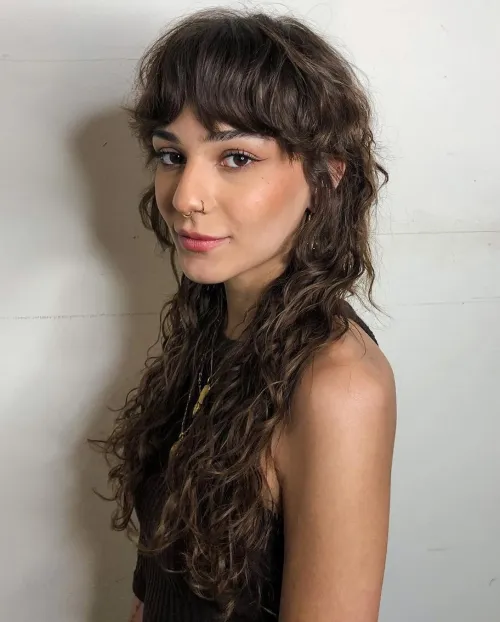
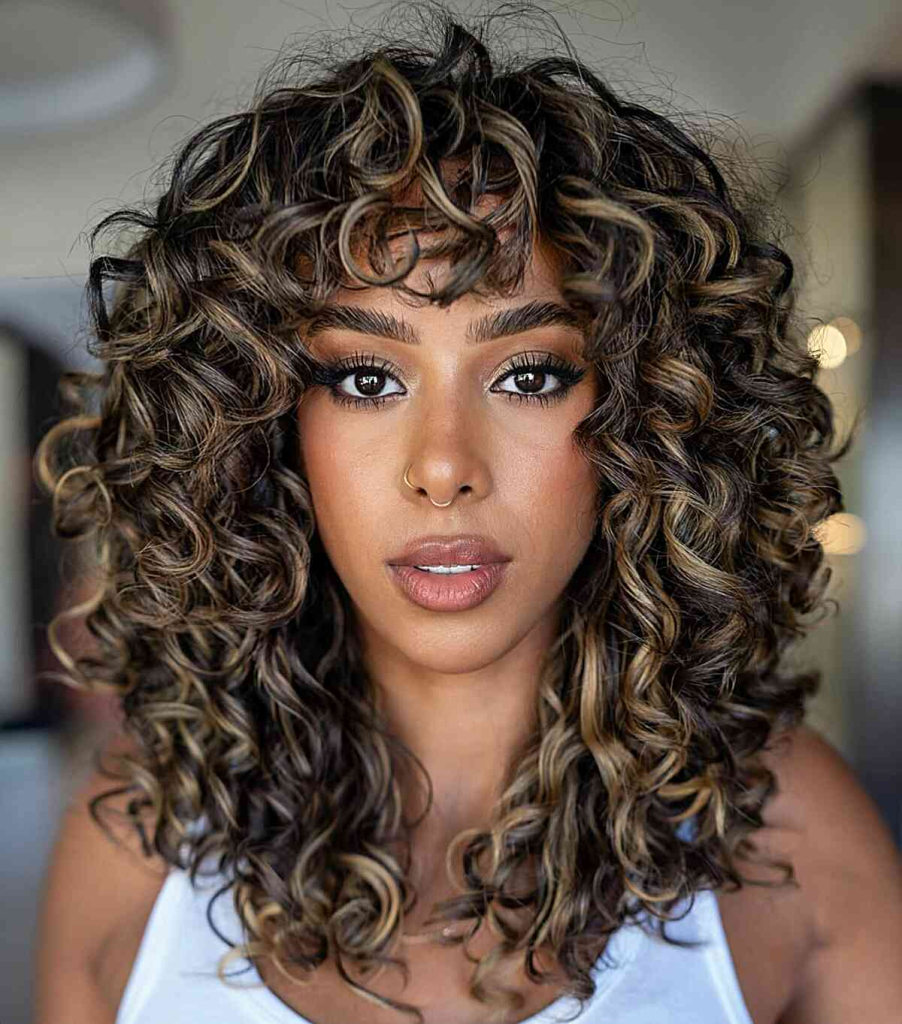
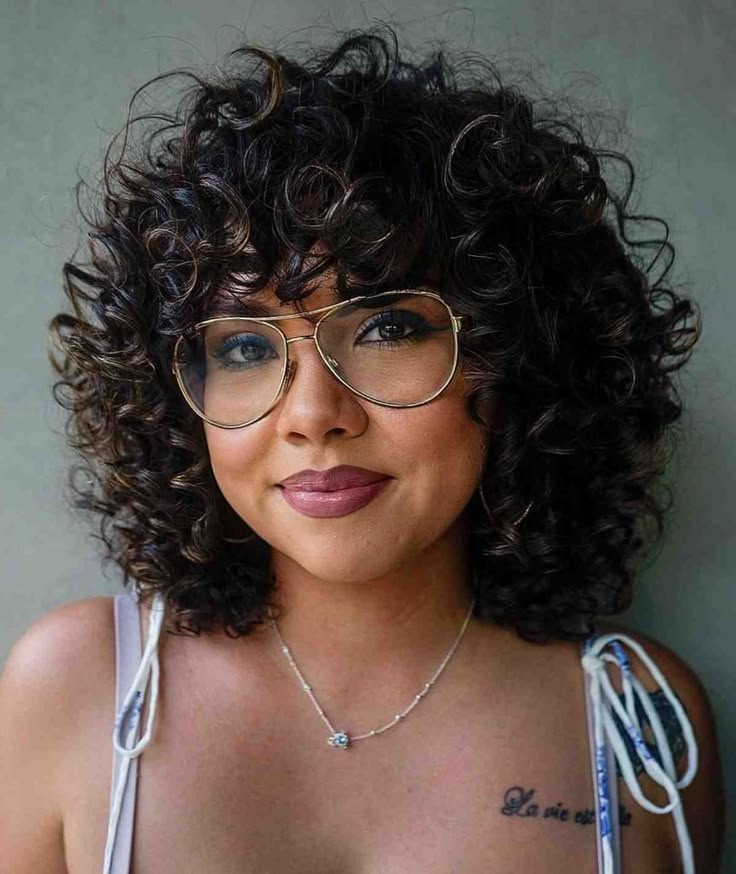
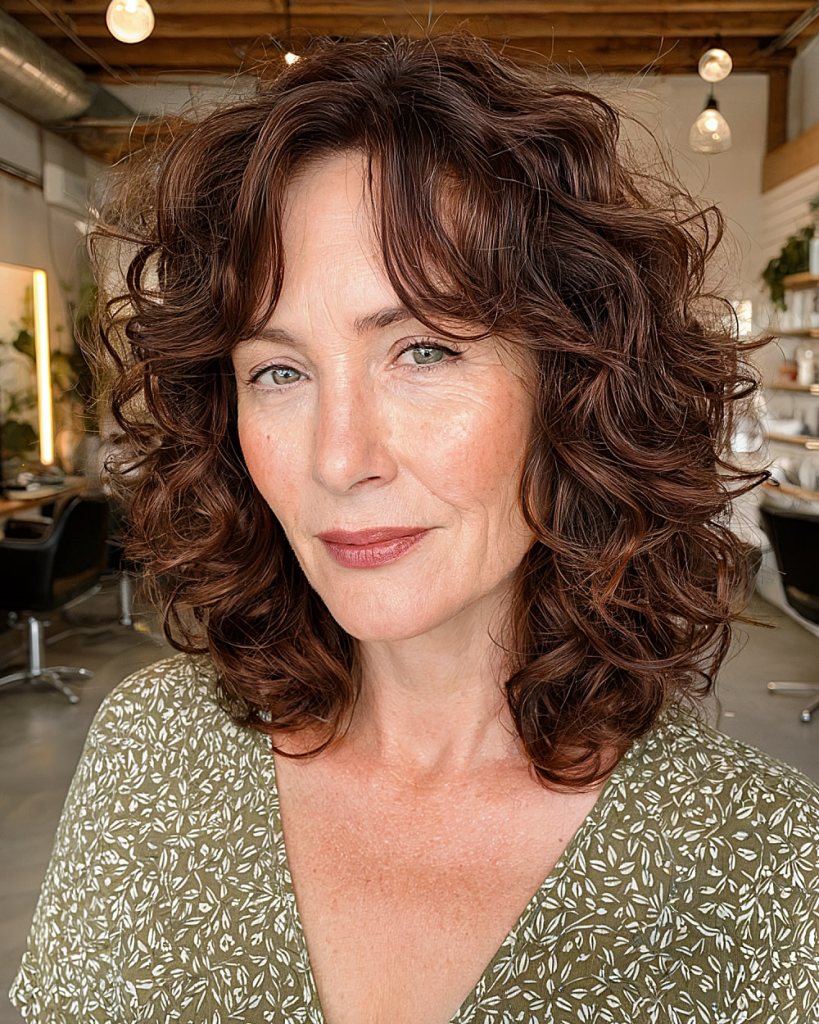
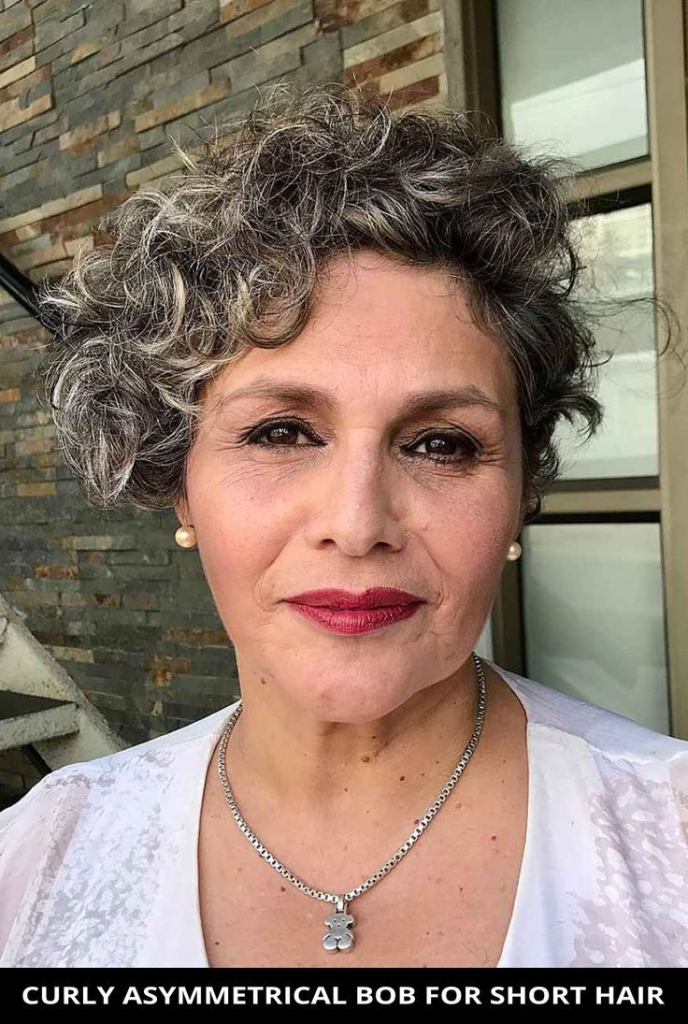
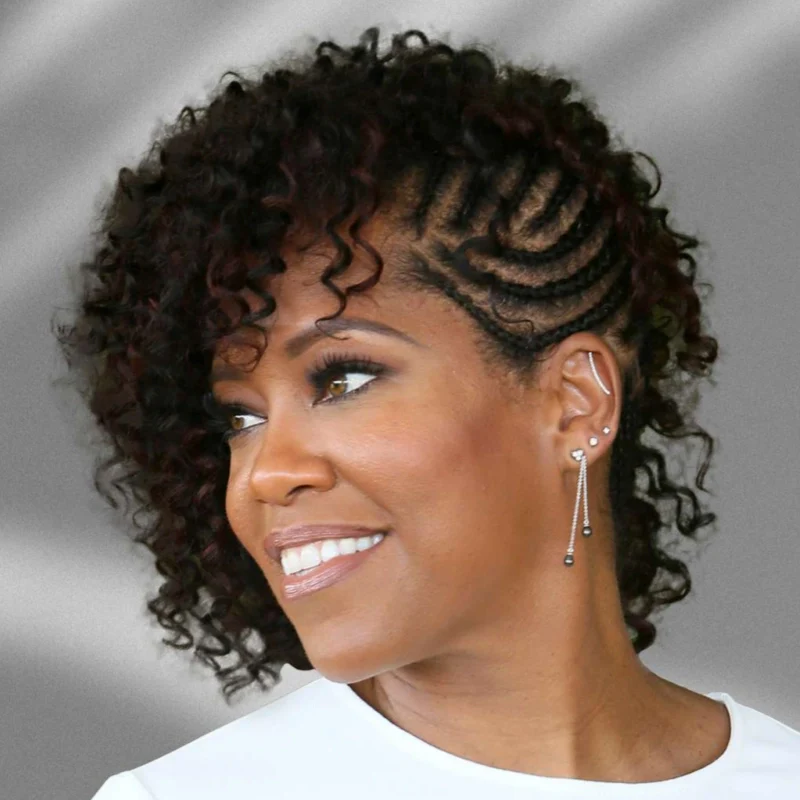
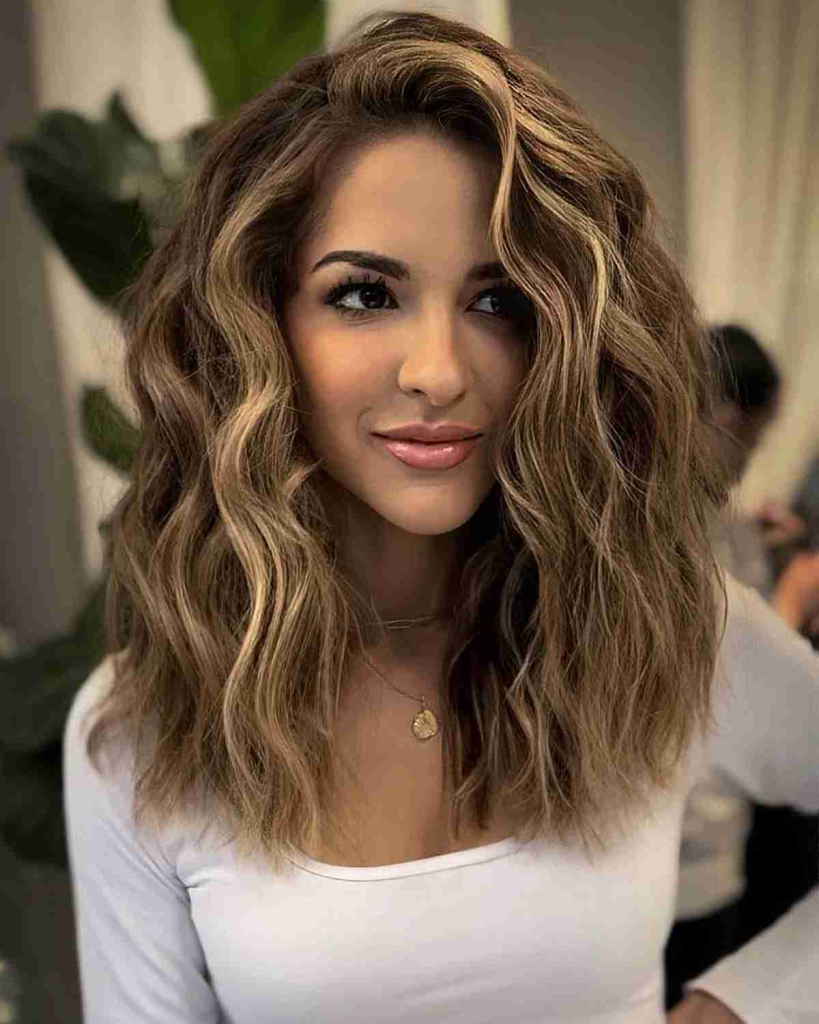
3. Curly Layered Shoulder Length Cut
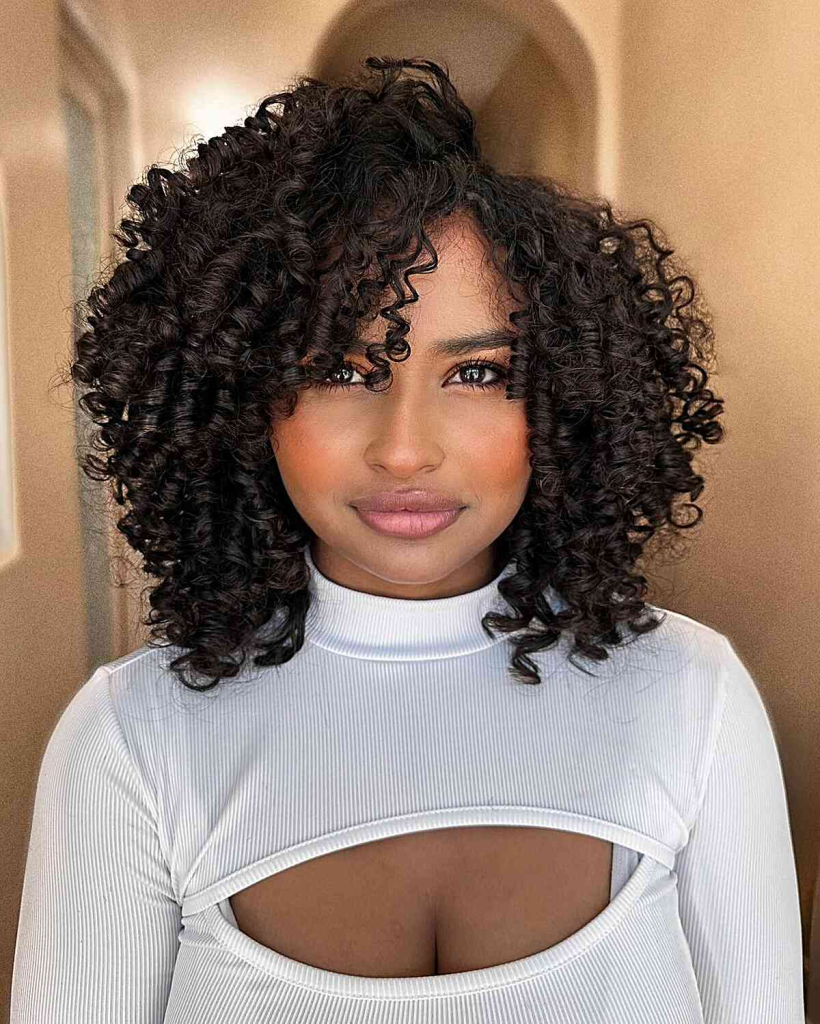
For women with natural curls or waves, shoulder length with layers is a dream. The layers remove weight, allowing curls to spring up with better definition and less bulk at the bottom.
Why it works: Traditional one-length curly cuts create a triangle shape. Layers break up that silhouette, adding bounce and preventing the dreaded pyramid effect.
How to style it: On soaking wet hair, apply a leave-in conditioner and curl cream. Scrunch upward. Diffuse on low heat or air-dry. Once dry, shake out the roots with your fingers. Never brush—use a wide-tooth comb only when wet.
Best face shapes: All face shapes. Curls can be customized with face-framing pieces or worn with or without bangs.
Maintenance needs: Every 8–10 weeks. Curly hair hides damage longer, but dry ends need regular dusting.
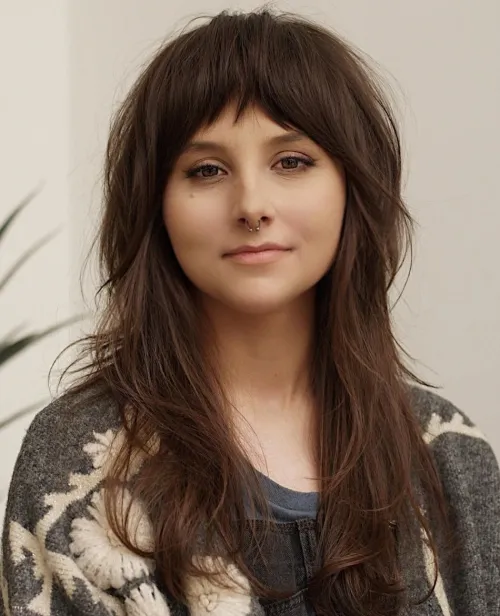
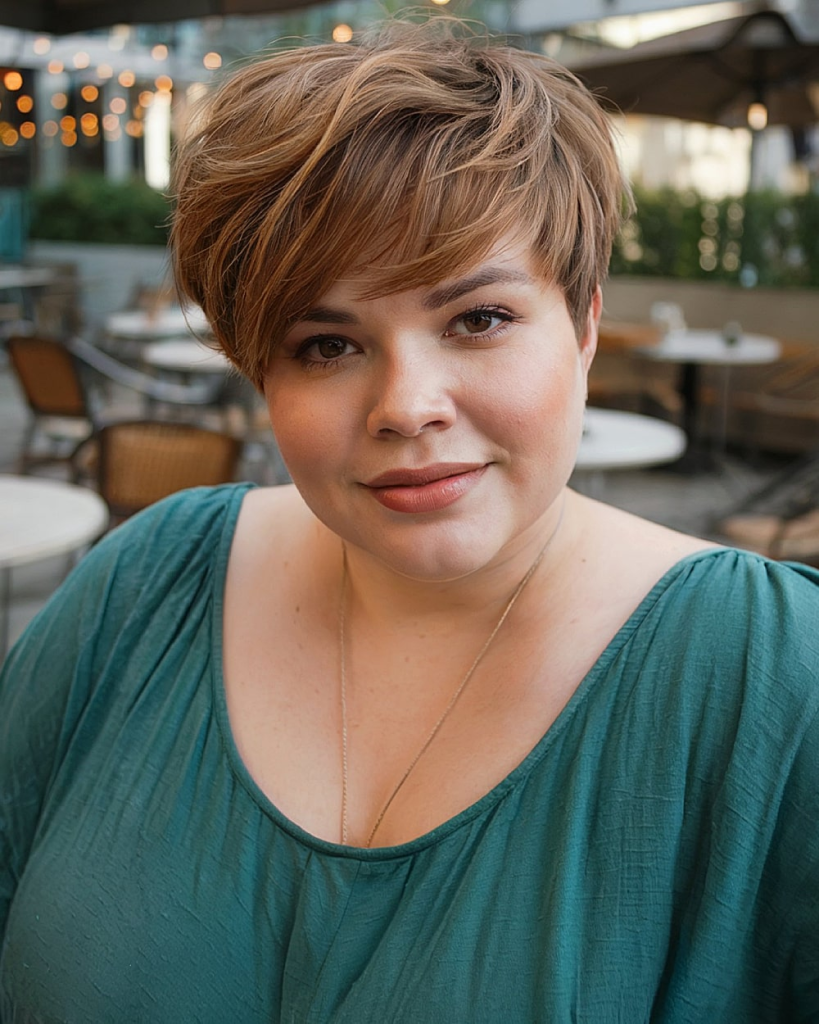
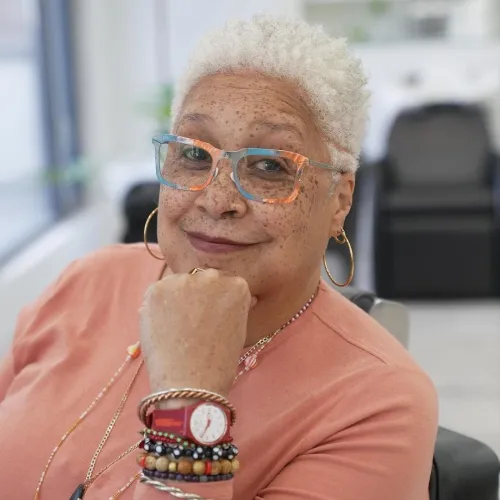
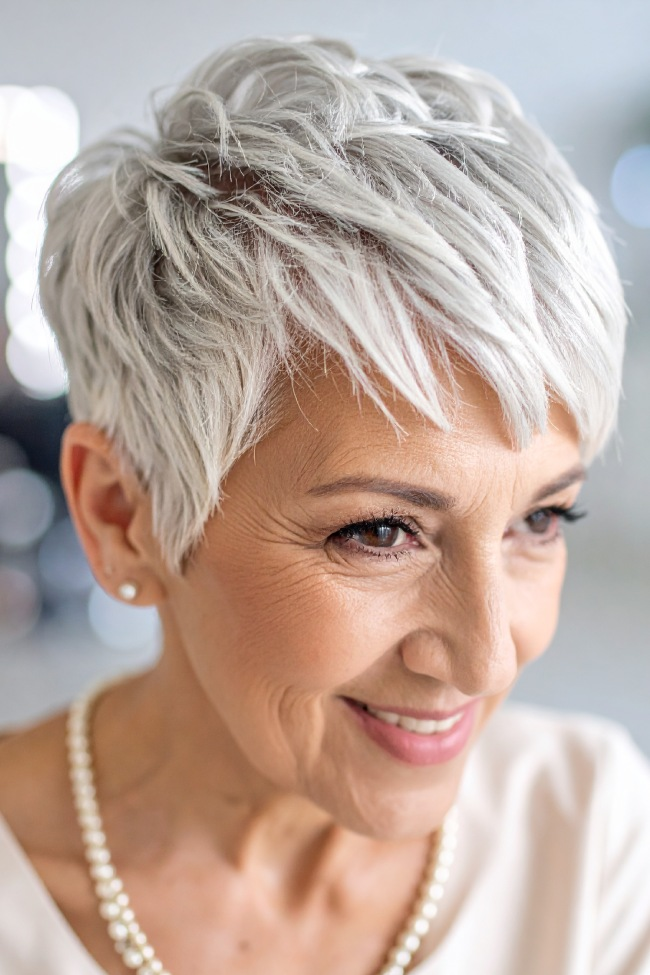
4. Invisible Layers for Fine Hair
This specialized cut uses micro-layers that are so soft and blended they’re almost invisible—but they create massive volume at the crown and through the mid-lengths.
Why it works: Fine hair cannot handle harsh, choppy layers that create gaps. Invisible layers add movement and lift without removing too much density.
How to style it: Use a root-lifting spray on damp hair. Blow-dry upside down for two minutes. Flip back and use a round brush to smooth the ends slightly. Avoid heavy products—they’ll flatten fine hair instantly.
Best face shapes: Oval, oblong, heart. The crown volume balances longer face shapes.
Maintenance needs: Every 6–8 weeks. Fine hair shows growth quickly, and the volume effect fades as layers lengthen.
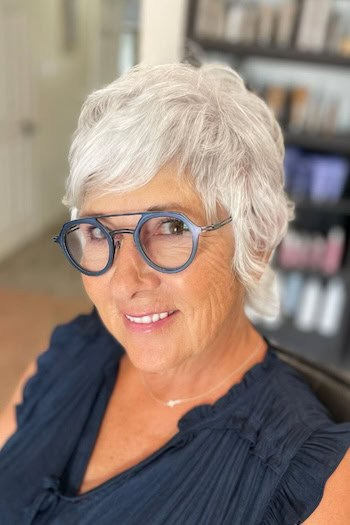
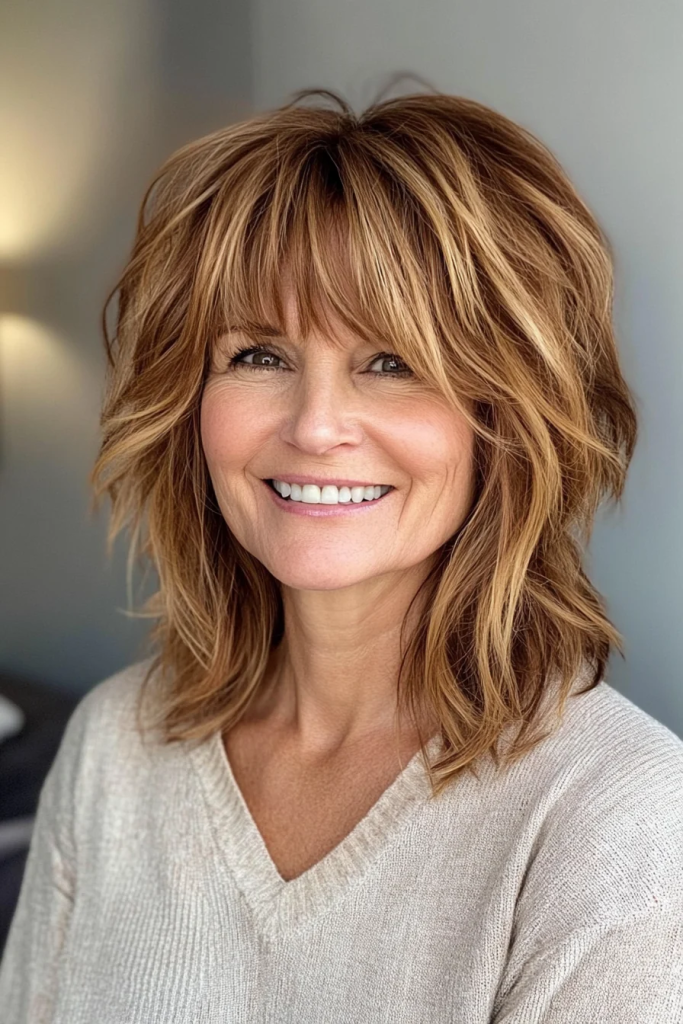
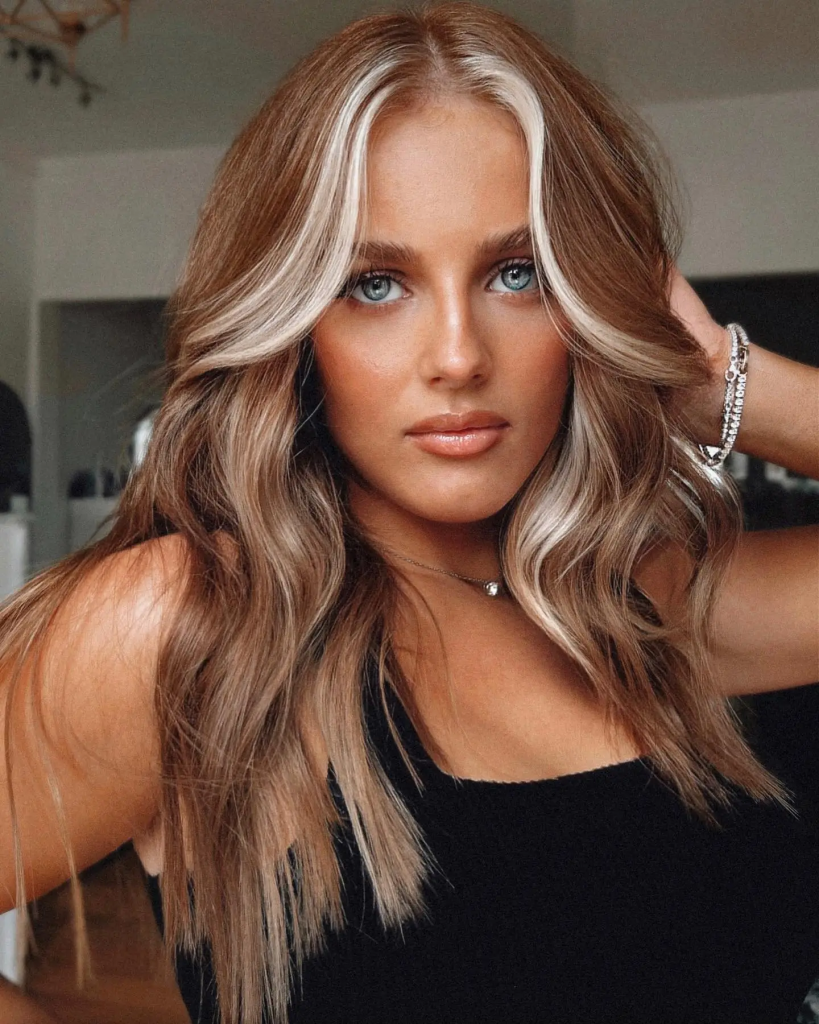
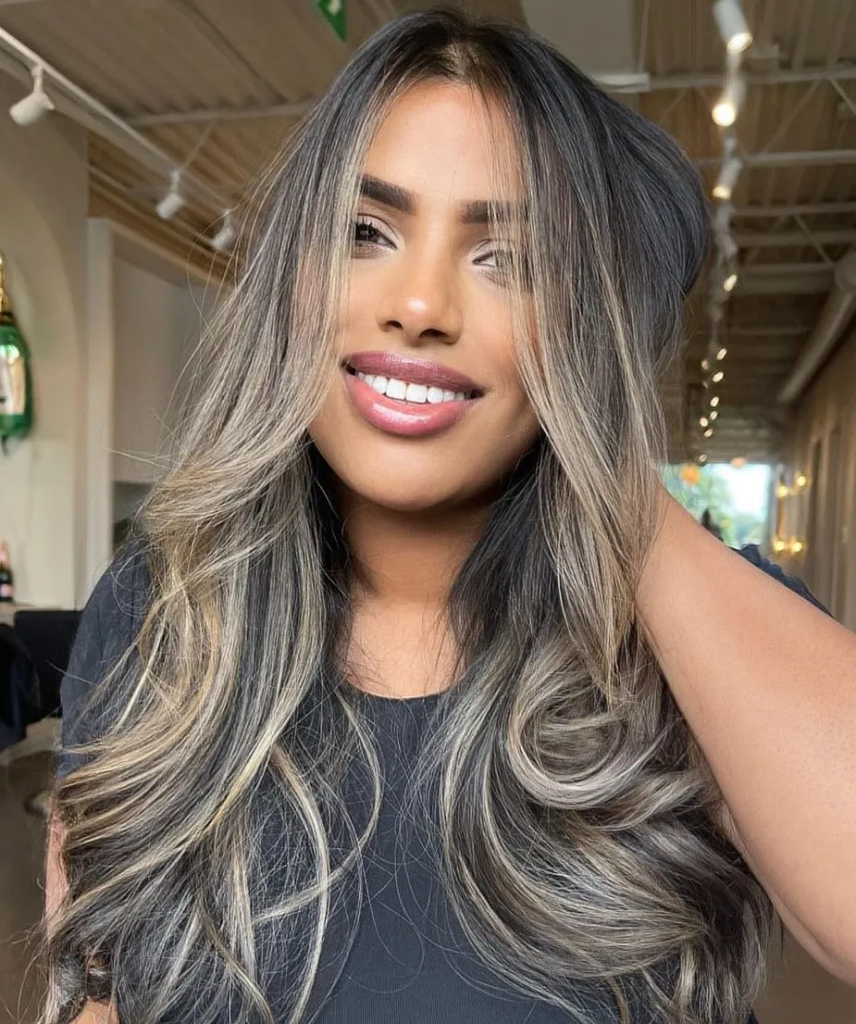
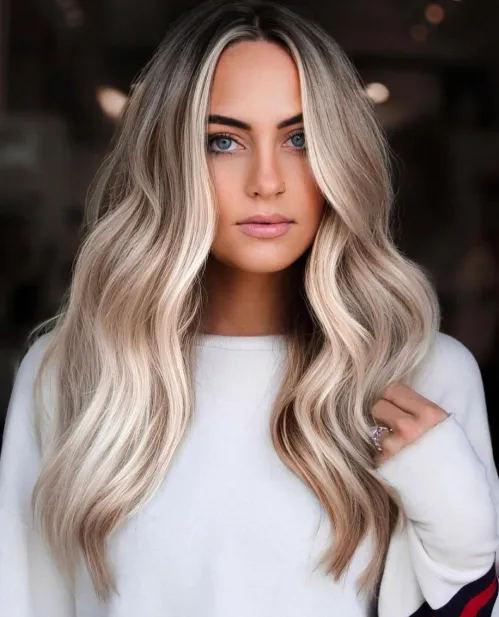
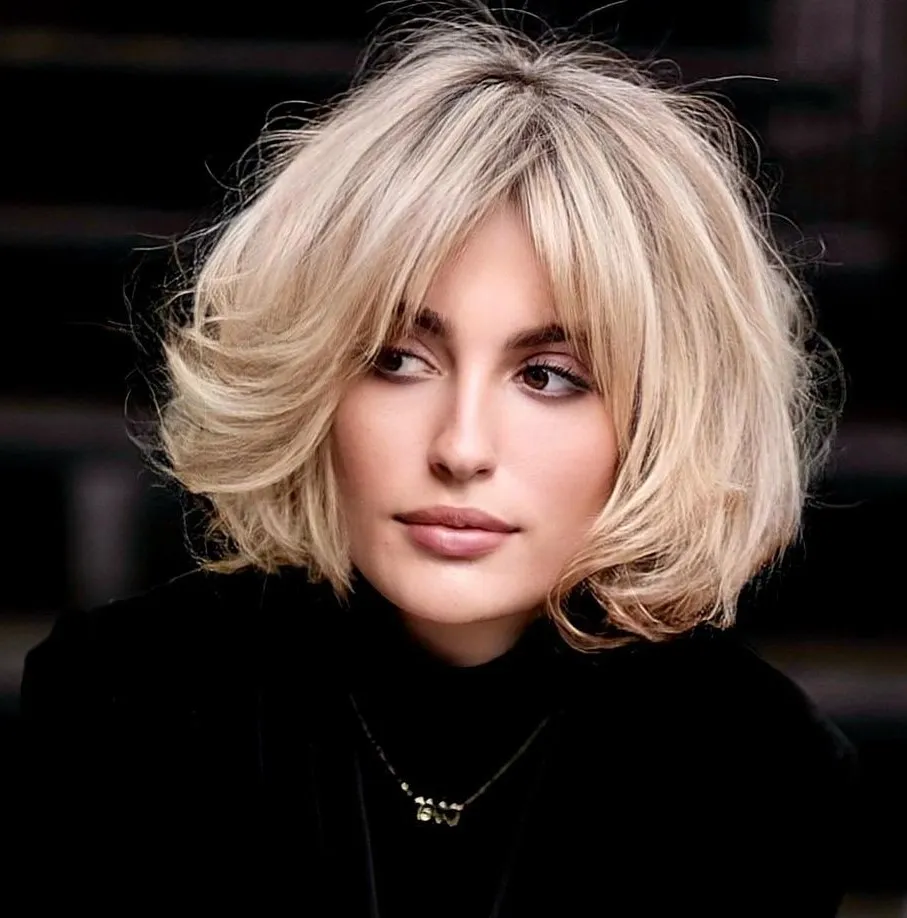
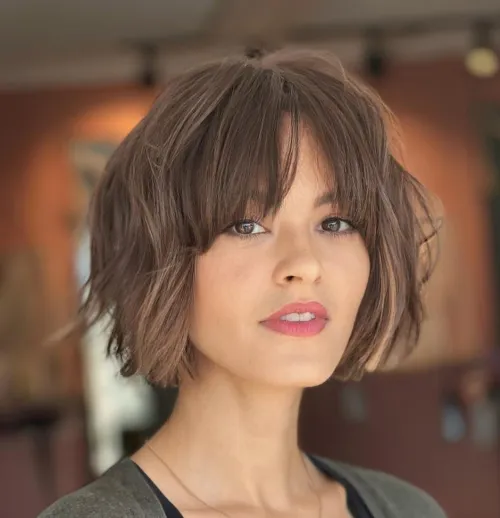
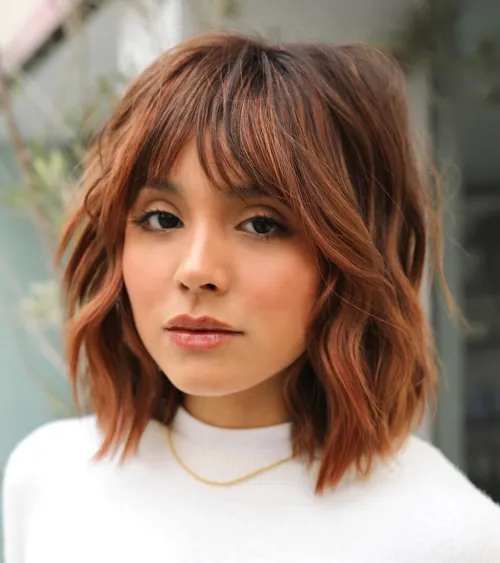
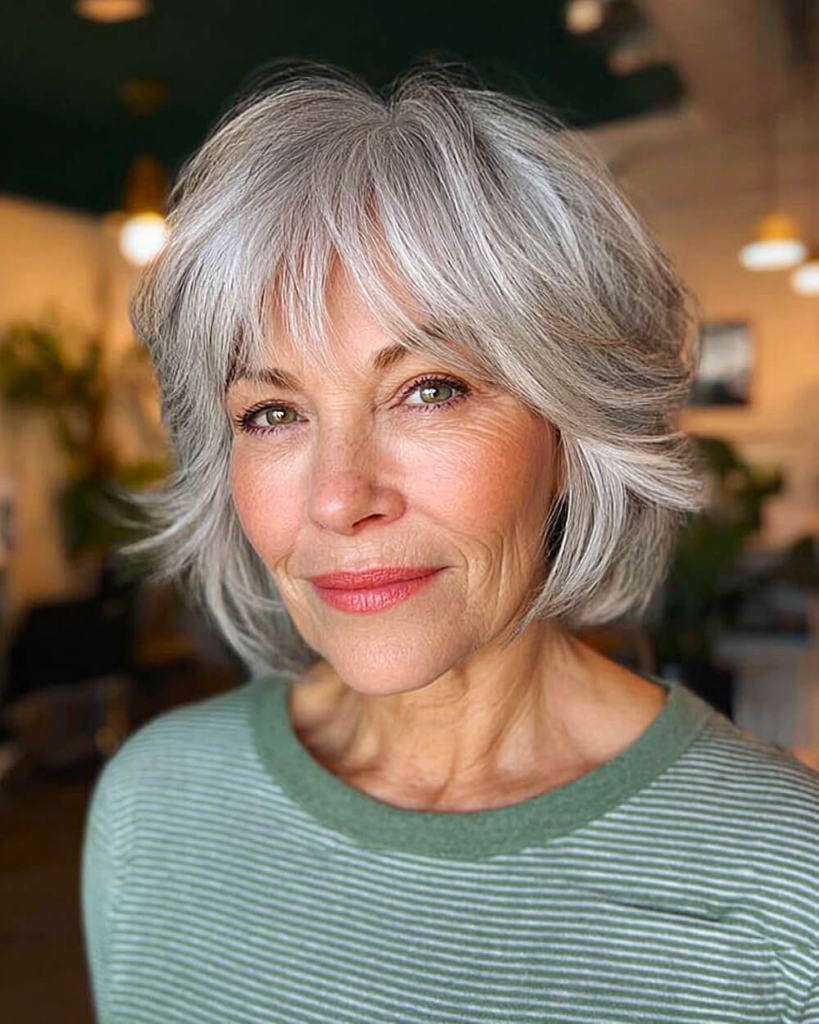
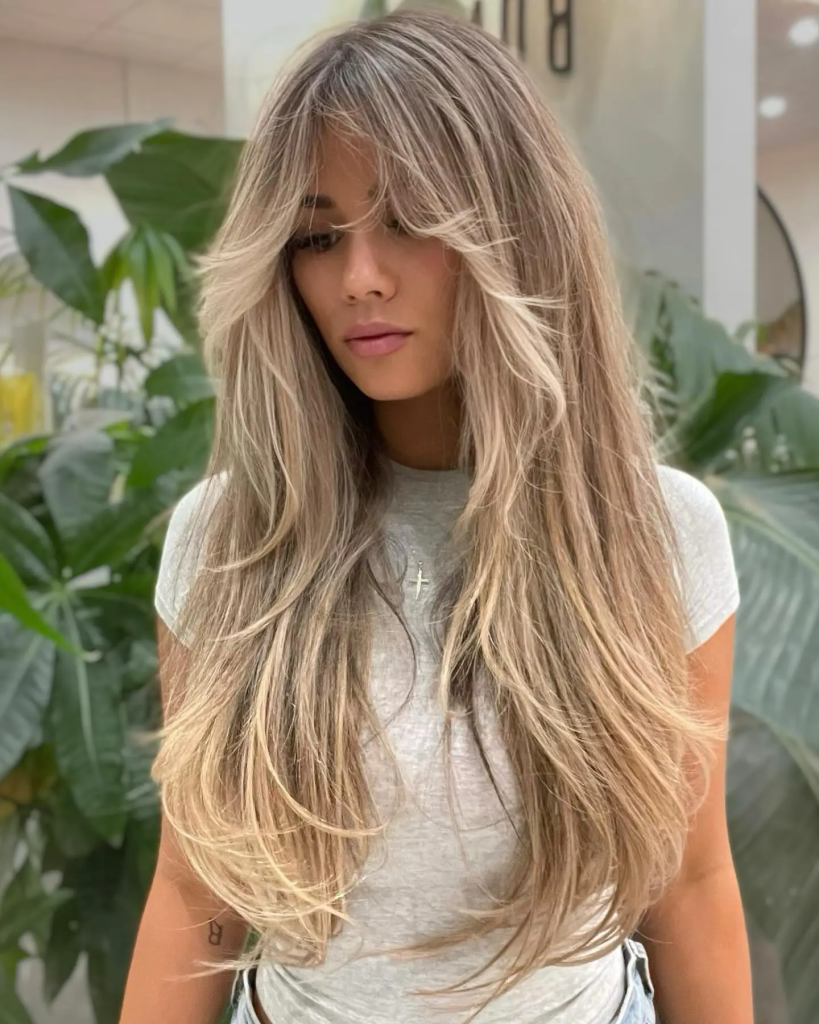
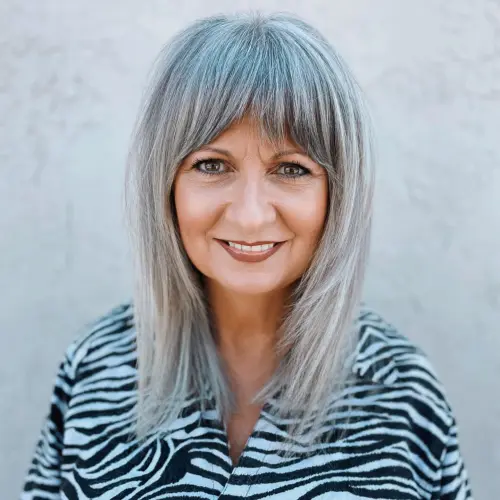
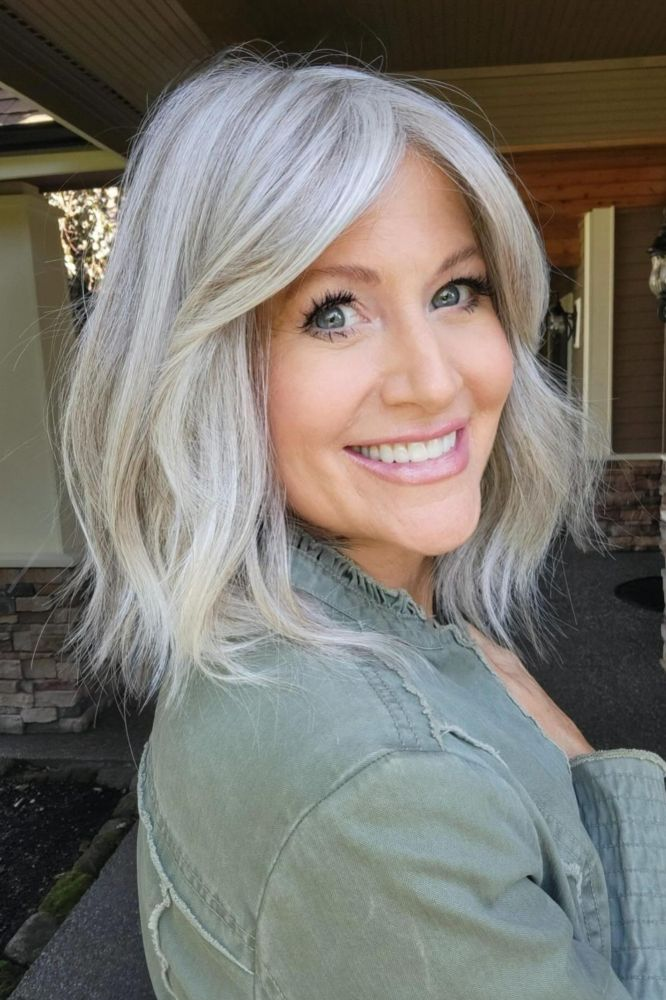
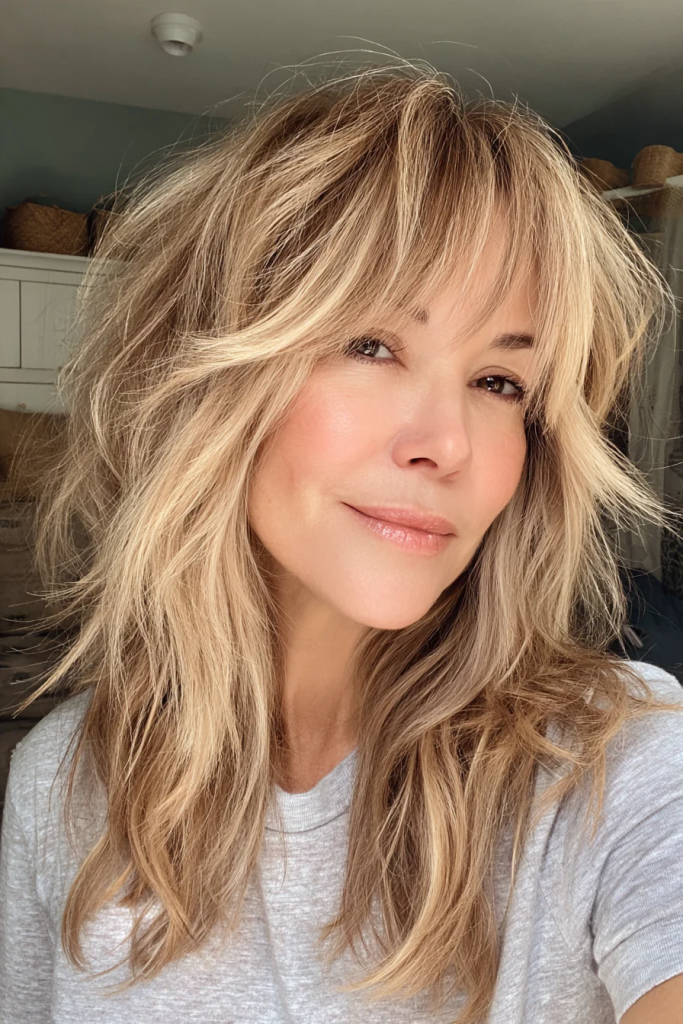
5. Long Layered Cut with Curtain Bangs
Curtain bangs—soft, center-parted fringe that sweeps to the sides—pair perfectly with shoulder-length layers. The result is romantic, face-framing, and incredibly on-trend.
Why it works: Curtain bangs soften forehead lines and high hairlines while drawing attention to your cheekbones. The long layers keep the overall look from feeling too heavy.
How to style it: Blow-dry the curtain bangs using a round brush, rolling them away from your face on each side. The rest of the hair can be air-dried or blown out smooth. A light texturizing spray adds movement.
Best face shapes: Oval, heart, round. The bangs elongate round faces and balance wider foreheads.
Maintenance needs: Bangs need trimming every 3–4 weeks. The rest of the cut every 8–10 weeks.
For more bang inspiration, explore our guide to 19 Bangs for Women Over 60 That Soften, Refresh, and Take Years Off Your Look that soften, refresh, and take years off your look.
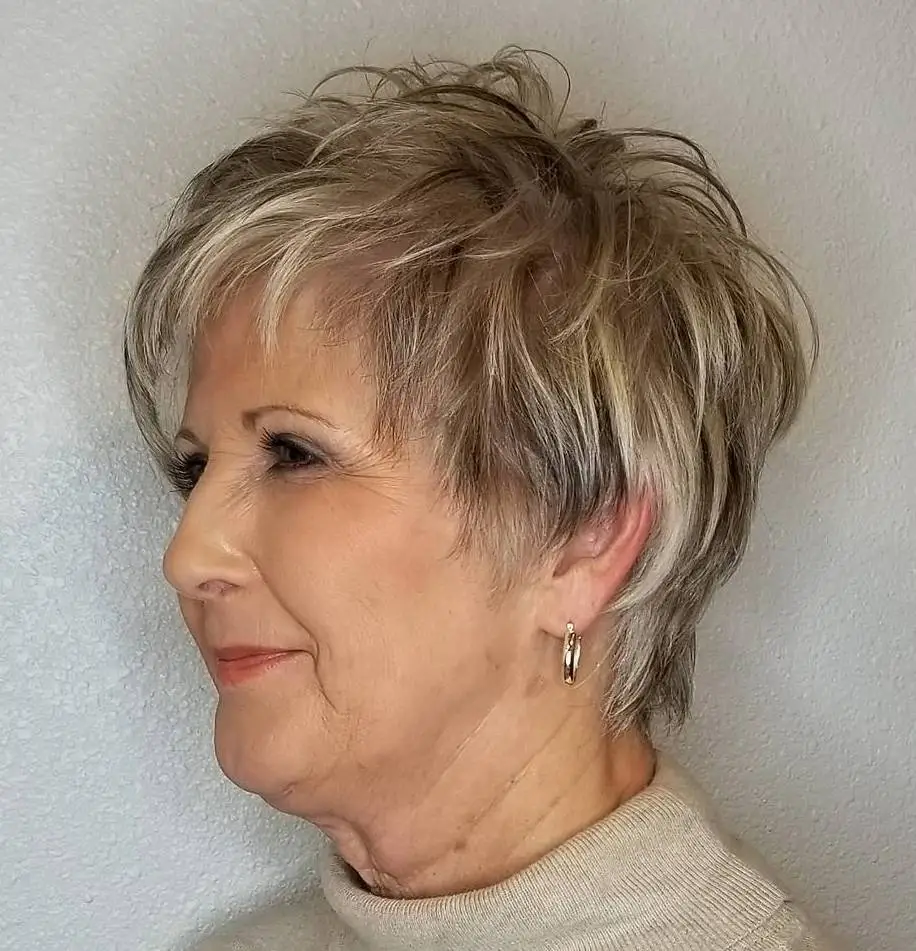
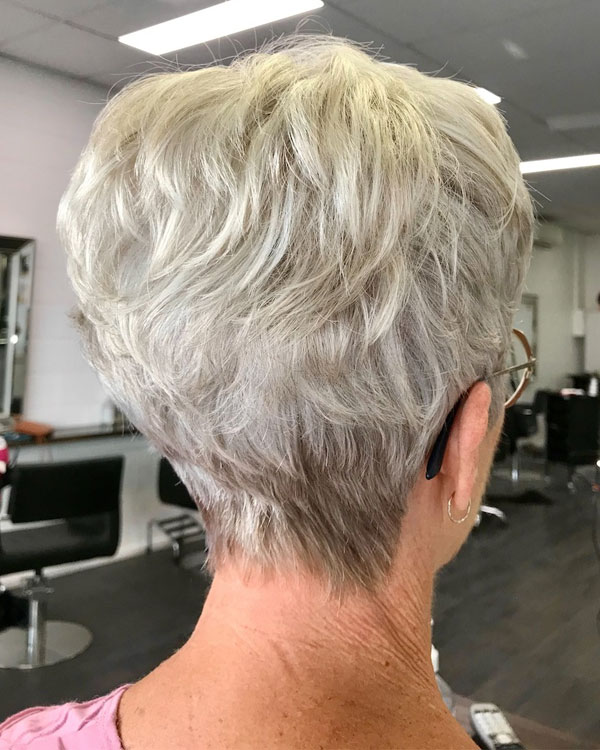
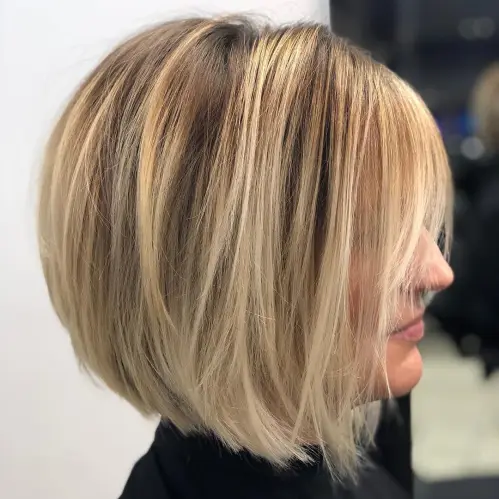
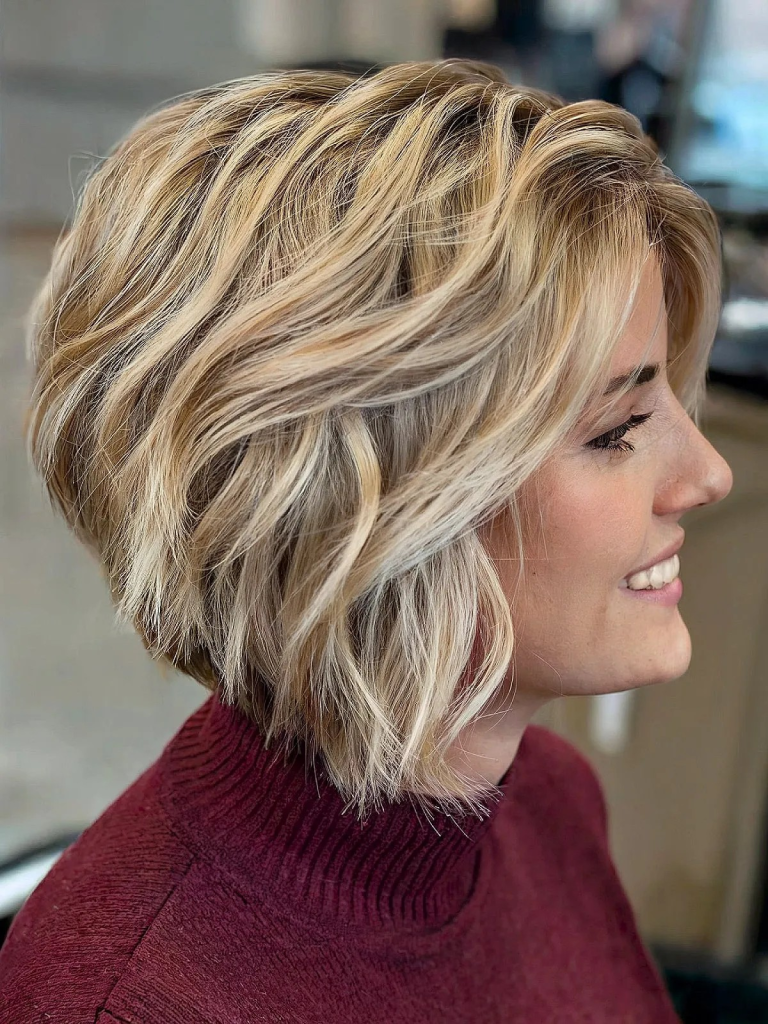
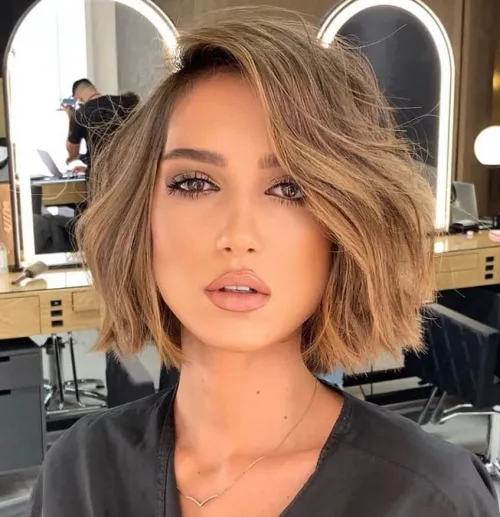
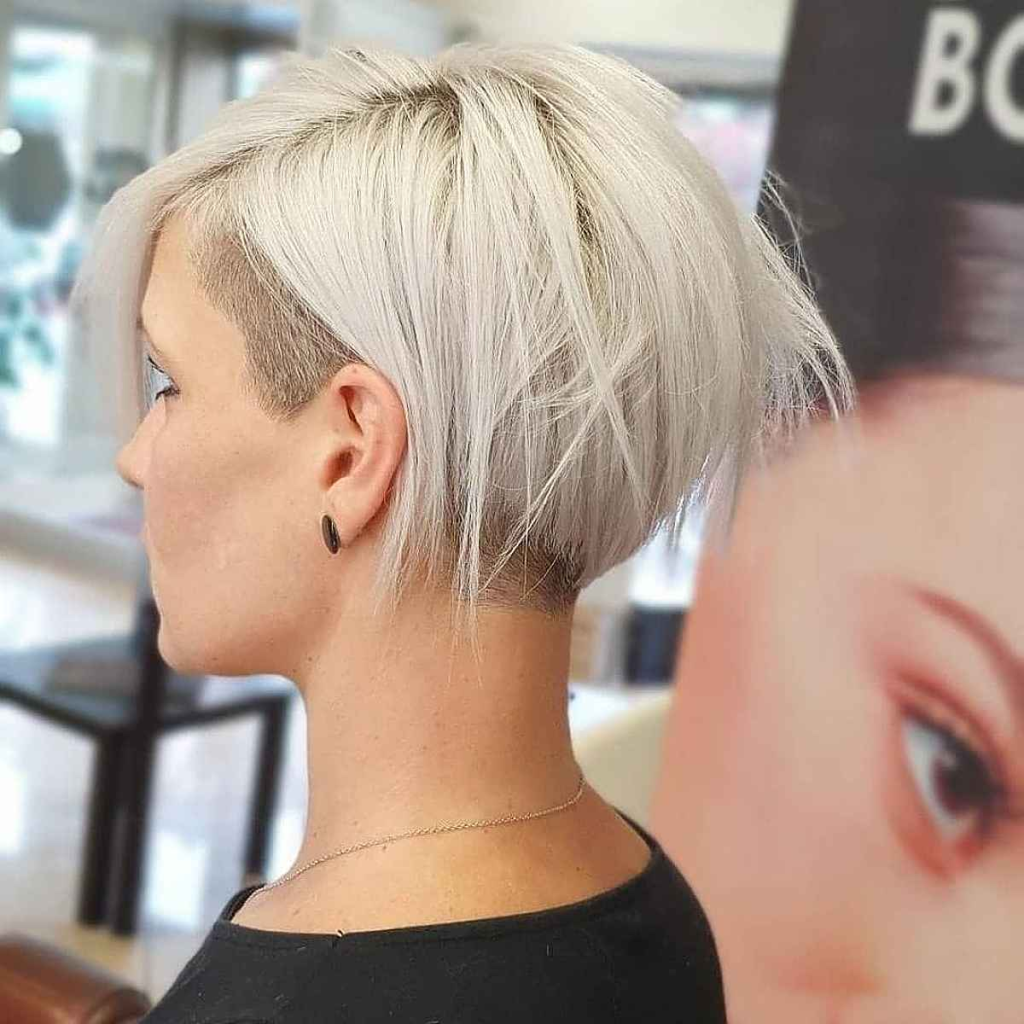
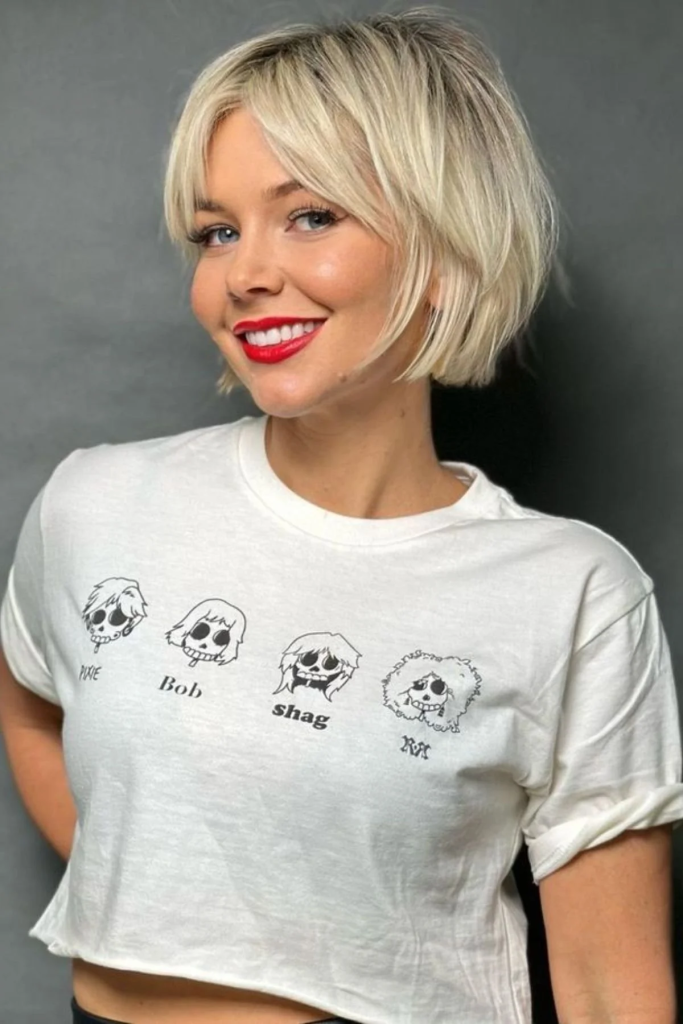
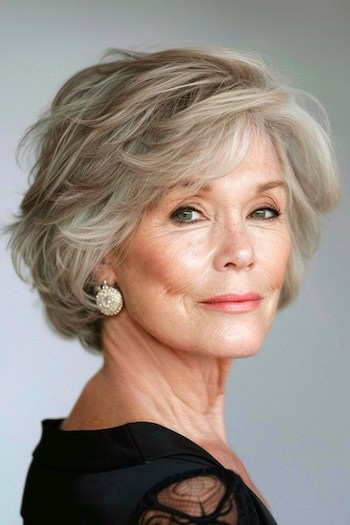
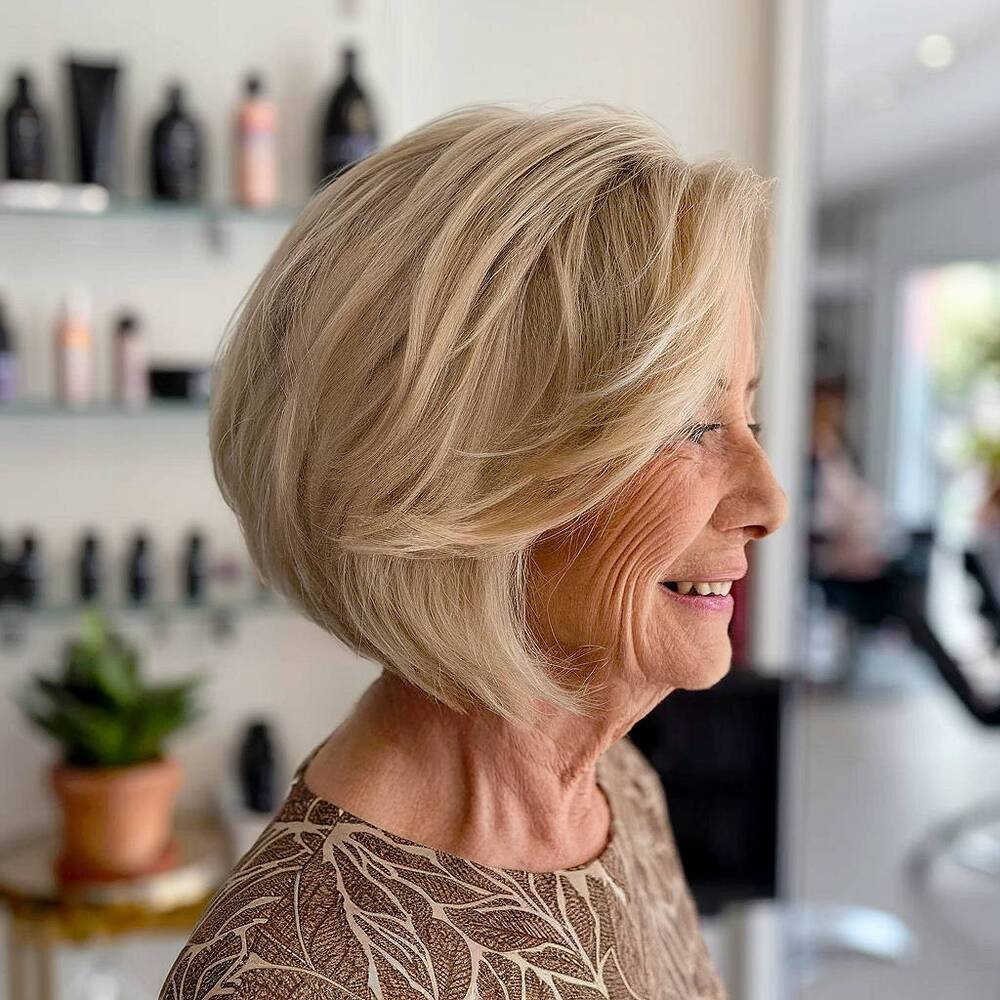
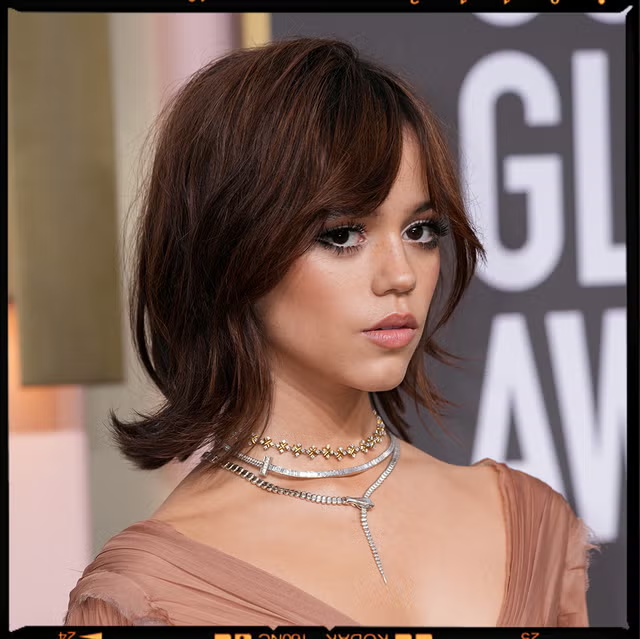
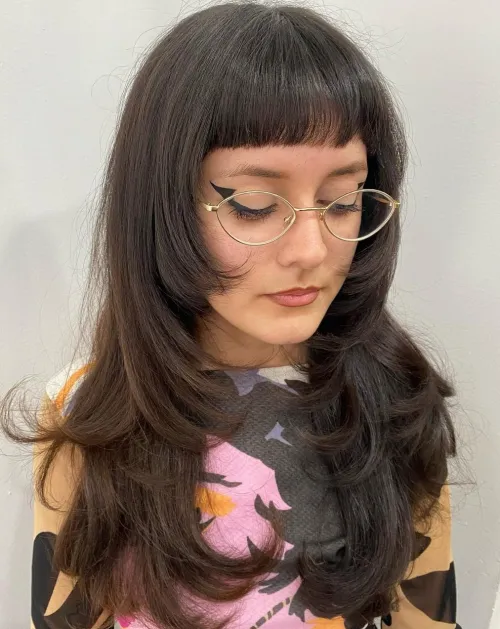
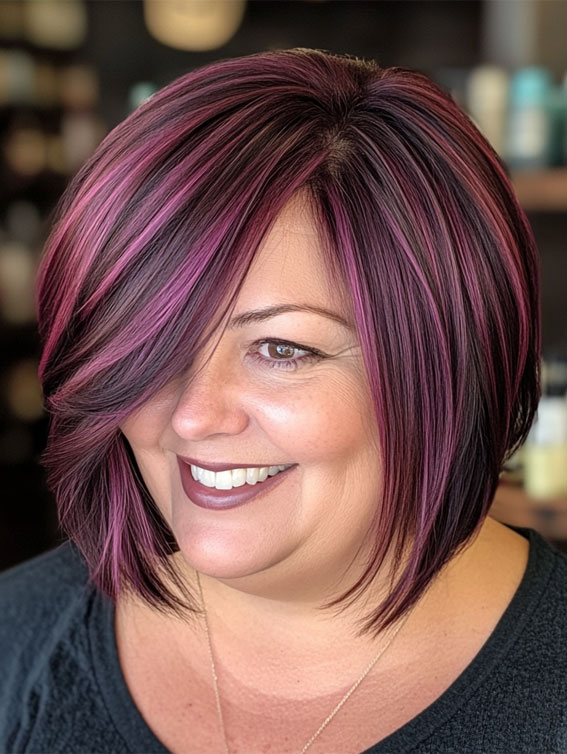
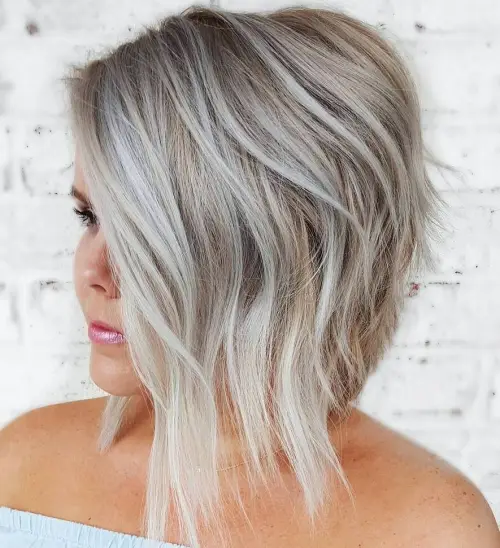
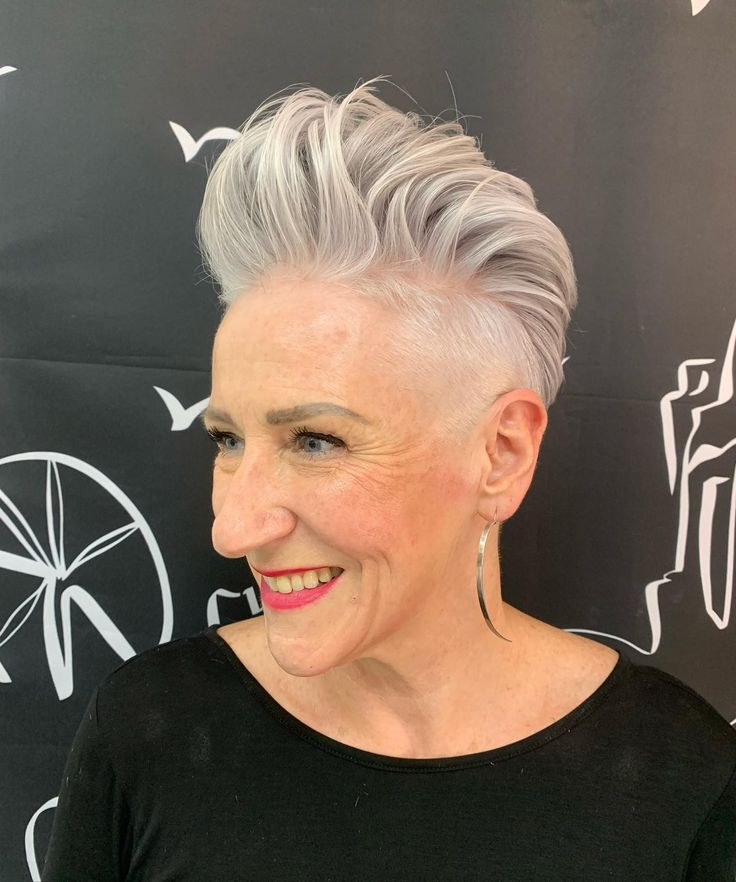
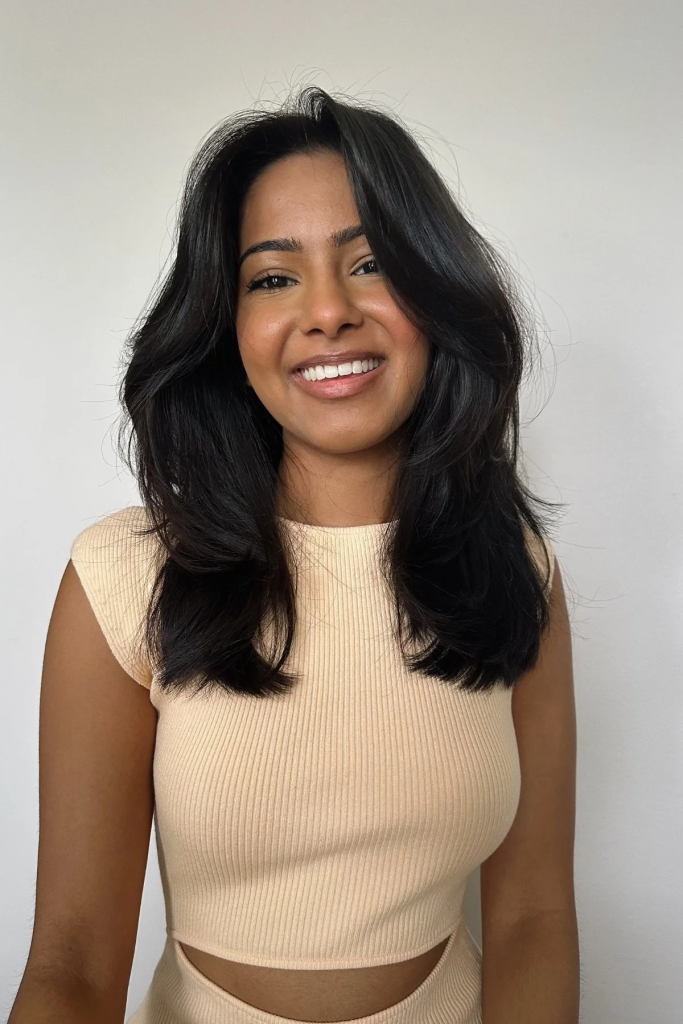
6. Graduated Layered Bob (Shoulder Length)
This cut is shorter in the back and gradually lengthens toward the front, ending around the collarbone. Layers throughout keep the graduation from looking severe.
Why it works: The stacked back adds significant volume at the crown, making it excellent for fine or thinning hair. The longer front pieces frame the face beautifully.
How to style it: Blow-dry the back using a round brush to enhance the stacked shape. The front pieces can be smoothed or lightly curled under for a polished finish.
Best face shapes: Oval, long, heart. The volume at the back and crown balances longer face shapes.
Maintenance needs: Every 6–8 weeks. The graduated back loses its shape quickly, so regular trims are essential.
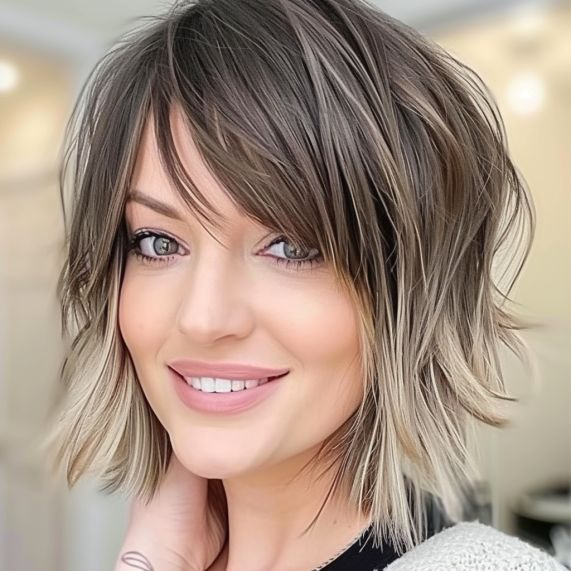
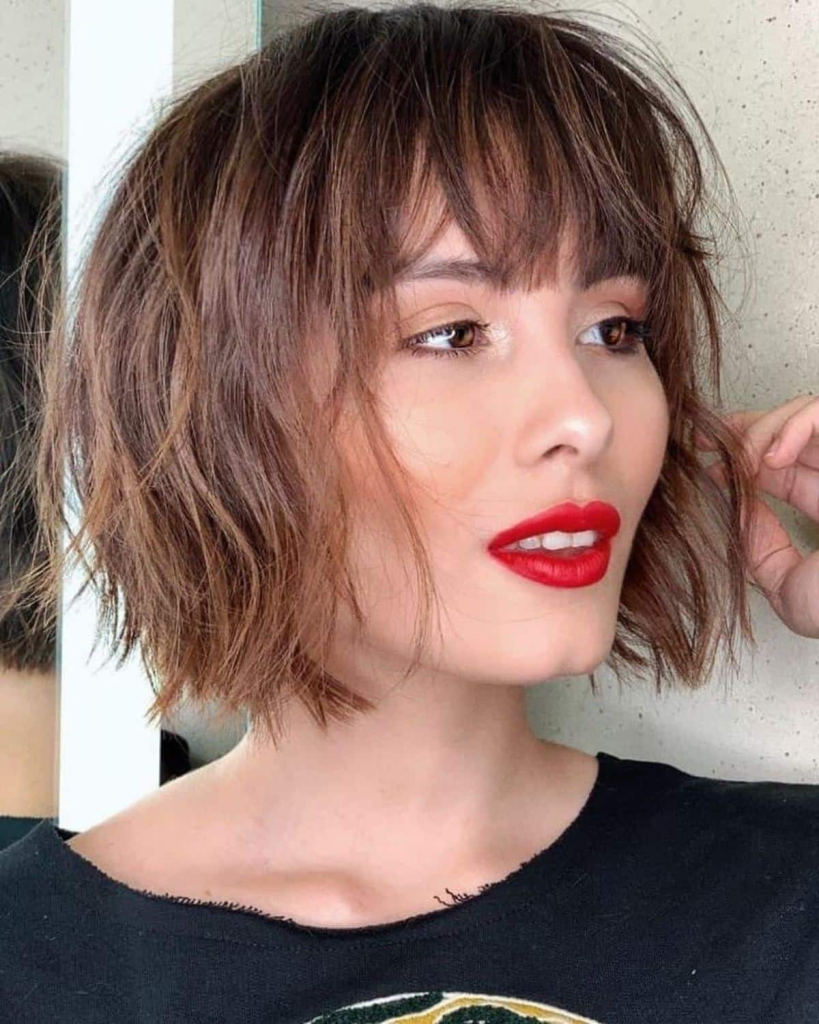
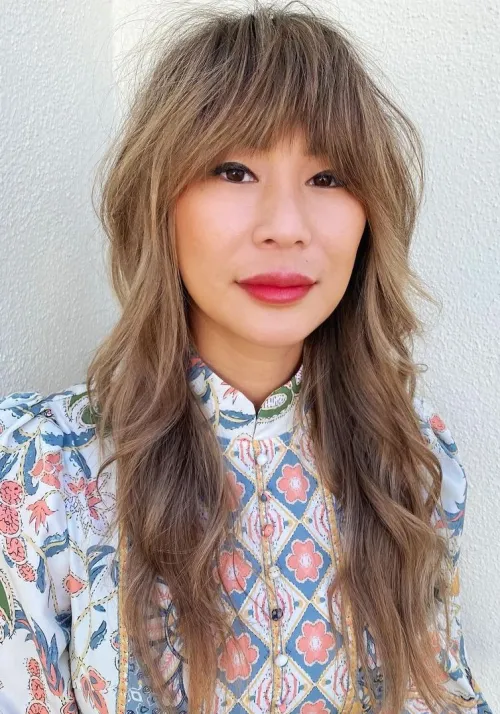
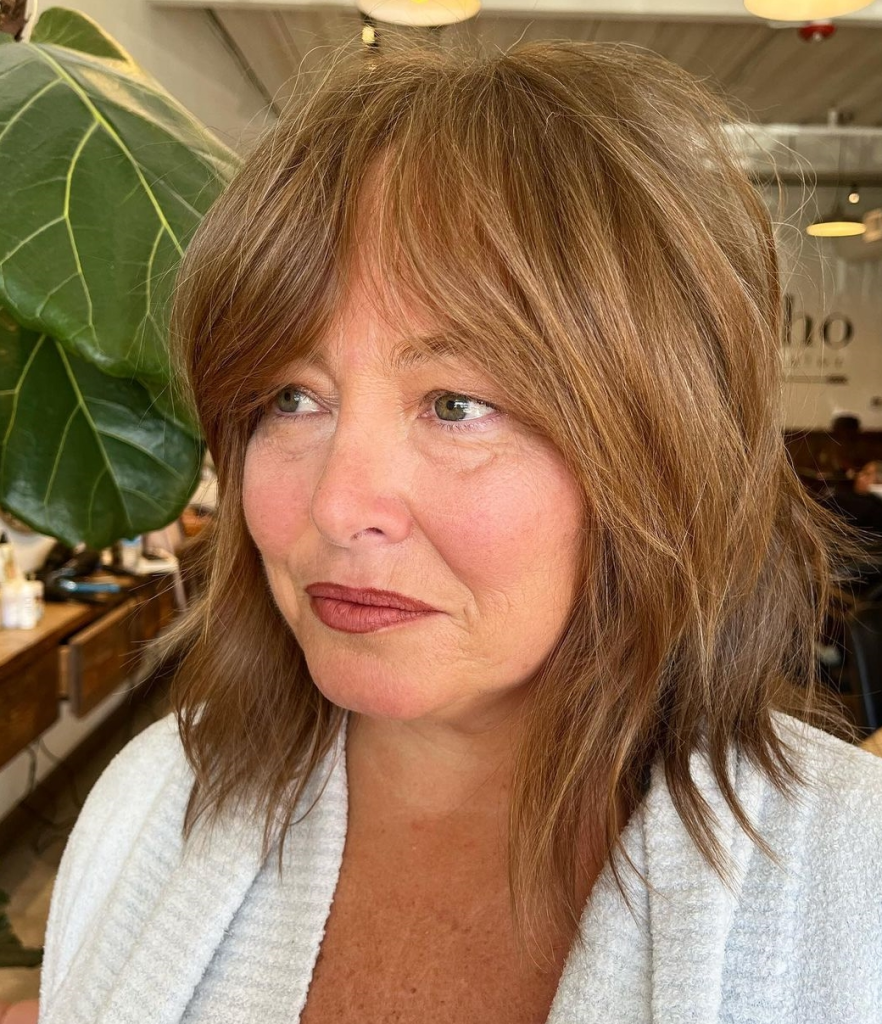
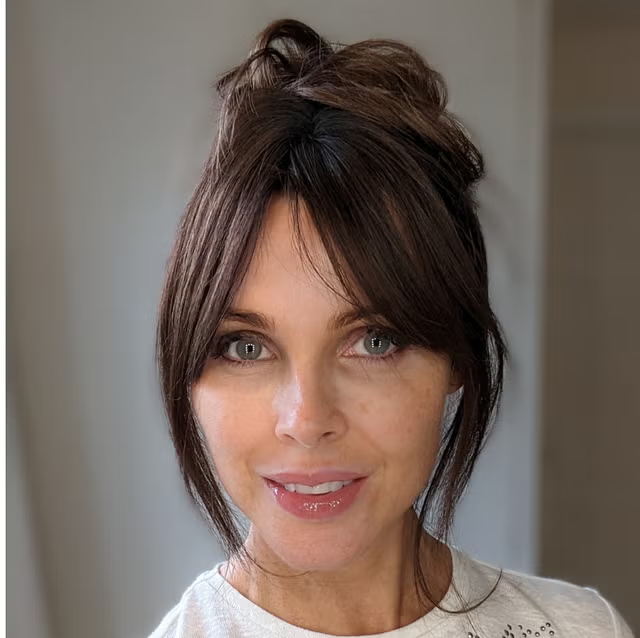
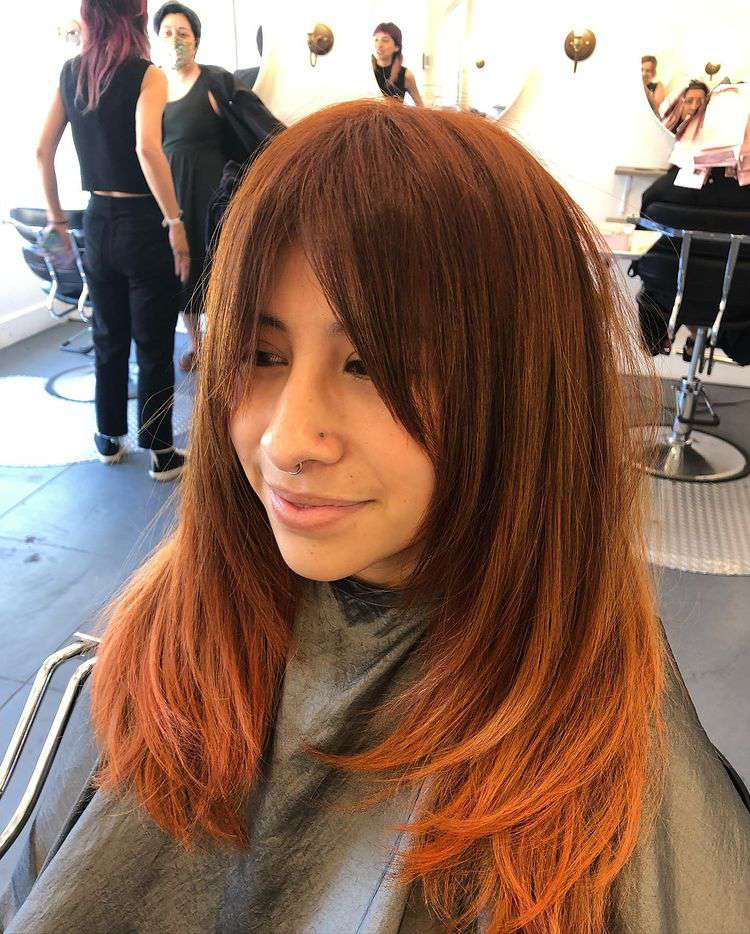
7. Textured Layered Cut with Bottleneck Bangs

Bottleneck bangs are narrow at the center (like a bottleneck) and widen toward the cheekbones. Paired with textured shoulder-length layers, this cut feels bohemian and modern.
Why it works: The widening effect at the cheekbones balances a pointed chin, making this ideal for heart-shaped faces. The textured layers add movement without bulk.
How to style it: Spray sea salt spray on damp hair. Braid your hair into two loose braids overnight. Undo in the morning and finger-comb. Blow-dry the bottleneck bangs forward and to the sides using a small round brush.
Best face shapes: Heart, oval, round.
Maintenance needs: Bangs every 4 weeks. Rest of the cut every 8–10 weeks.
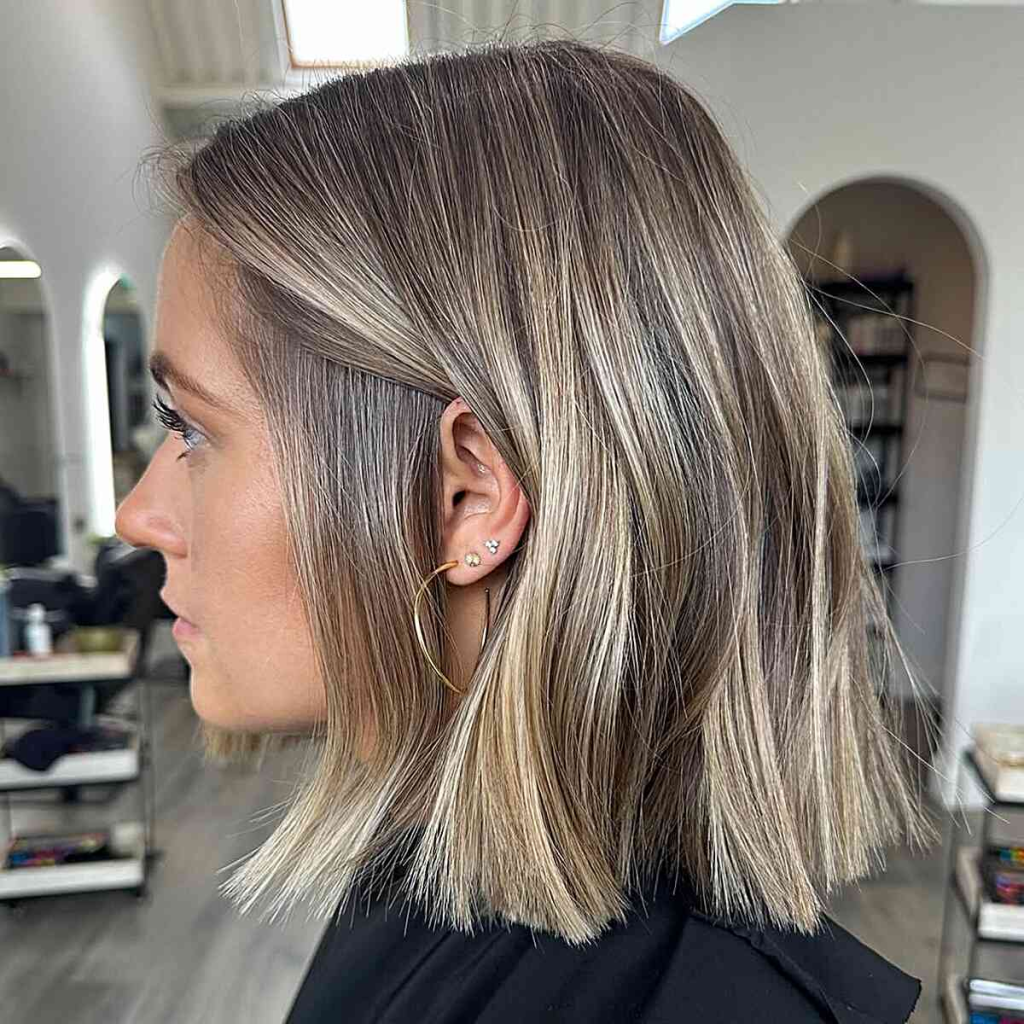
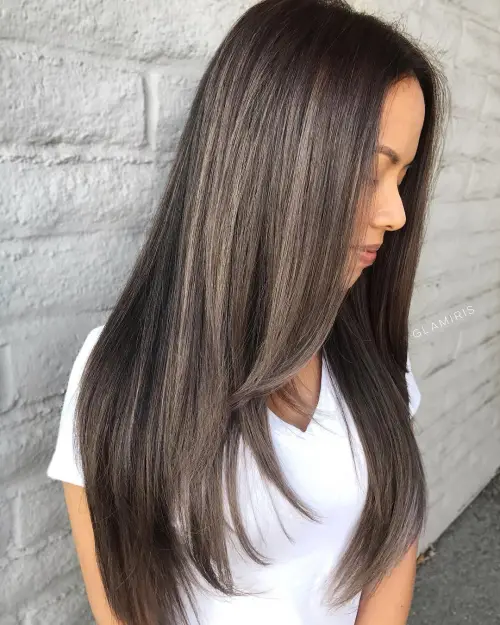
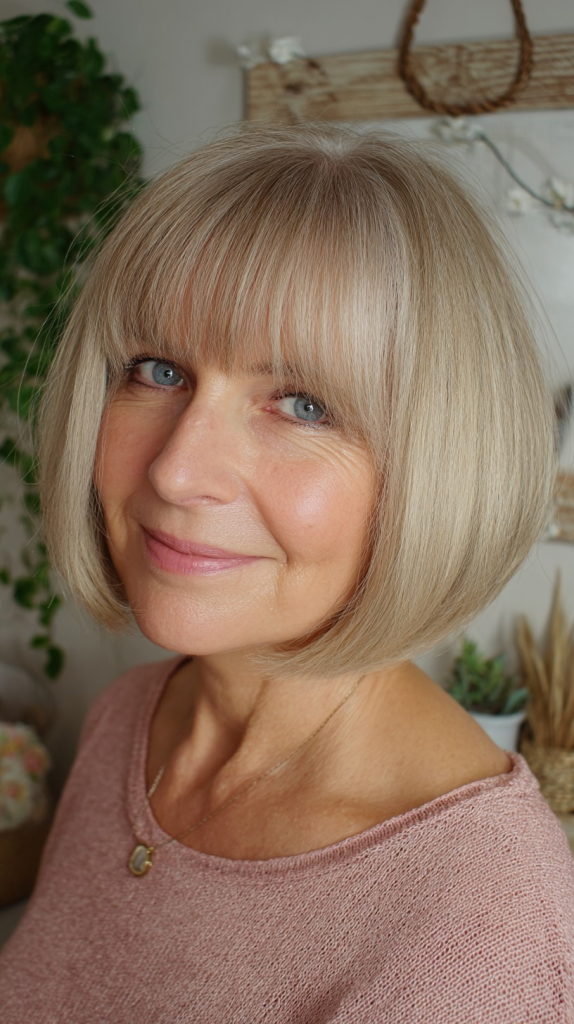
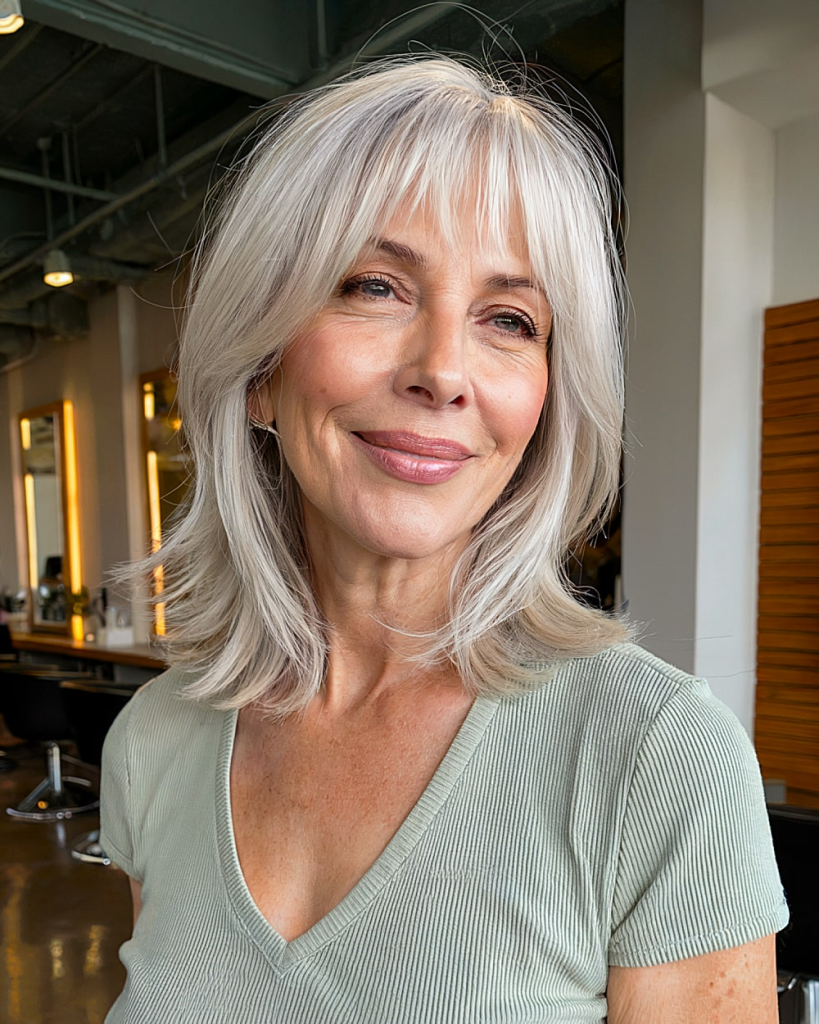
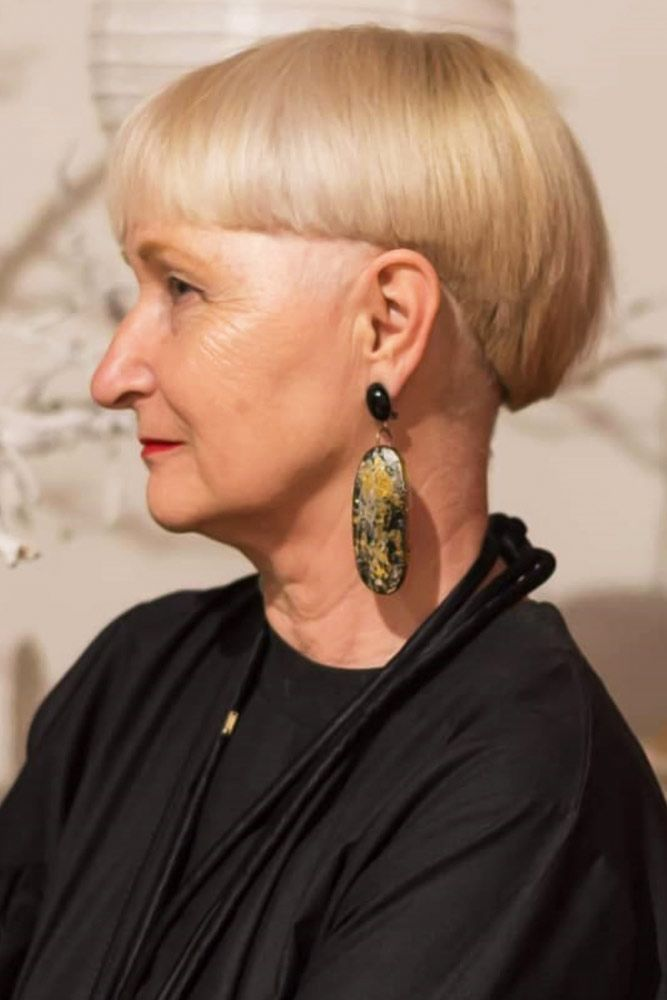
8. Blunt Layered Cut (The “Invisible Layer” Technique)
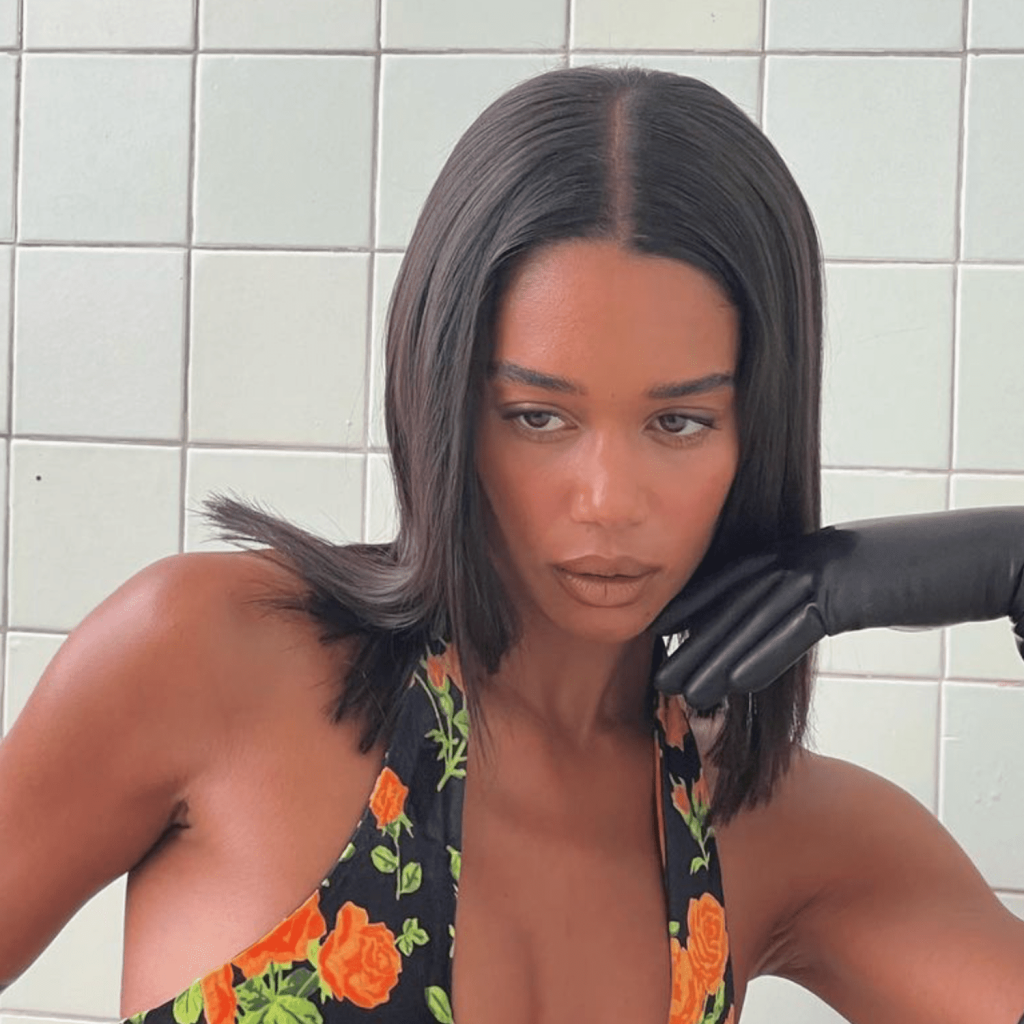
This cut looks blunt from the outside but has hidden internal layers that add movement. The perimeter is a clean, straight line, but the inside is carved out for lightness.
Why it works: The blunt perimeter gives the illusion of thick, healthy ends. The internal layers prevent the hair from feeling heavy or looking like a helmet.
How to style it: Blow-dry smooth using a paddle brush to emphasize the blunt line. Then, add a drop of serum to the ends for shine. The internal layers will create natural movement without looking choppy.
Best face shapes: Oval, square, oblong. The blunt line adds width, balancing longer face shapes.
Maintenance needs: Every 7–9 weeks. Blunt lines show uneven growth quickly.
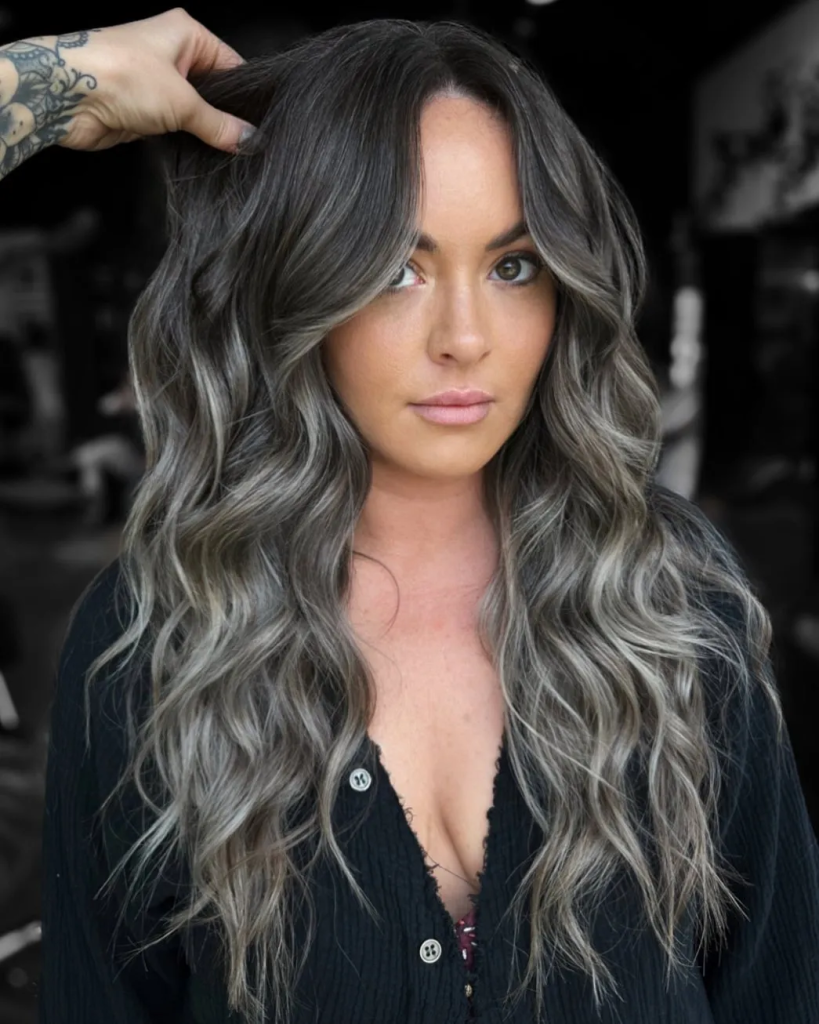
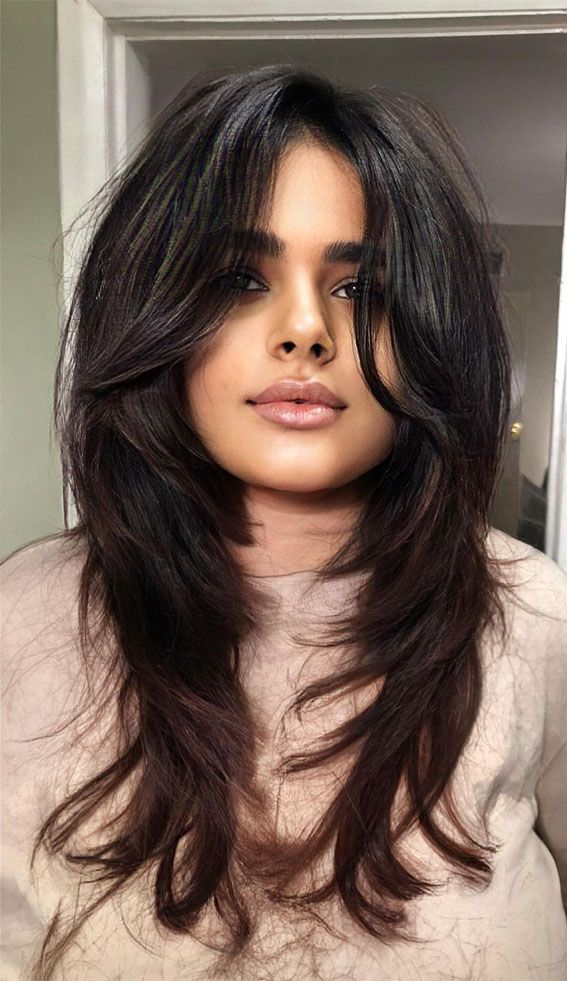
9. Voluminous Layered Cut for Thick Hair
Thick hair can become heavy and triangular at shoulder length. This cut removes significant internal weight through point-cutting and slide-cutting techniques.
Why it works: Removing up to 40% of bulk eliminates the triangle shape while keeping the length. The layers are carved out internally so the perimeter stays full.
How to style it: Use a lightweight mousse and blow-dry with a large round brush. Avoid heavy creams or butters, which will weigh the cut back down. A texture spray at the ends adds separation.
Best face shapes: Oval, square, heart.
Maintenance needs: Every 6–8 weeks. Thick hair grows out quickly and will regain bulk within two months.
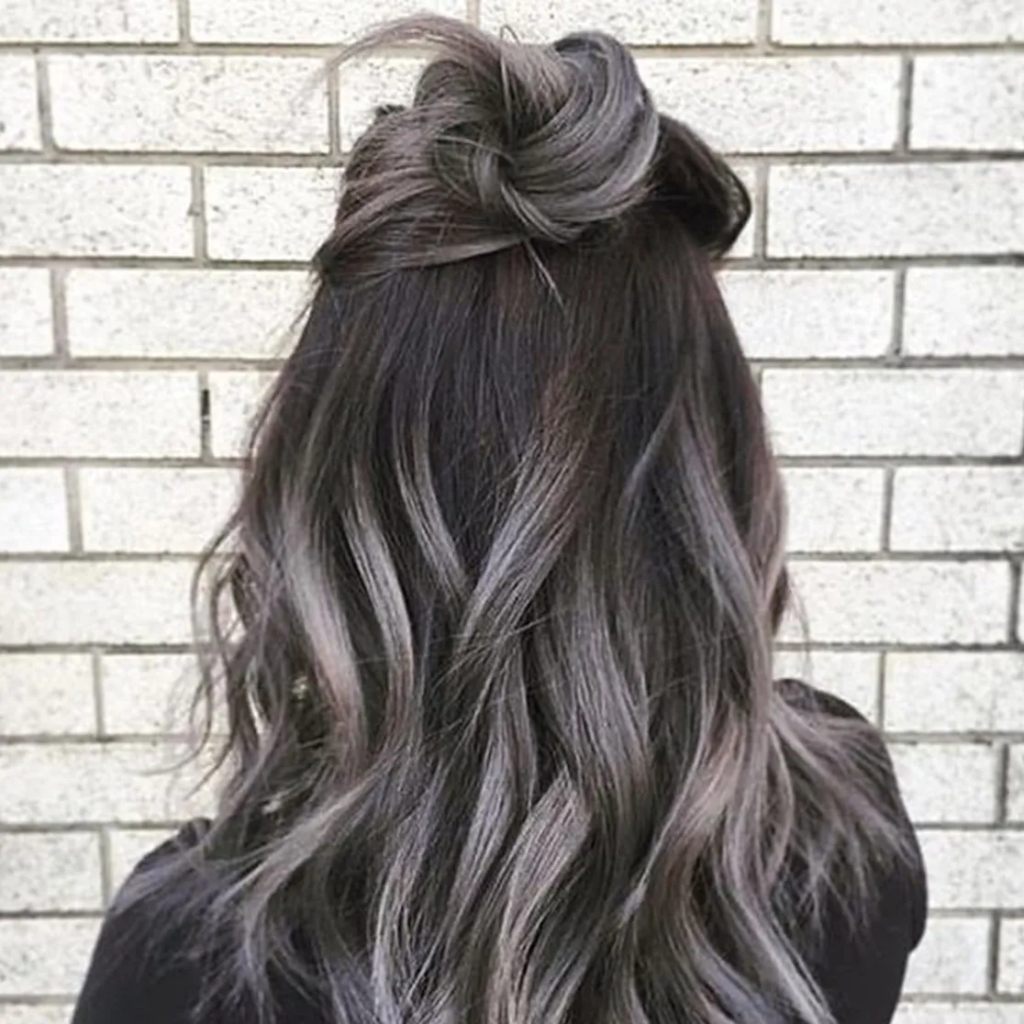
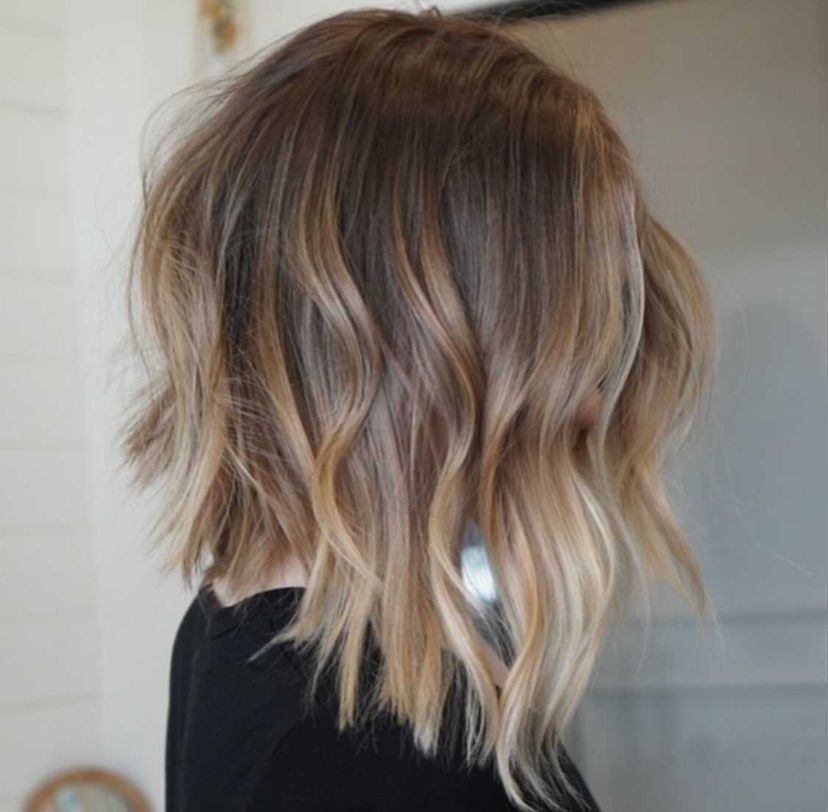
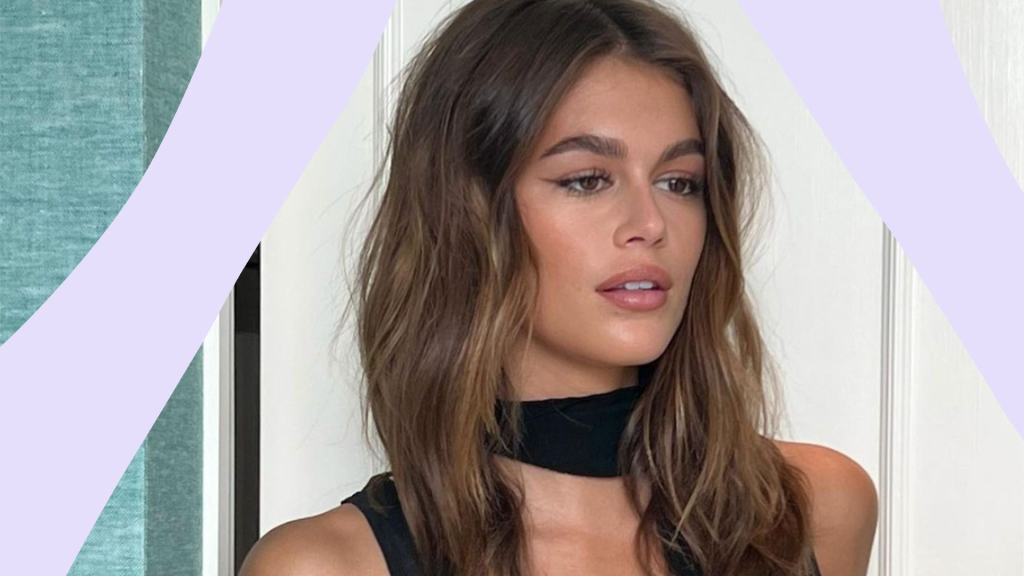
10. Effortless Air-Dry Layered Cut
This cut is specifically designed for women who refuse to use heat tools. The layers are cut in a way that encourages your natural wave or straight texture to look intentional when air-dried.
Why it works: The layers are precision-cut to follow your natural growth patterns. When air-dried, the hair falls into a soft, flattering shape without any effort.
How to style it: Wash. Towel dry gently. Apply a lightweight leave-in conditioner and a sea salt spray. Scrunch once. Walk away. No blow-dryer. No round brush. No stress.
Best face shapes: Oval, heart, square. Avoid if your hair is extremely fine and straight, as it may just look flat rather than intentional.
Maintenance needs: Every 8–10 weeks. This cut looks better slightly grown out.
If you love low-maintenance styles, you’ll appreciate our 12 Short Hairstyles for Women Over 70 That Bring Fresh Energy and Easy Elegance that bring fresh energy and easy elegance with minimal effort.
How to Style Layered Shoulder Length Hair in Under 10 Minutes
You don’t need a salon-quality blowout every day. Here’s your universal routine:
- Damp hair: Apply a volumizing mousse or texturizing spray from roots to ends.
- Blow-dry using a round brush for 5 minutes—focus on lifting the roots.
- Flip your head over and blast with cool air for 10 seconds to lock in volume.
- Optional: Use a flat iron to add slight bends (not curls) to a few face-framing pieces.
- Finish with a lightweight hairspray or texture spray.
That’s it. For air-dry days, just skip steps 2–4.
Quick Maintenance Cheat Sheet
| Cut Type | Trim Frequency | Special Notes |
|---|---|---|
| Classic long layers | 8–10 weeks | Easy to maintain |
| Choppy shag layers | 6–8 weeks | Definition fades with growth |
| Curly layers | 8–10 weeks | Dust dry ends regularly |
| Invisible layers (fine hair) | 6–8 weeks | Volume fades quickly |
| With curtain bangs | Bangs: 3–4 weeks / Rest: 8–10 weeks | Bangs need constant attention |
| Graduated layered bob | 6–8 weeks | Stacked back loses shape fast |
| Bottleneck bangs | Bangs: 4 weeks / Rest: 8–10 weeks | Bangs grow into eyes |
| Blunt layered cut | 7–9 weeks | Blunt line shows uneven growth |
| Voluminous cut (thick hair) | 6–8 weeks | Bulk returns quickly |
| Air-dry cut | 8–10 weeks | Looks better grown out |
Final Thoughts
The layered shoulder length haircut truly offers the best of both worlds—enough length to pull back or style, but short enough to dry quickly and feel lightweight. Whether you choose soft, romantic layers or choppy, edgy texture, this cut adapts to your hair type and lifestyle. Remember to communicate clearly with your stylist: bring photos, be honest about how much time you want to spend styling, and don’t be afraid to ask for adjustments.
If you’re still exploring options, consider our guide to 14 medium hairstyles for women over 60 for even more shoulder-length inspiration.
Book the appointment. You’re going to love the bounce.